

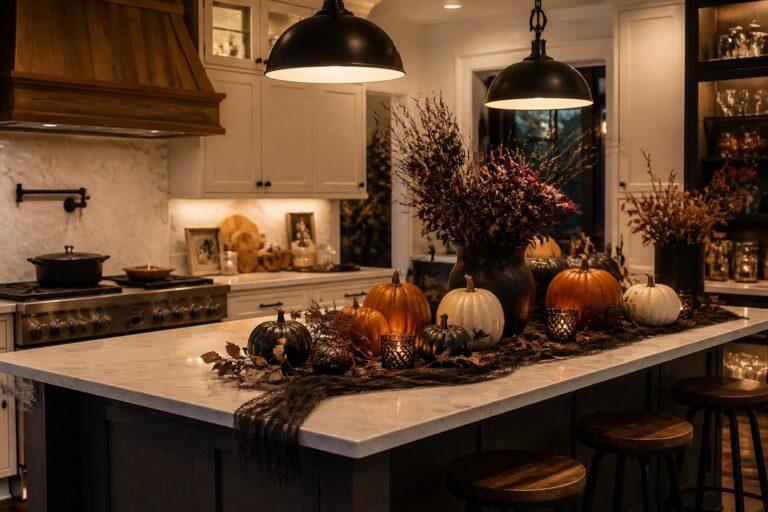
I like adding a few Halloween touches to the kitchen because that room sees so much daily activity.
My approach usually involves keeping the main counters clear while using towels, small shelves, and a couple of accents to bring in the season.
It is easy to go too far in a space like this so I prefer ideas that feel temporary and simple to adjust.
Playful details work best here.
Thinking about how to incorporate recognizable motifs without disrupting the way the kitchen already functions helps me pick what actually stays up through the month.
Style A Cauldron Centerpiece On The Kitchen Island
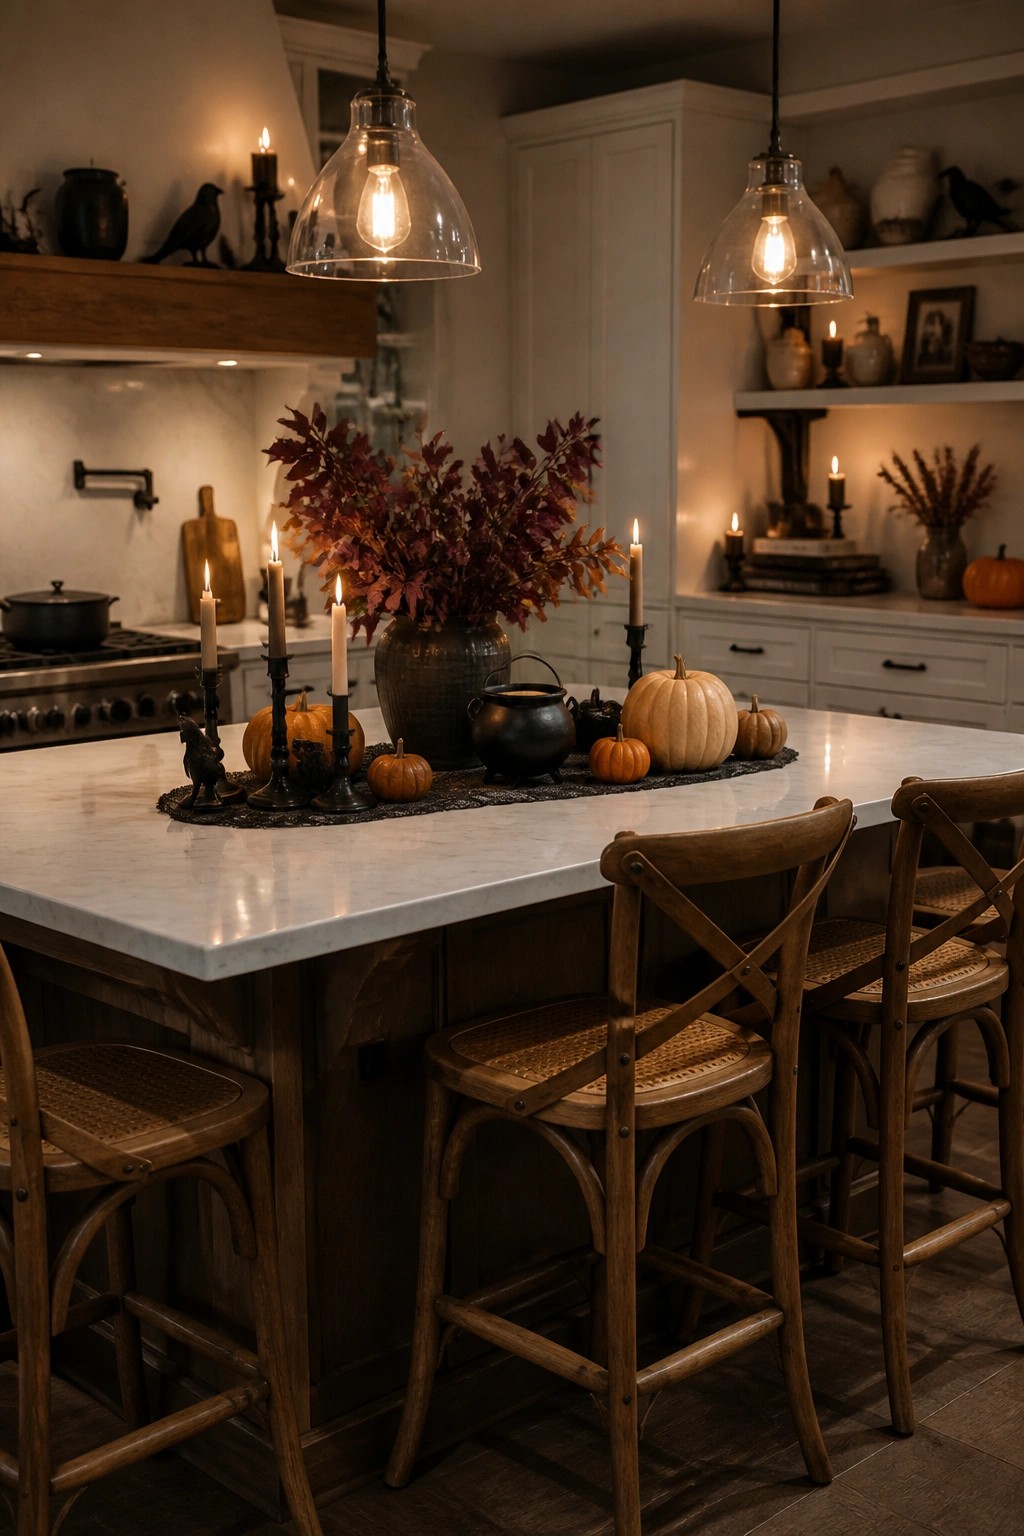
A black cauldron makes a strong Halloween focal point on a kitchen island. It stands out against the white marble and pairs easily with a few pumpkins and taper candles to give the space a clear seasonal touch without much effort.
Set the cauldron on a dark runner or mat in the center of the island. Add small pumpkins around it and place a few candles in simple holders to keep the look balanced and easy to change after the holiday.
Carve A Pumpkin For The Kitchen Counter
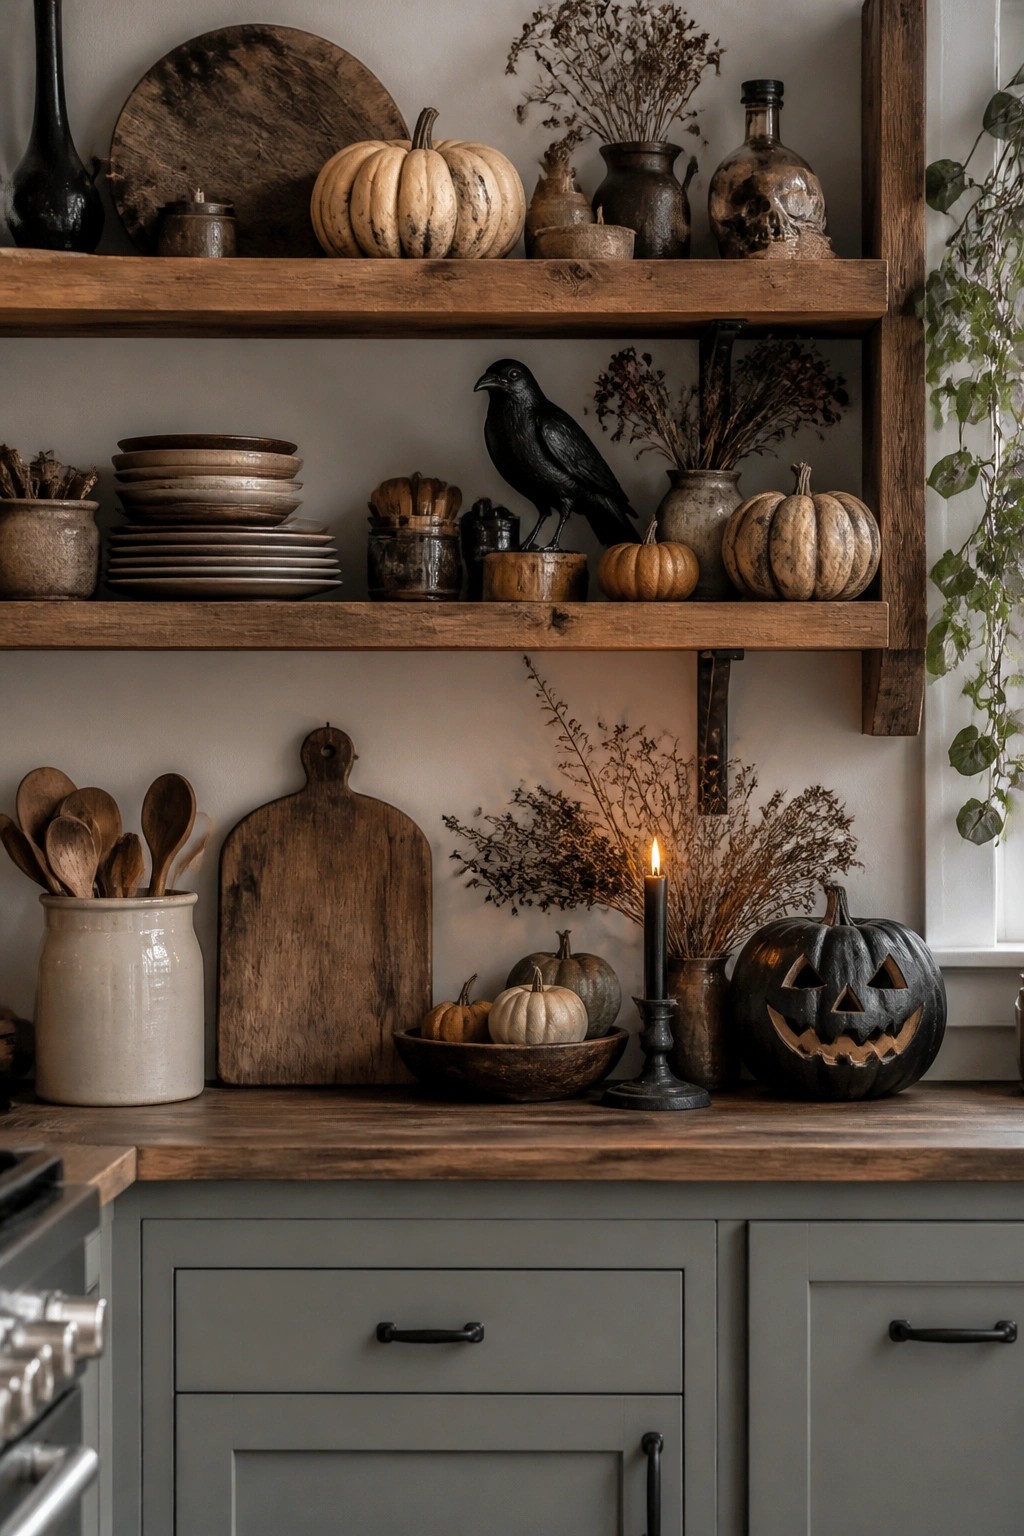
A carved jack o lantern makes a strong Halloween statement without needing much else. In this kitchen it sits on the counter and immediately reads as seasonal because of the face detail and the single lit candle inside. The surrounding neutral shelves and gray cabinets keep the focus on the pumpkin instead of competing with it.
You can copy the idea by picking one medium sized pumpkin, carving a simple face, and setting it on a clear section of countertop. Add only a few supporting pieces like a small crow or a dark candle holder if you want extra interest. Keep the rest of the kitchen surfaces light so the carved pumpkin stays the obvious focal point.
Group Jack O Lanterns Around The Kitchen
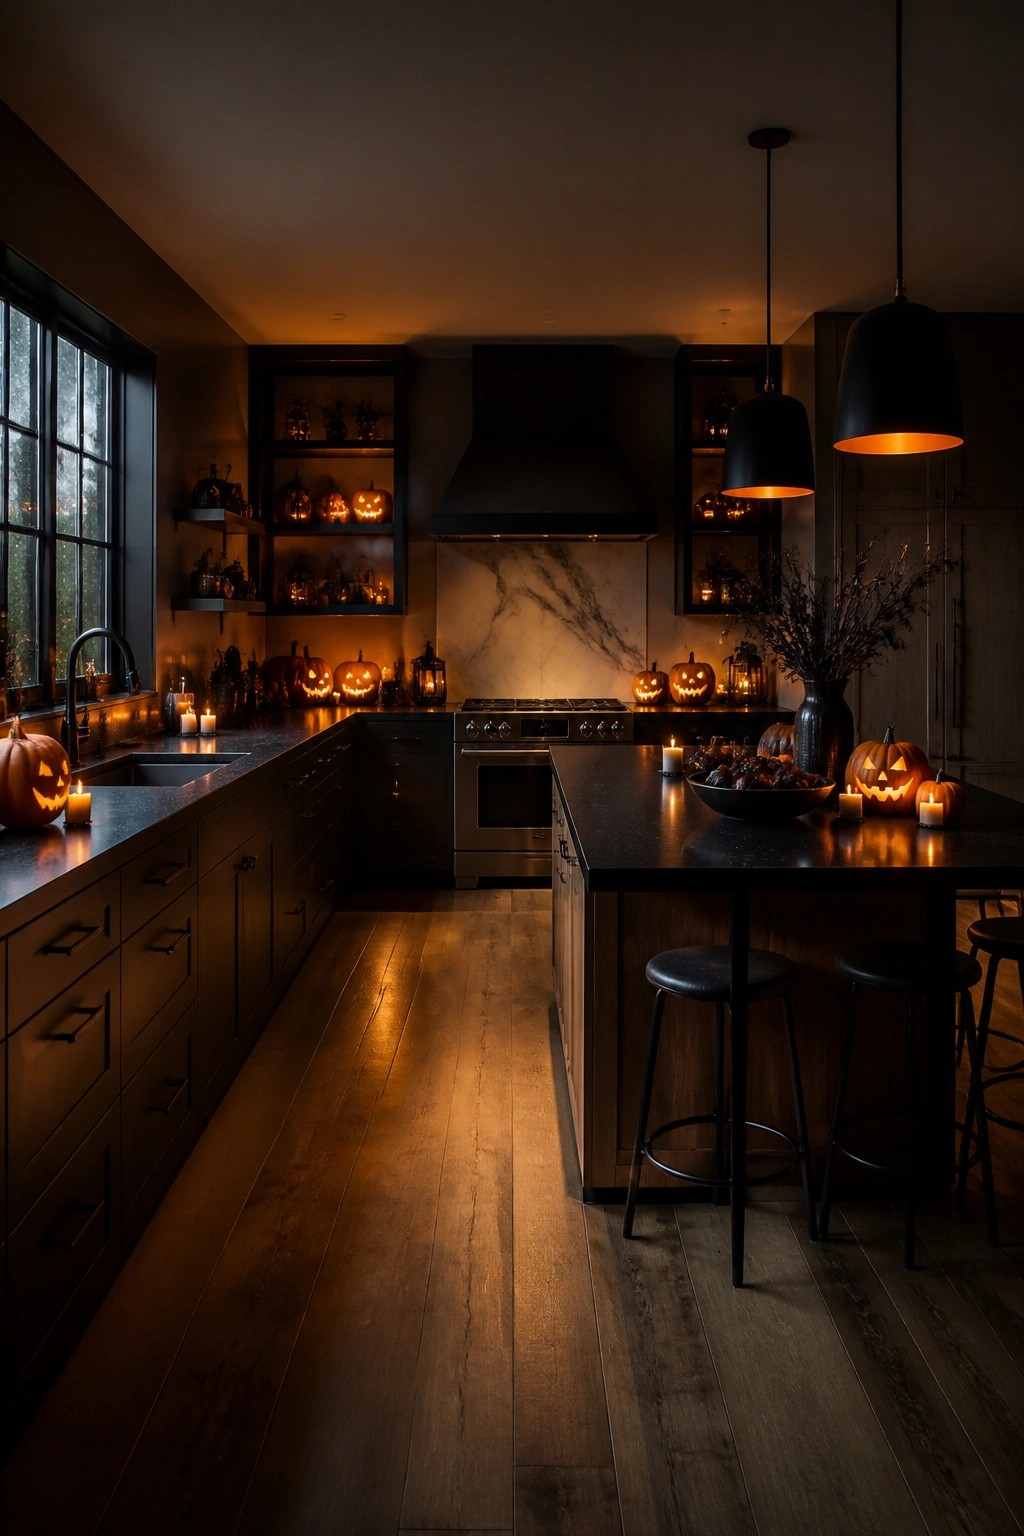
Placing a bunch of jack o’ lanterns around a kitchen turns the space into a simple Halloween spot without much extra effort. The carved faces show up well against the dark cabinets and counters, and the light inside each one adds a steady glow that feels seasonal.
Set a few on open shelves, line a couple along the main counter, and add one or two to the island. Keep the number of other decorations low so the pumpkins stay the main focus.
Use Black Branches On The Kitchen Counter
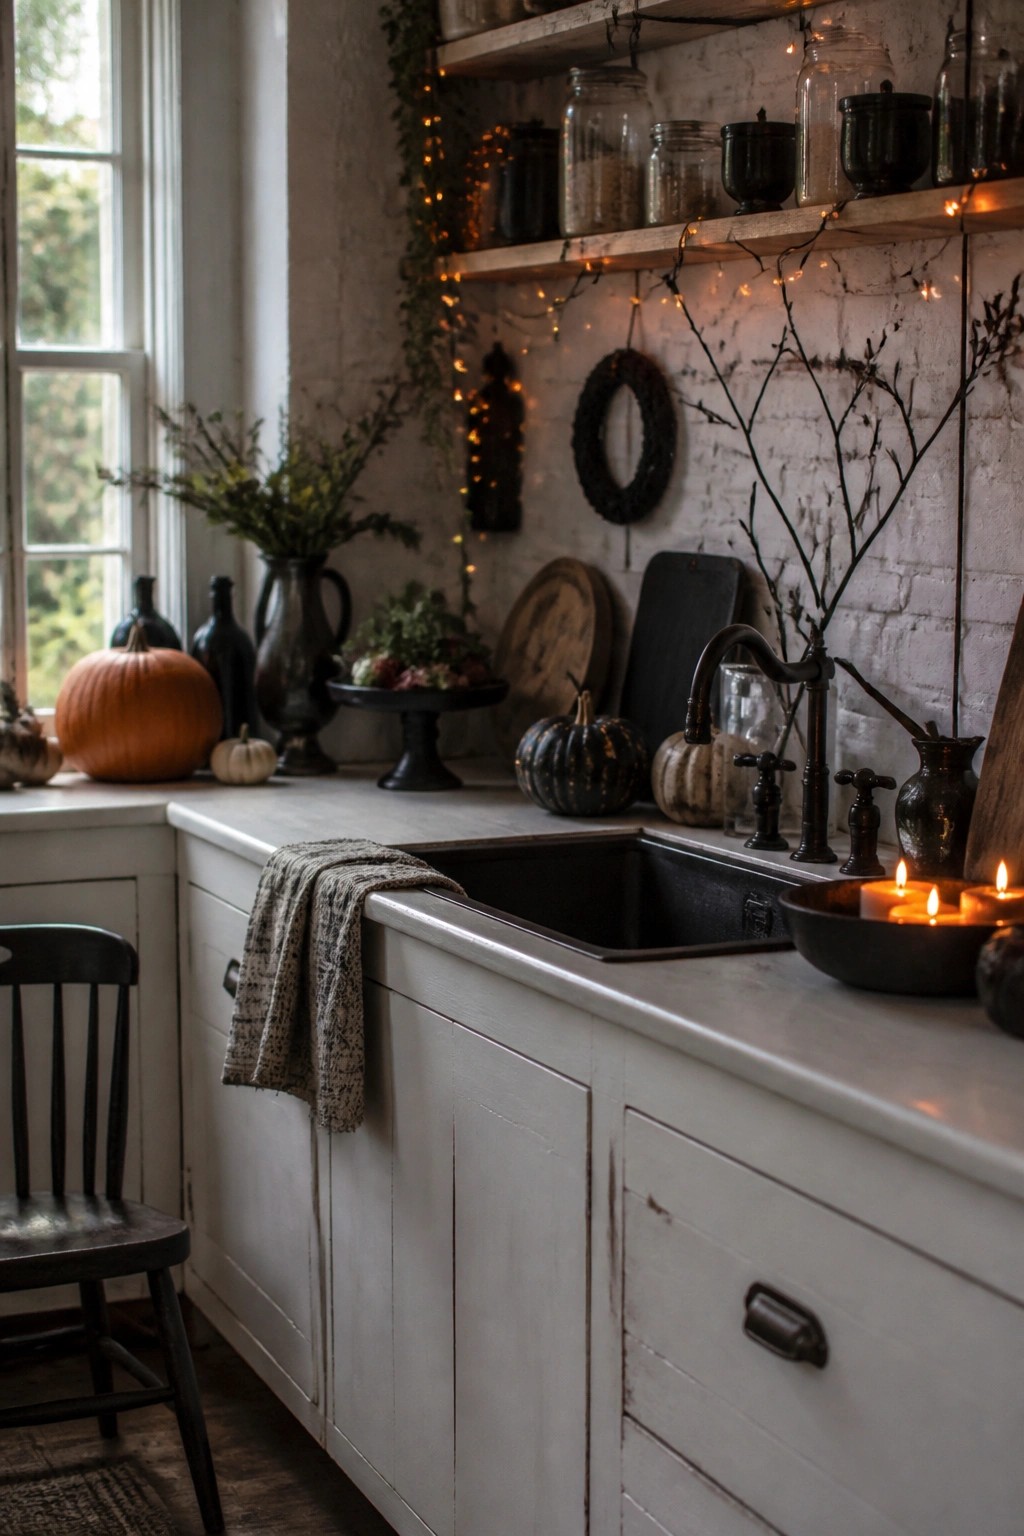
Black branches make an easy Halloween accent in the kitchen because they feel bare and slightly eerie without needing much else. Place a tall bundle in a dark vase near the sink and let the twigs spread out naturally so the arrangement draws the eye right away.
Add a few small pumpkins and a bowl of candles at the base to tie the look together. This works well on any clear stretch of counter and stays simple enough that you can swap it out after the holiday without rearranging the whole space.
Tuck Paper Bats Into A Branch Centerpiece
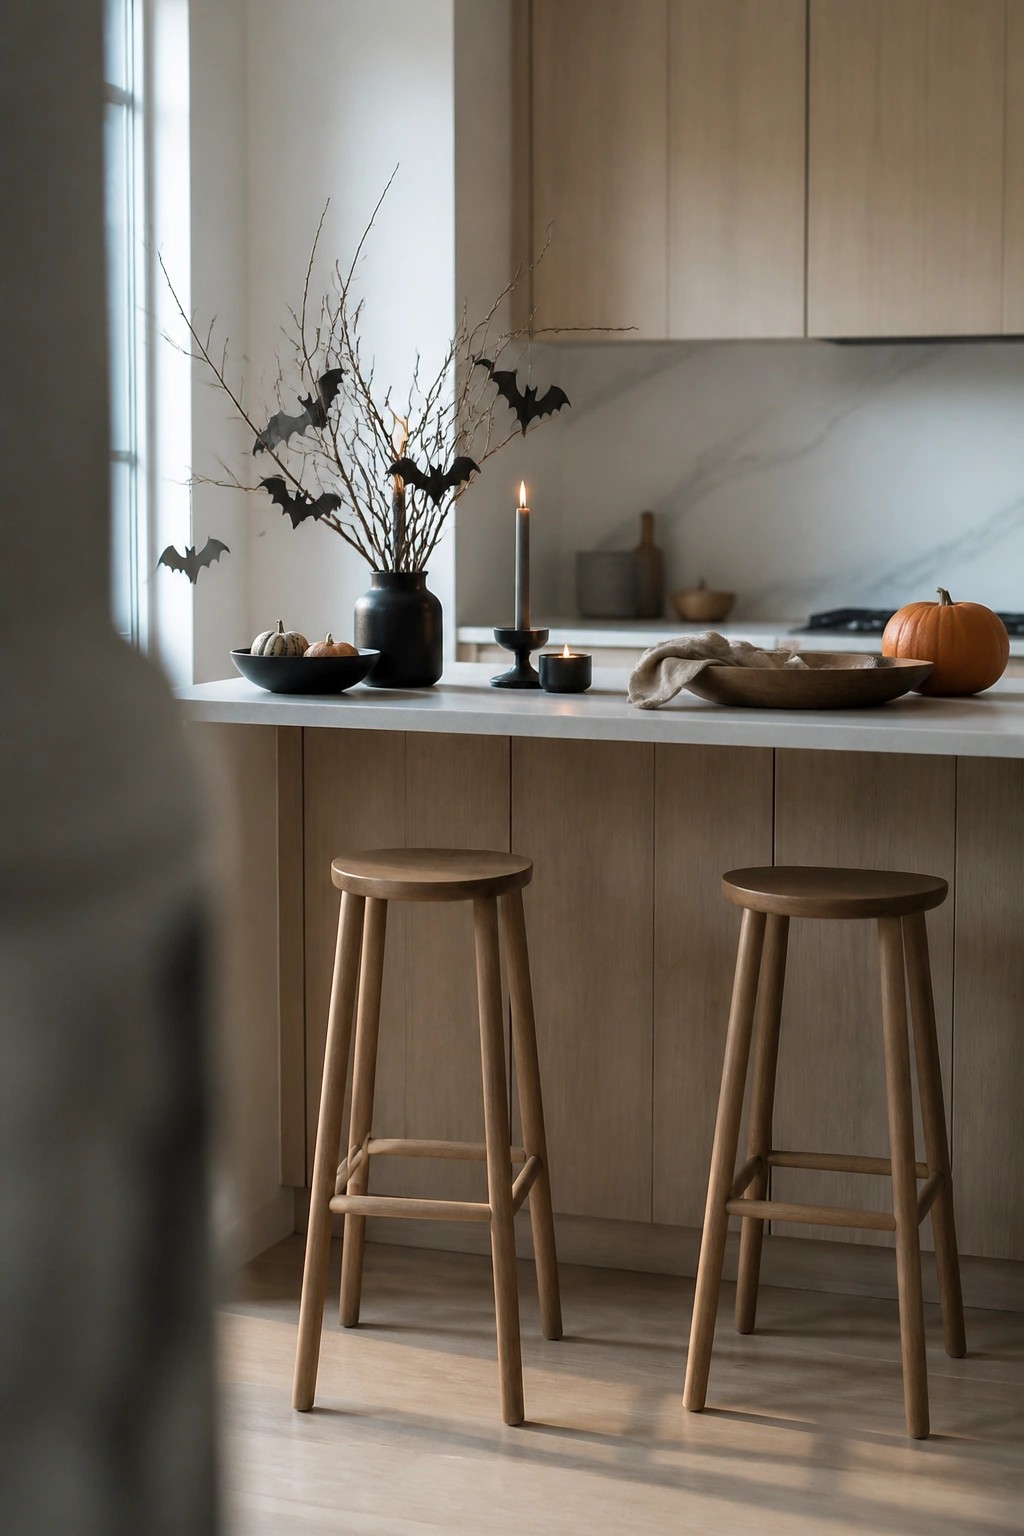
Paper bats tucked into bare branches give a kitchen counter a clear Halloween touch without much effort. The dark cutouts stand out against the light twigs and make the arrangement feel seasonal right away.
Cut a handful of bats from black paper, then slide them onto the stems of any branches you already own. Set the vase on the island or a side counter where people will see it while cooking or sitting at the stools.
Hang A Spiderweb Over The Kitchen Stove
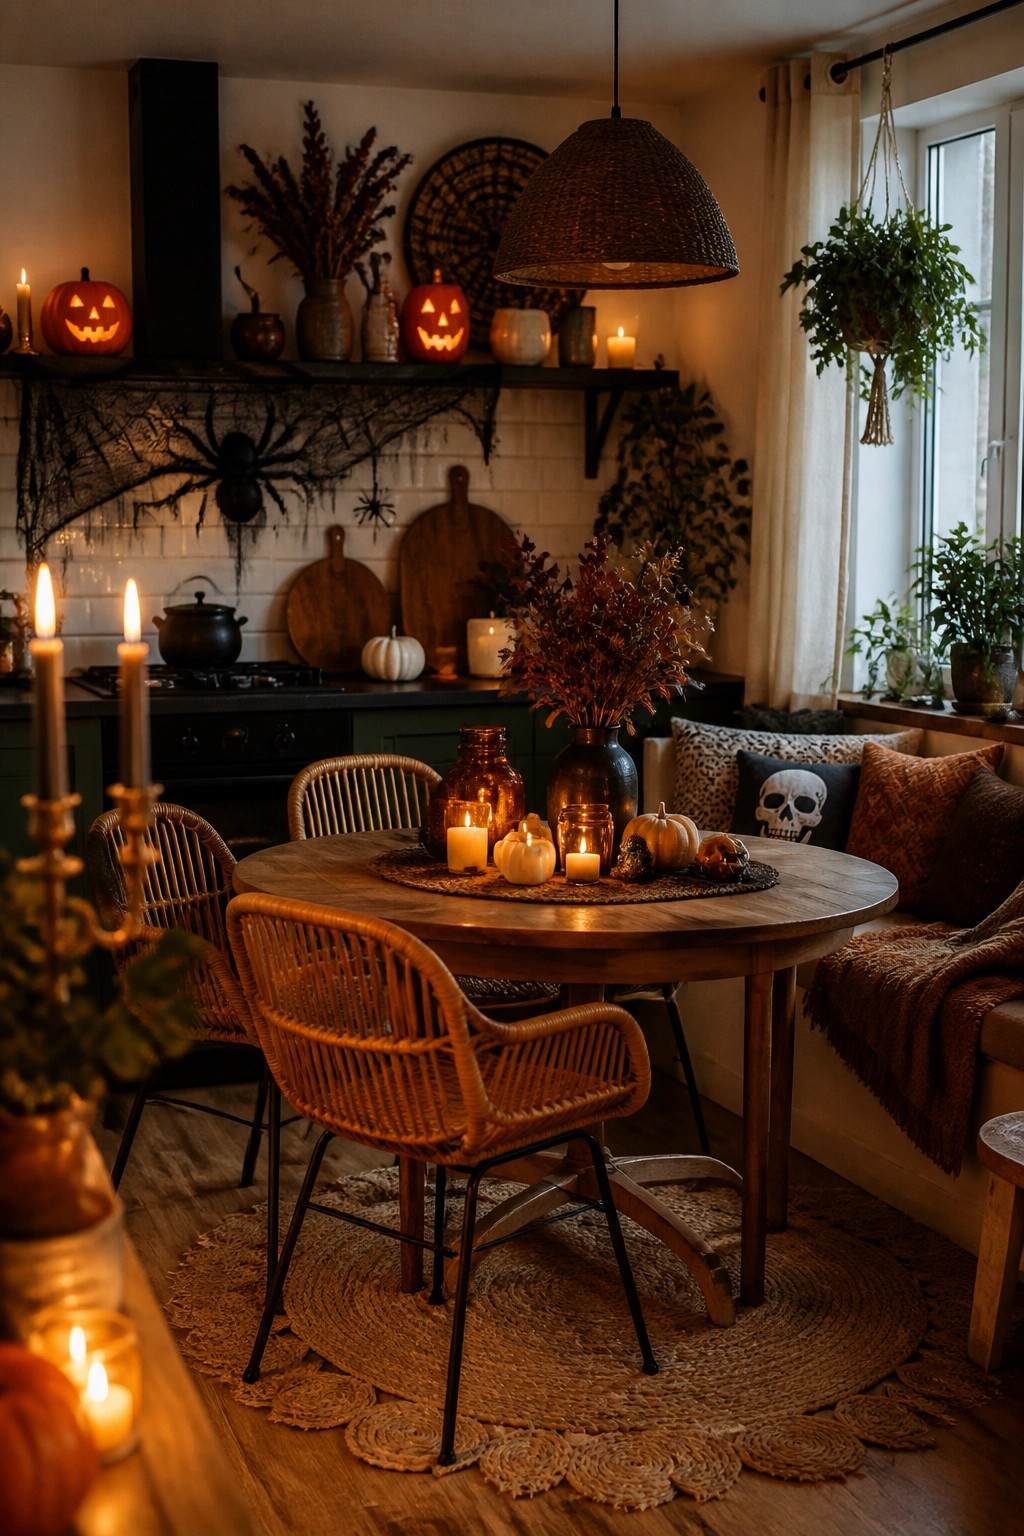
A large black spiderweb stretched across the wall above the stove turns an ordinary cooking area into a clear Halloween spot. The fake spiders scattered along the web make the display easy to notice even when the rest of the kitchen stays neutral. Lit jack-o’-lanterns placed on the shelf right below add a warm glow that works well in the evening.
You can copy this look with one big web and a few plastic spiders from a craft store. Stretch the web between two shelf brackets or tape it lightly to the tile so it stays flat. Keep the rest of the counters clear and let the web and pumpkins do the work.
Add Bats To Black Branches In The Kitchen
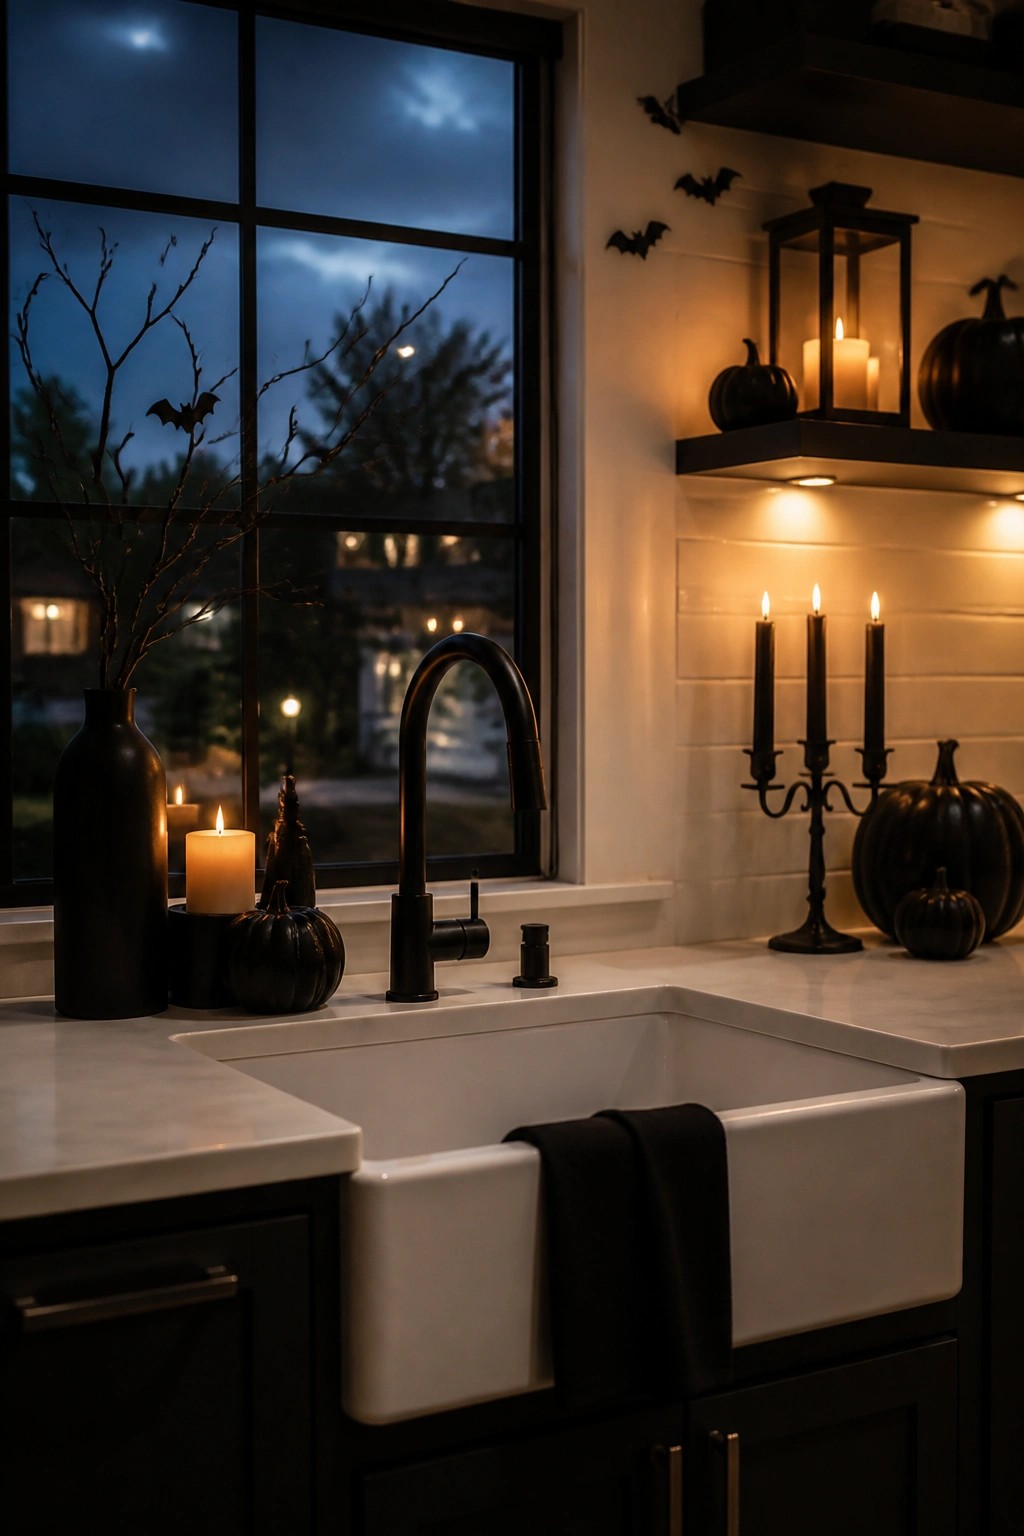
Black branches make a simple base for a Halloween accent that still fits a working kitchen. Tuck a few small bats onto the twigs and set the arrangement near the sink so it catches the eye without crowding the counter. The dark branches stand out against the light backsplash and window frame.
You only need one tall vase and a handful of bats to get the look. Place the branches where you already keep a bottle or candle, then add two or three more bats higher on the wall if you want the theme to read from across the room. The rest of the space can stay neutral.
Cluster Crows On A Kitchen Doorway
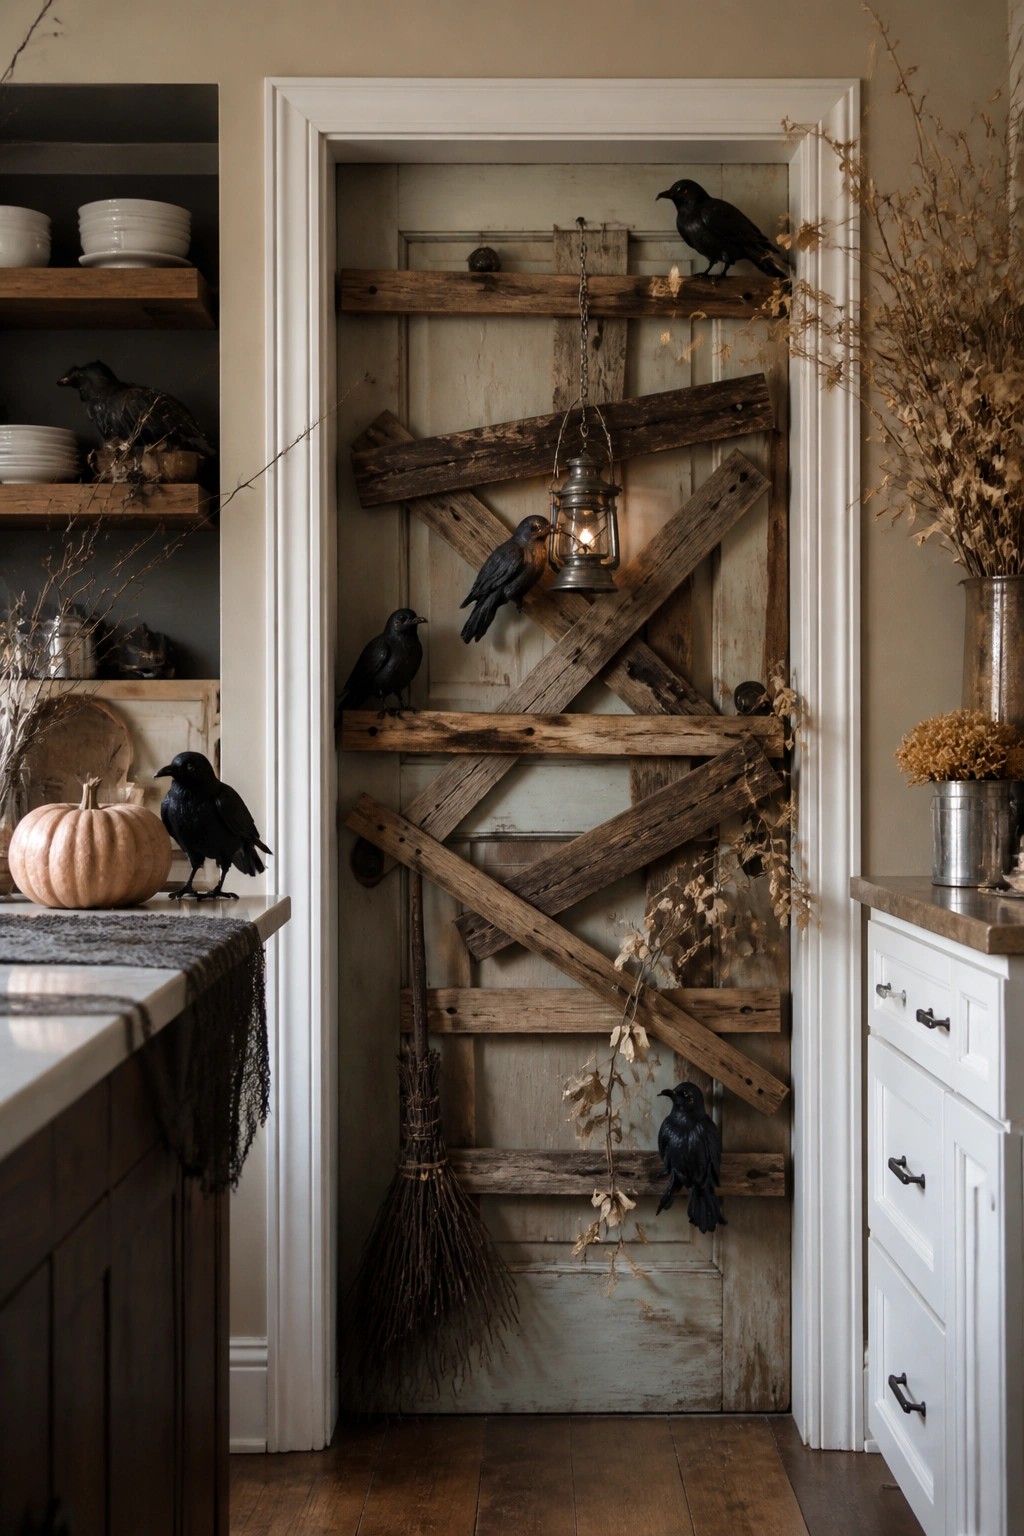
Placing several black crows along a rustic door gives the kitchen a clear Halloween focal point without much fuss. The dark birds stand out against the wood and work with a simple lantern to create a spooky but contained look.
This idea works well on an interior door or pantry entrance. Use five or six crows in different sizes, add a few dried stems if you like, and leave the rest of the kitchen surfaces fairly plain so the birds stay the main feature.
Create A Black Branch Centerpiece On The Kitchen Island
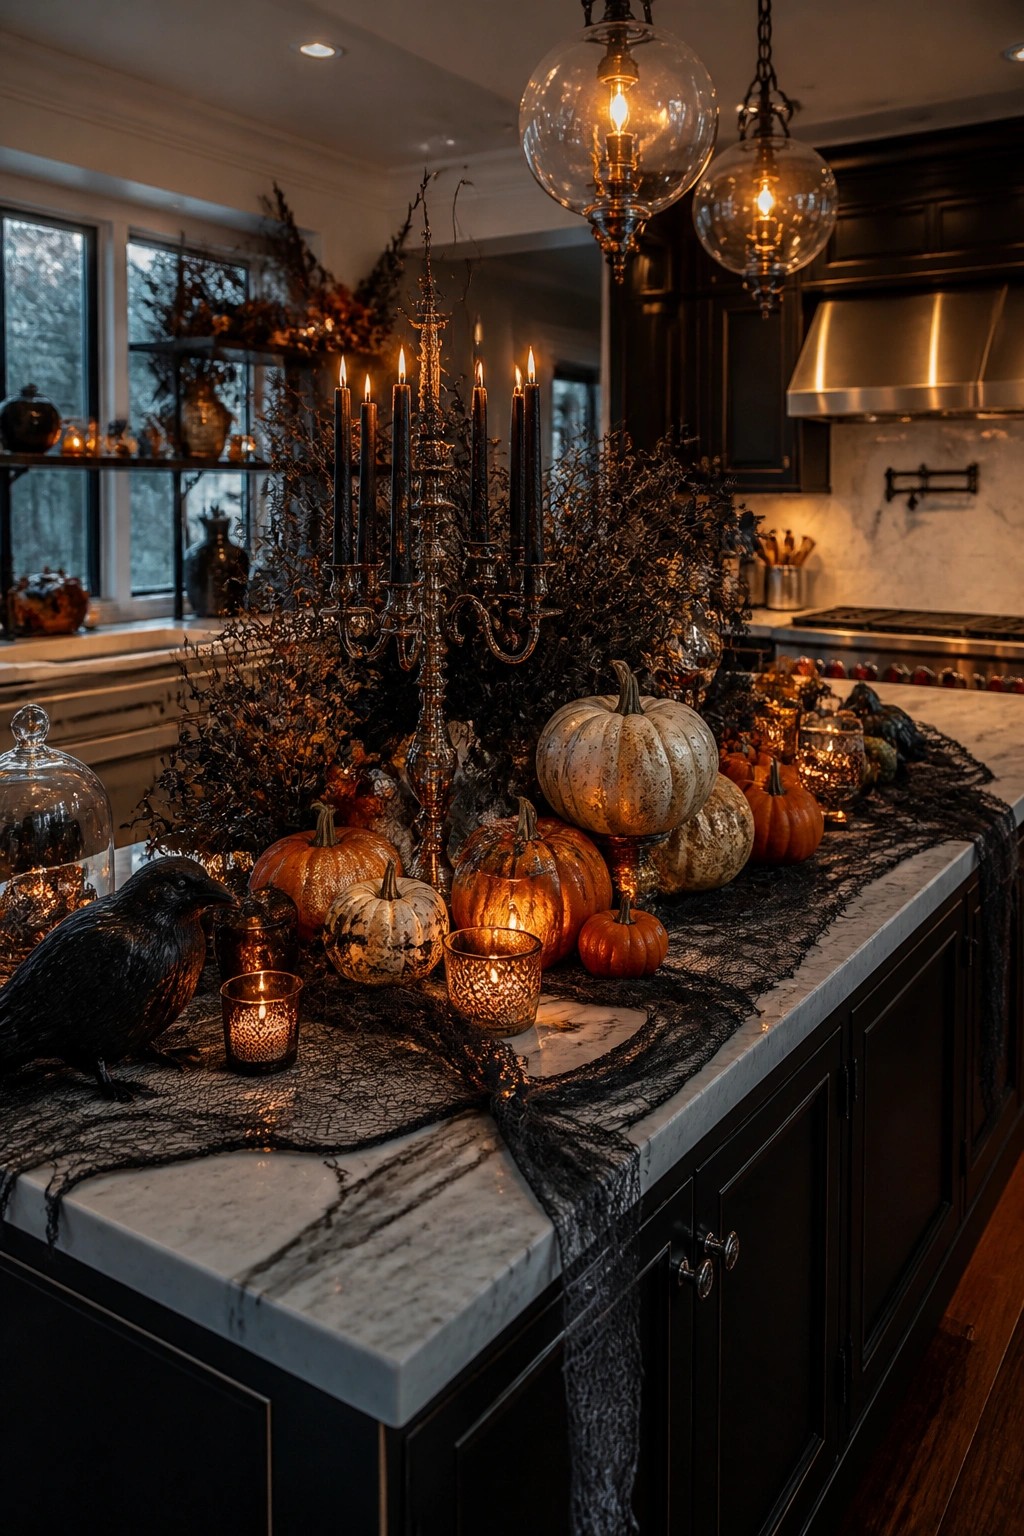
A tall arrangement of dark branches paired with a silver candelabra and black candles makes a strong Halloween statement on a kitchen island. The height draws the eye and turns an everyday surface into the main seasonal display without covering the whole counter.
Place the branches in a sturdy base first, then add the candelabra and a few battery candles around the base. Keep the rest of the island clear so the centerpiece stays the focus. A simple black runner underneath helps tie it together and protects the surface.
Hang Bats On The Kitchen Wall
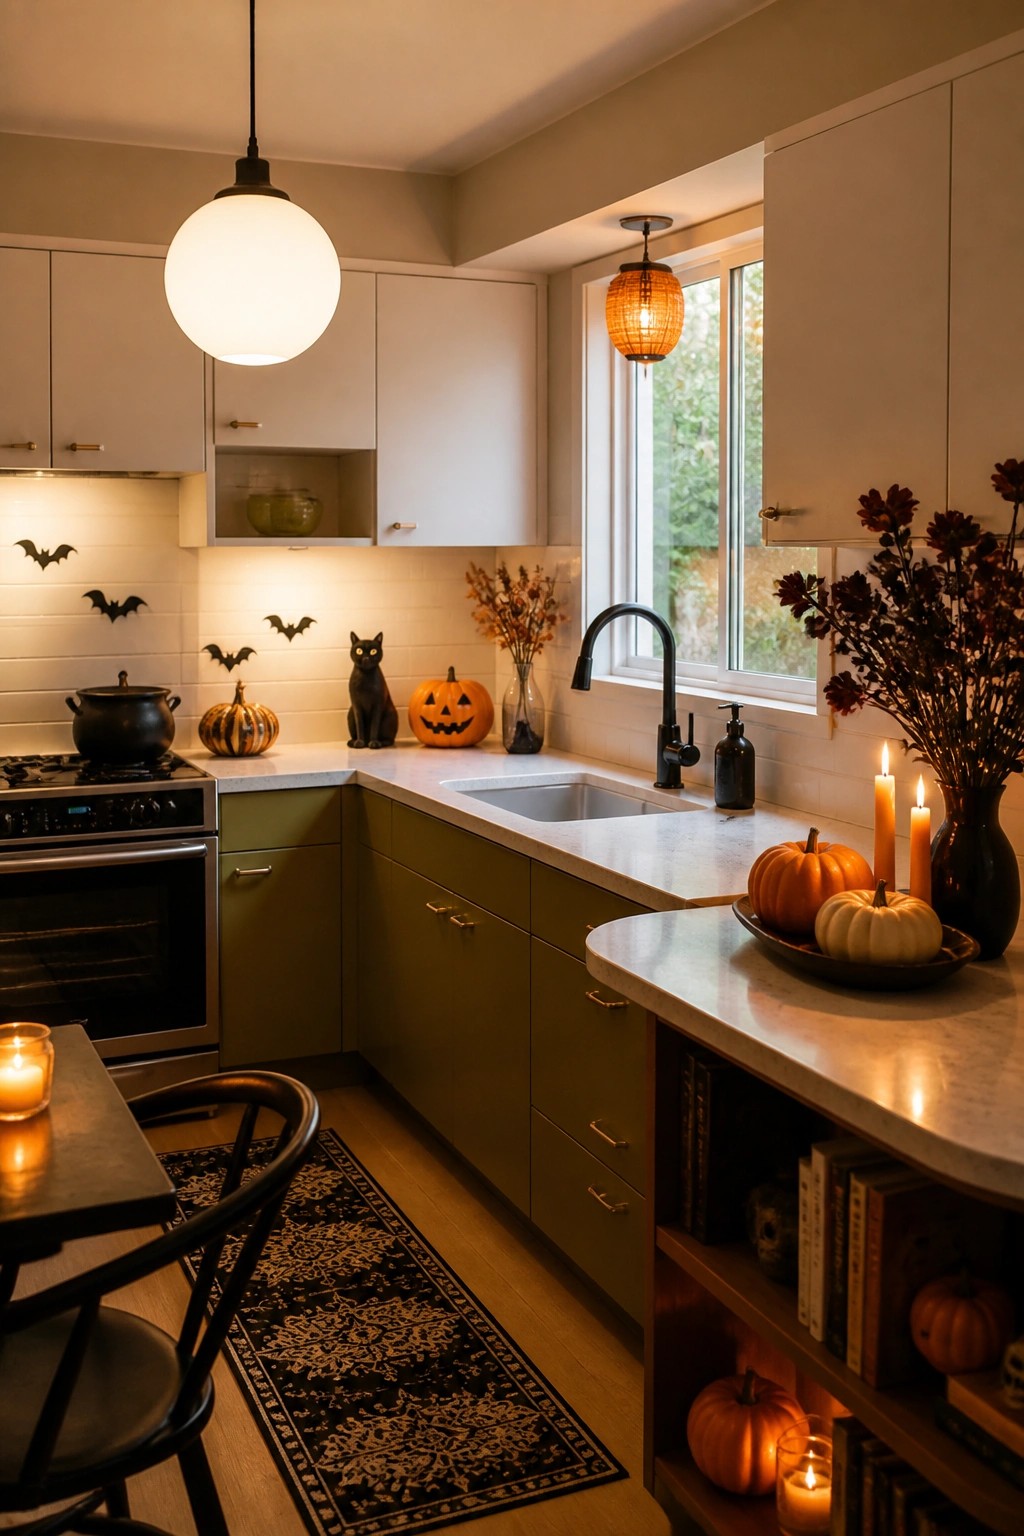
Bats give a kitchen an instant Halloween feel without much effort. A small cluster along the wall near the stove stands out against the white tile and keeps the theme clear and simple.
Use a few adhesive or cutout bats in different sizes and scatter them loosely so they look like they just flew in. Add a black cat figure and one carved pumpkin nearby to complete the setup without crowding the counters.
String A Bat Garland Above The Counter
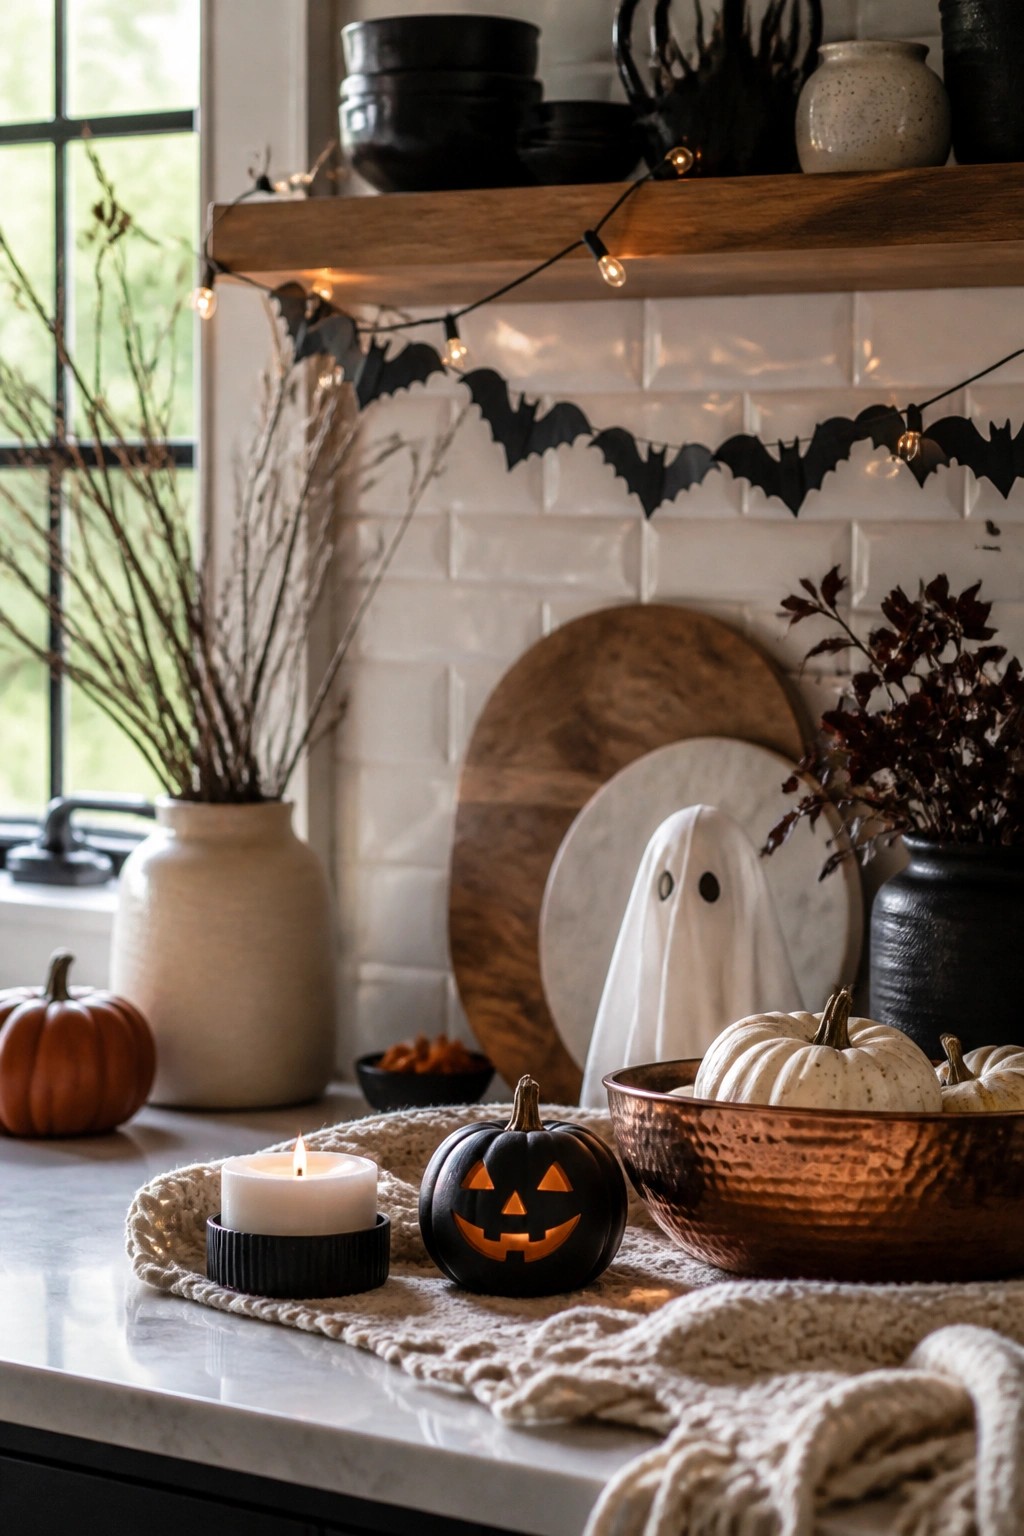
A simple bat garland hung along an open shelf gives a kitchen an instant Halloween touch without crowding the space. The dark cutouts stand out against the white tile and wood, and pairing them with a small jack o lantern on the counter below makes the theme easy to spot.
This works well in kitchens because it stays up high and out of the way of cooking. Use a short length of garland and one or two carved pumpkins so the look stays light and easy to remove after the holiday.
Group Jack O Lanterns And Skulls On The Counter
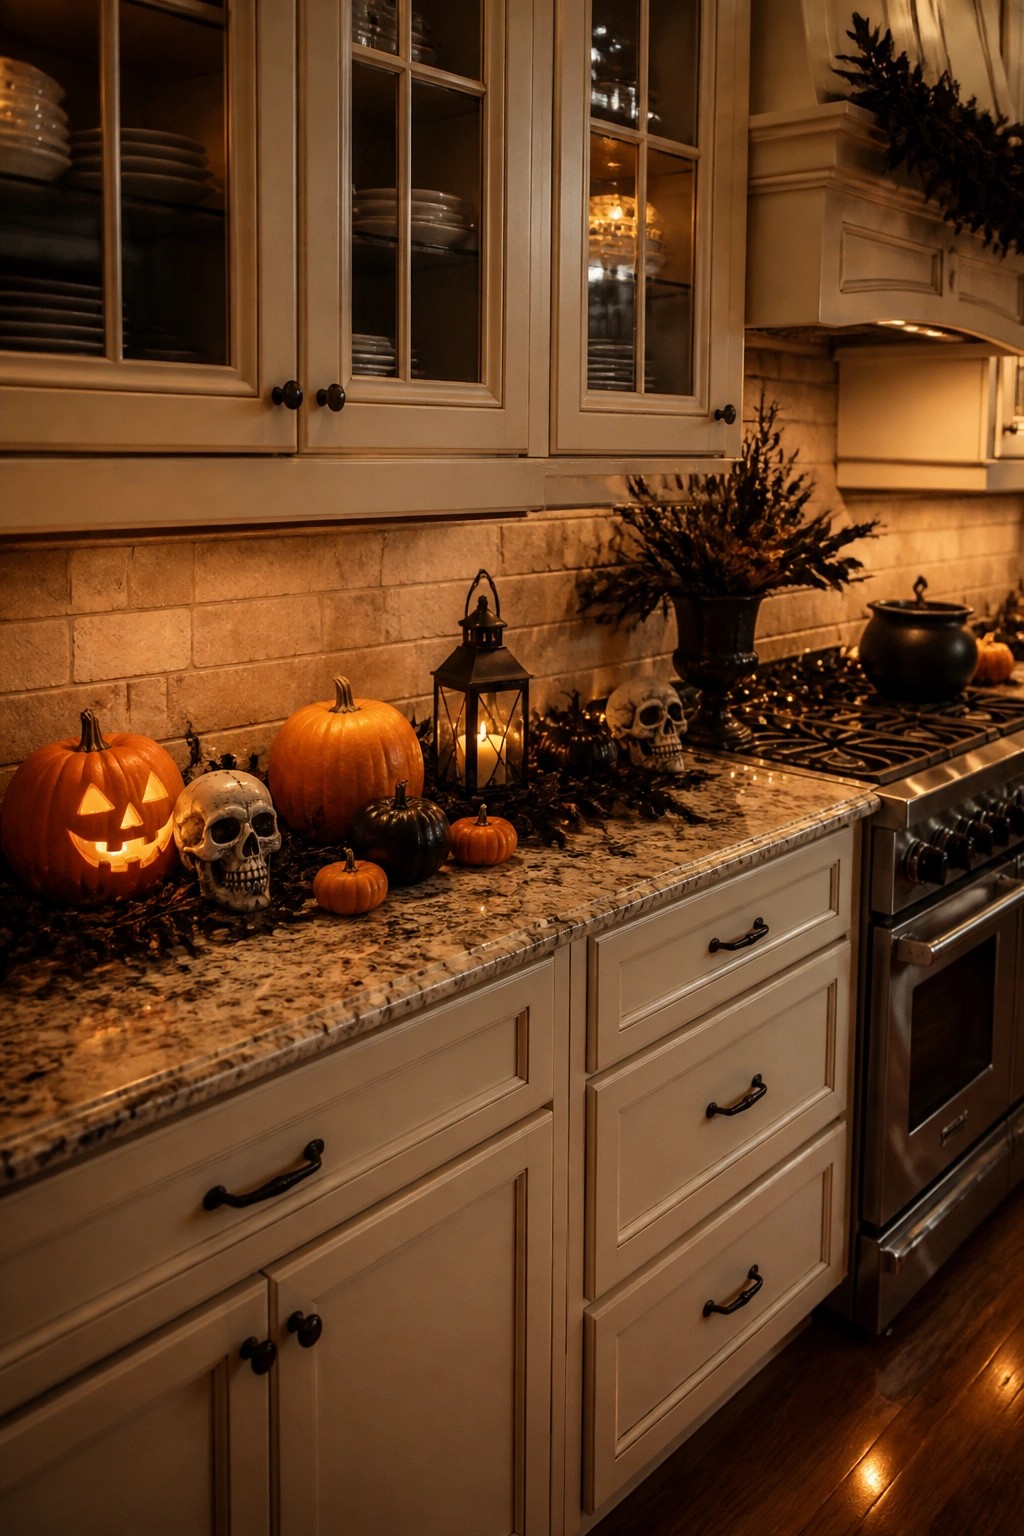
This idea stands out because the carved pumpkins and skulls give an unmistakable Halloween feel while staying contained to one surface. The mix of glowing faces and bone details makes the counter the main seasonal spot without spreading decor everywhere else.
Place a few medium pumpkins and one or two skulls along the back edge of your counter, then add a small lantern and some dark branches for filler. Use battery candles so the display stays safe near the stove, and keep the surrounding cabinets clear so the arrangement reads as intentional.
Style A Skull On The Kitchen Island
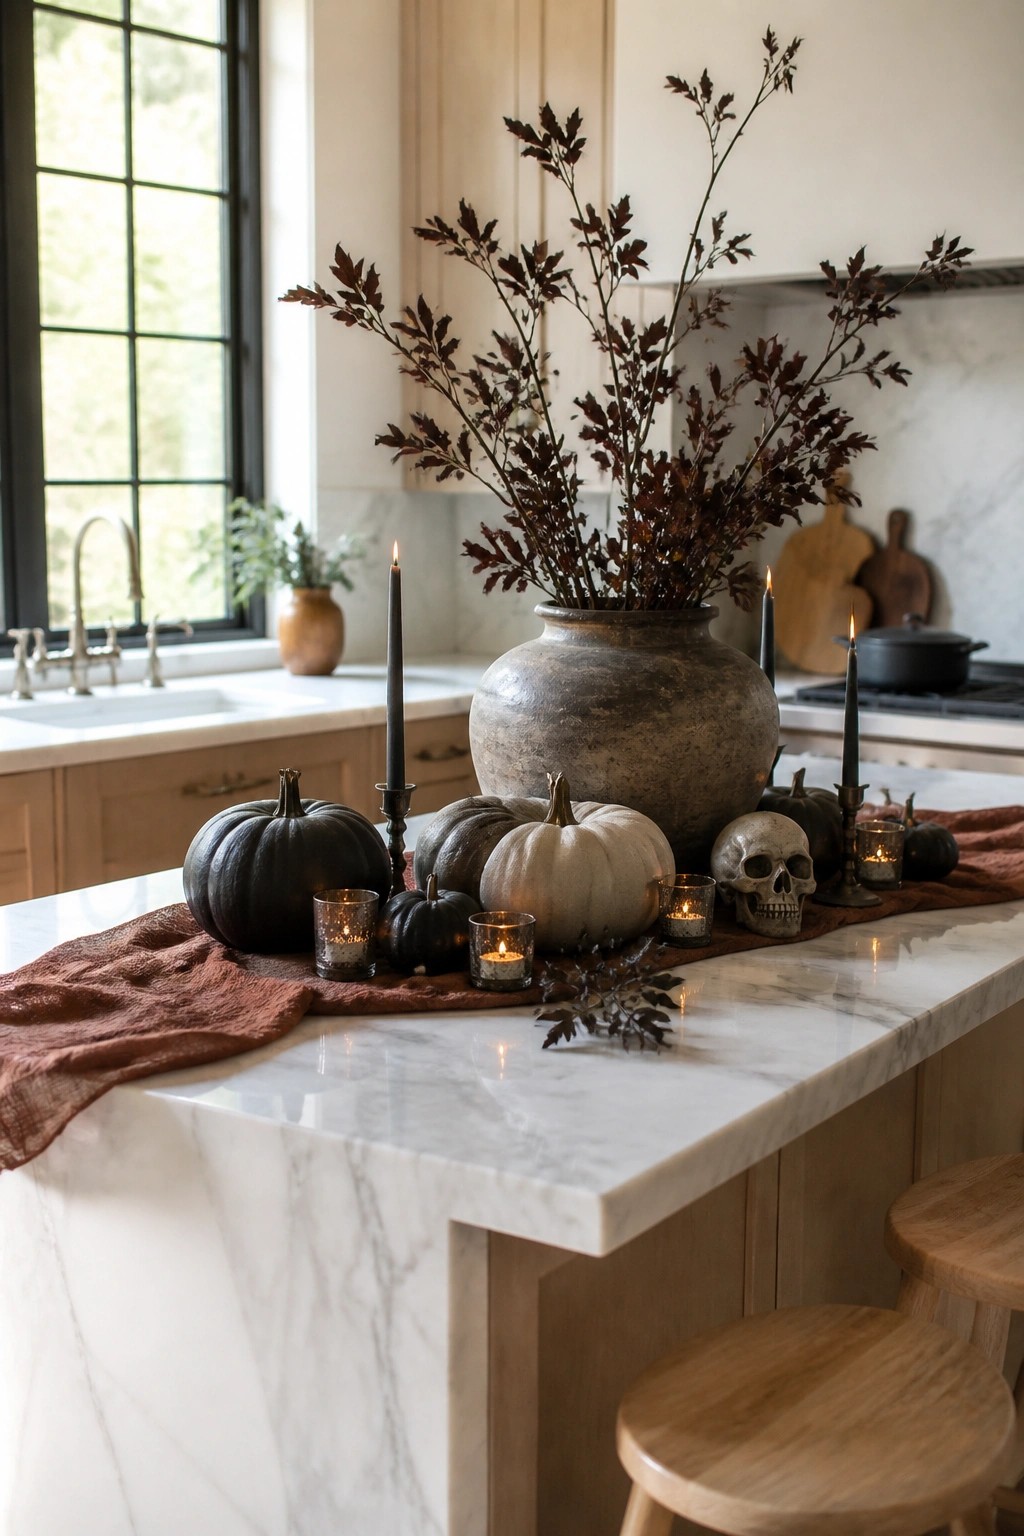
A skull placed on the kitchen island gives the space a direct Halloween touch without needing a lot of extra pieces. It works well with dark branches and black candles because the neutral background keeps the whole setup from feeling busy or cluttered.
Try setting one skull near the center of the island with a couple of tall black candles and a few smaller pumpkins around it. This arrangement stays simple to put together and easy to remove once the holiday is over.
Create A Black Branch Centerpiece On The Table
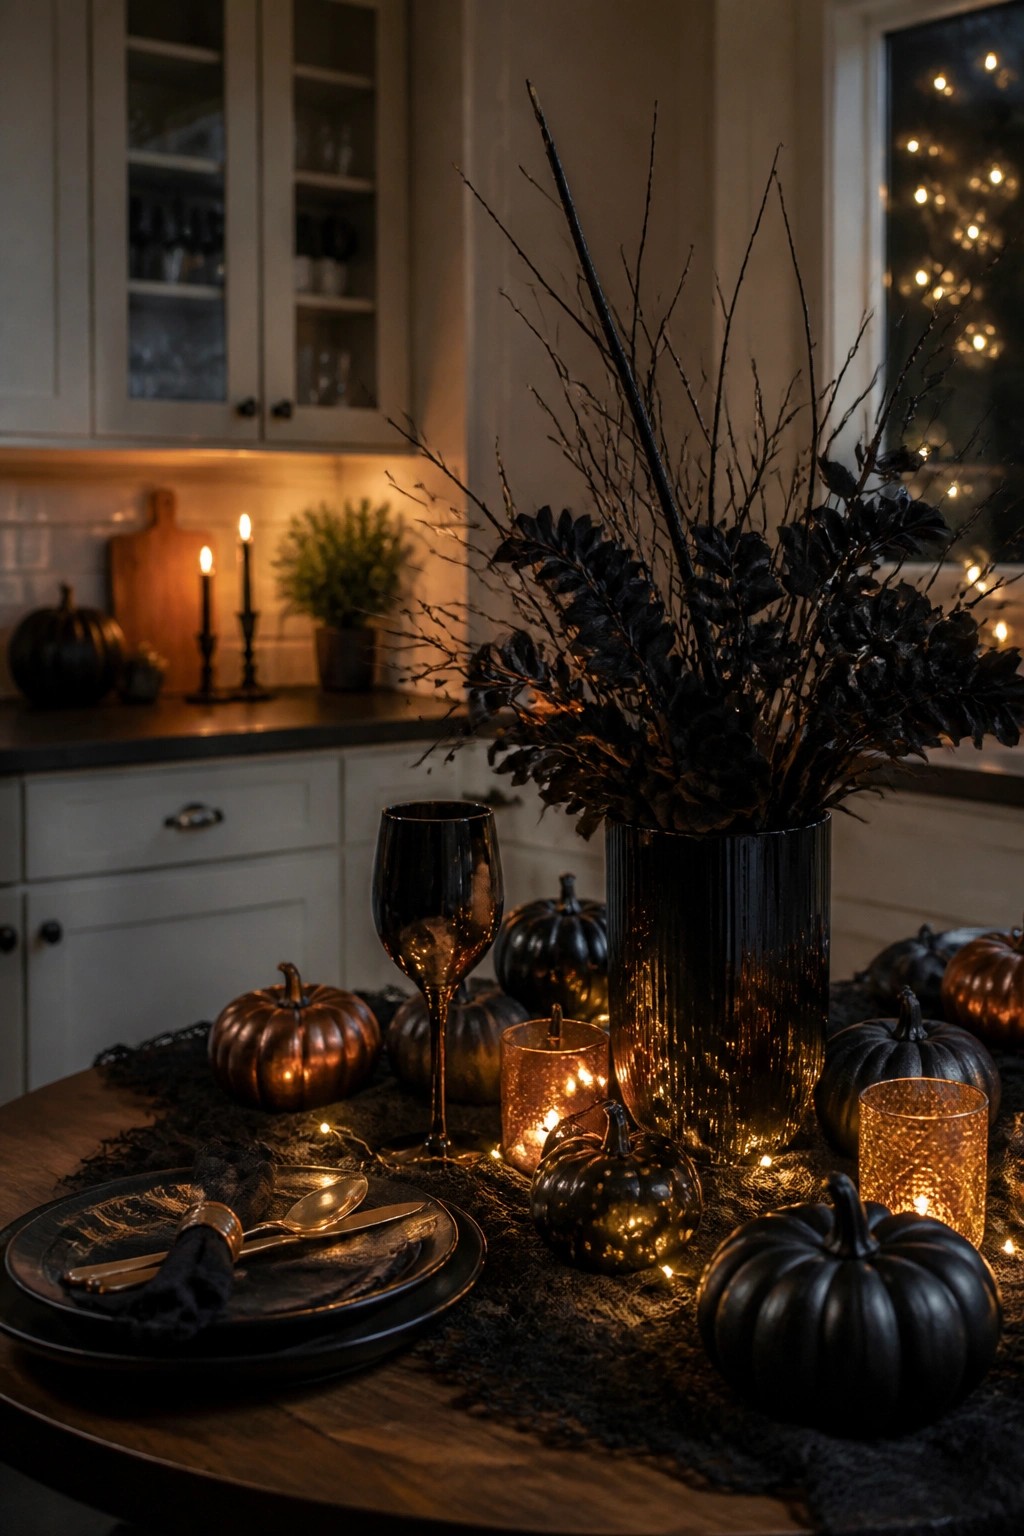
A tall black vase filled with bare dark branches and deep foliage makes a strong Halloween centerpiece for a kitchen table. The stark twigs stand out against the surrounding black and metallic pumpkins, giving the setup a moody seasonal feel that reads clearly as Halloween rather than just fall.
Try placing one large branch arrangement in the middle of the table and adding a few matching pumpkins and candle holders around the base. Keep the rest of the table simple so the branches stay the main focus. This idea works well on darker wood surfaces and needs only a handful of pieces to look finished.
Style Skeletons Along The Kitchen Counter
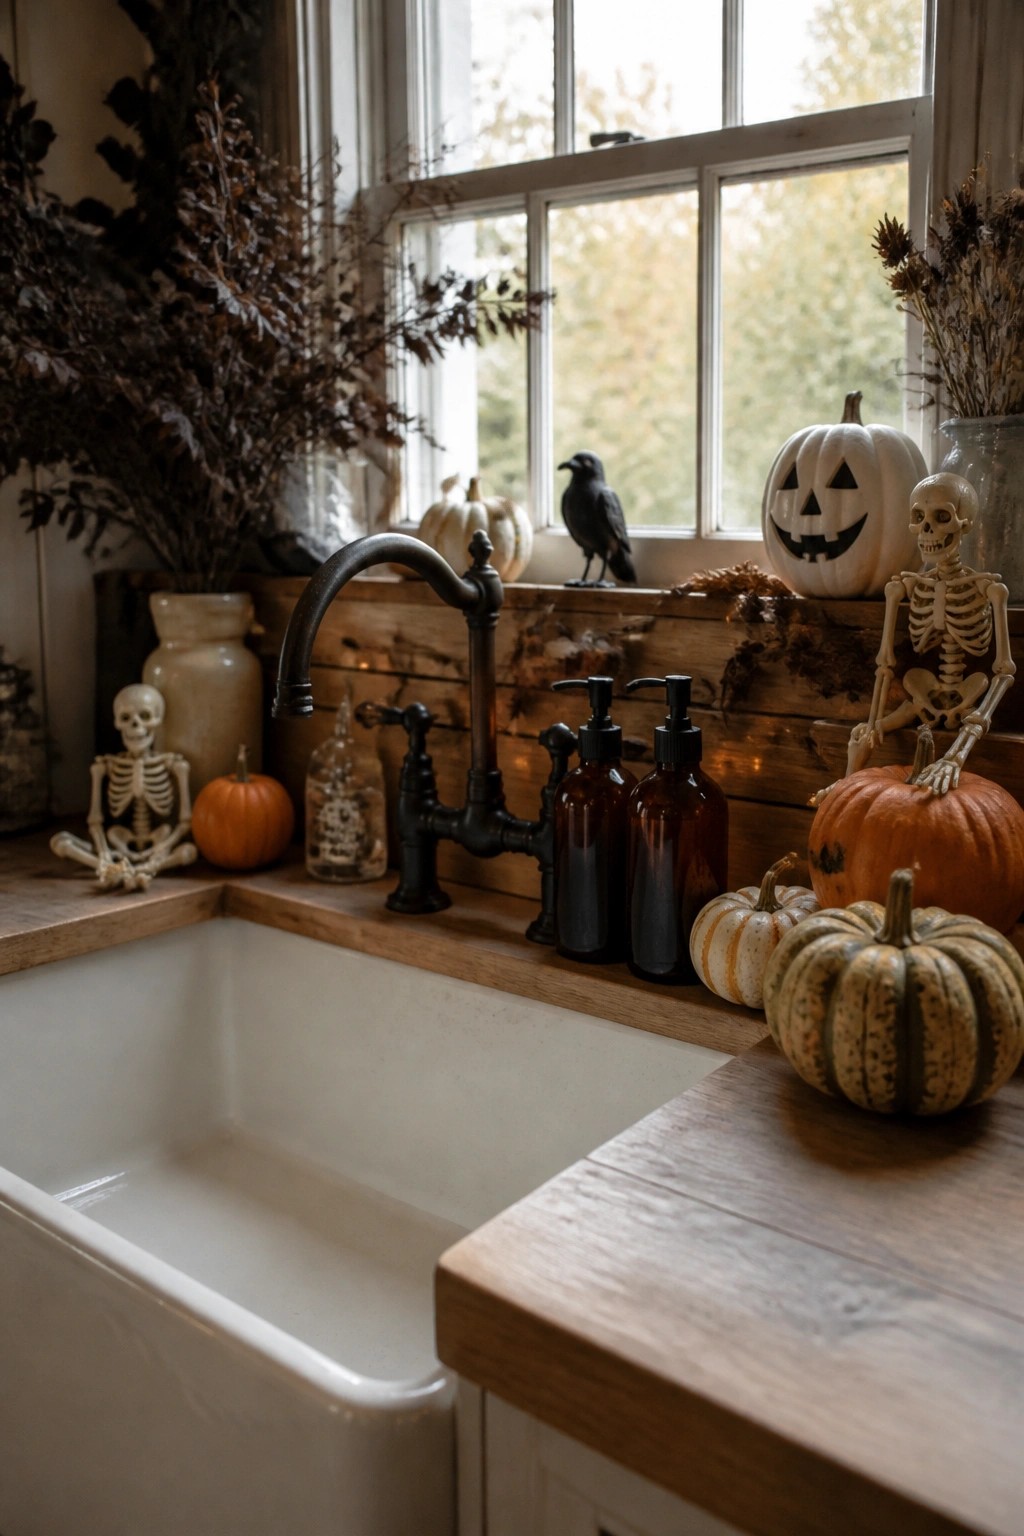
Small skeleton figures bring a light Halloween touch to a kitchen without taking over the space. Placing them near the sink and on the windowsill turns everyday surfaces into seasonal spots that feel playful rather than heavy.
Use two or three skeletons in different poses, letting some rest on pumpkins with carved faces. This keeps the look contained to the counter area and easy to remove after the holiday.
Hang Bats From Branches On The Counter
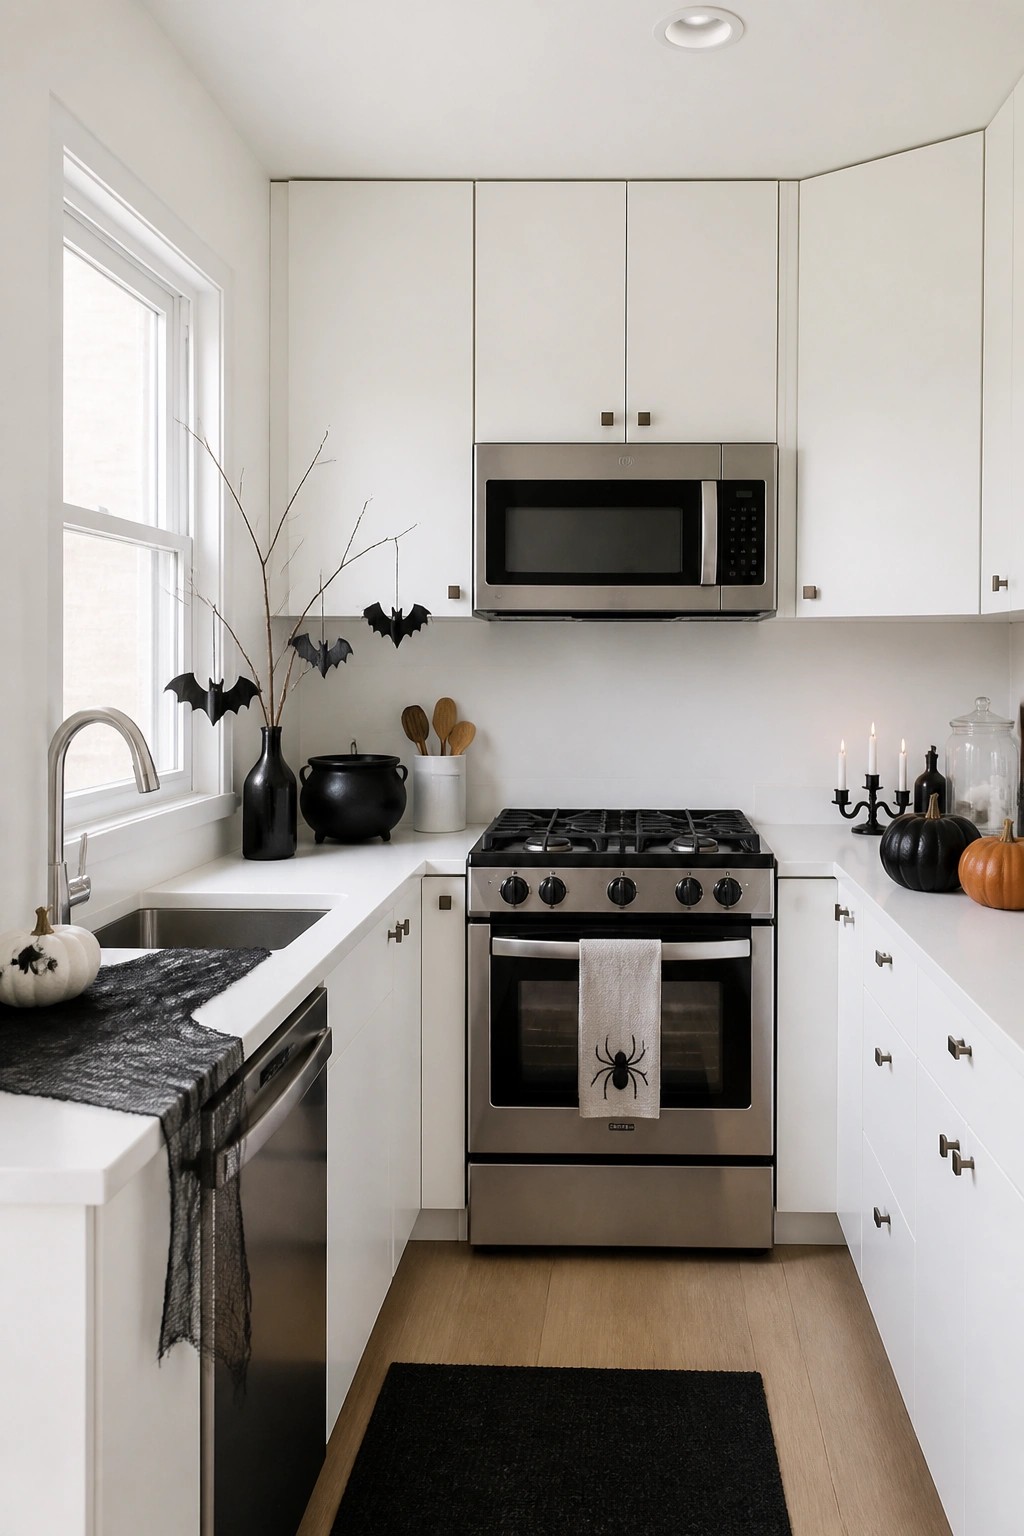
Hanging a few black bats from bare branches gives the kitchen an instant Halloween touch without much effort. The simple arrangement stands out against white cabinets and keeps the space feeling light rather than crowded.
Place the branches in a dark vase near the sink or window so the bats catch the eye when you walk in. A couple of bats and one or two other small accents like a themed towel are usually enough to make the idea clear.
Hang A Ceiling Web Of Ghosts And Bats Over The Island
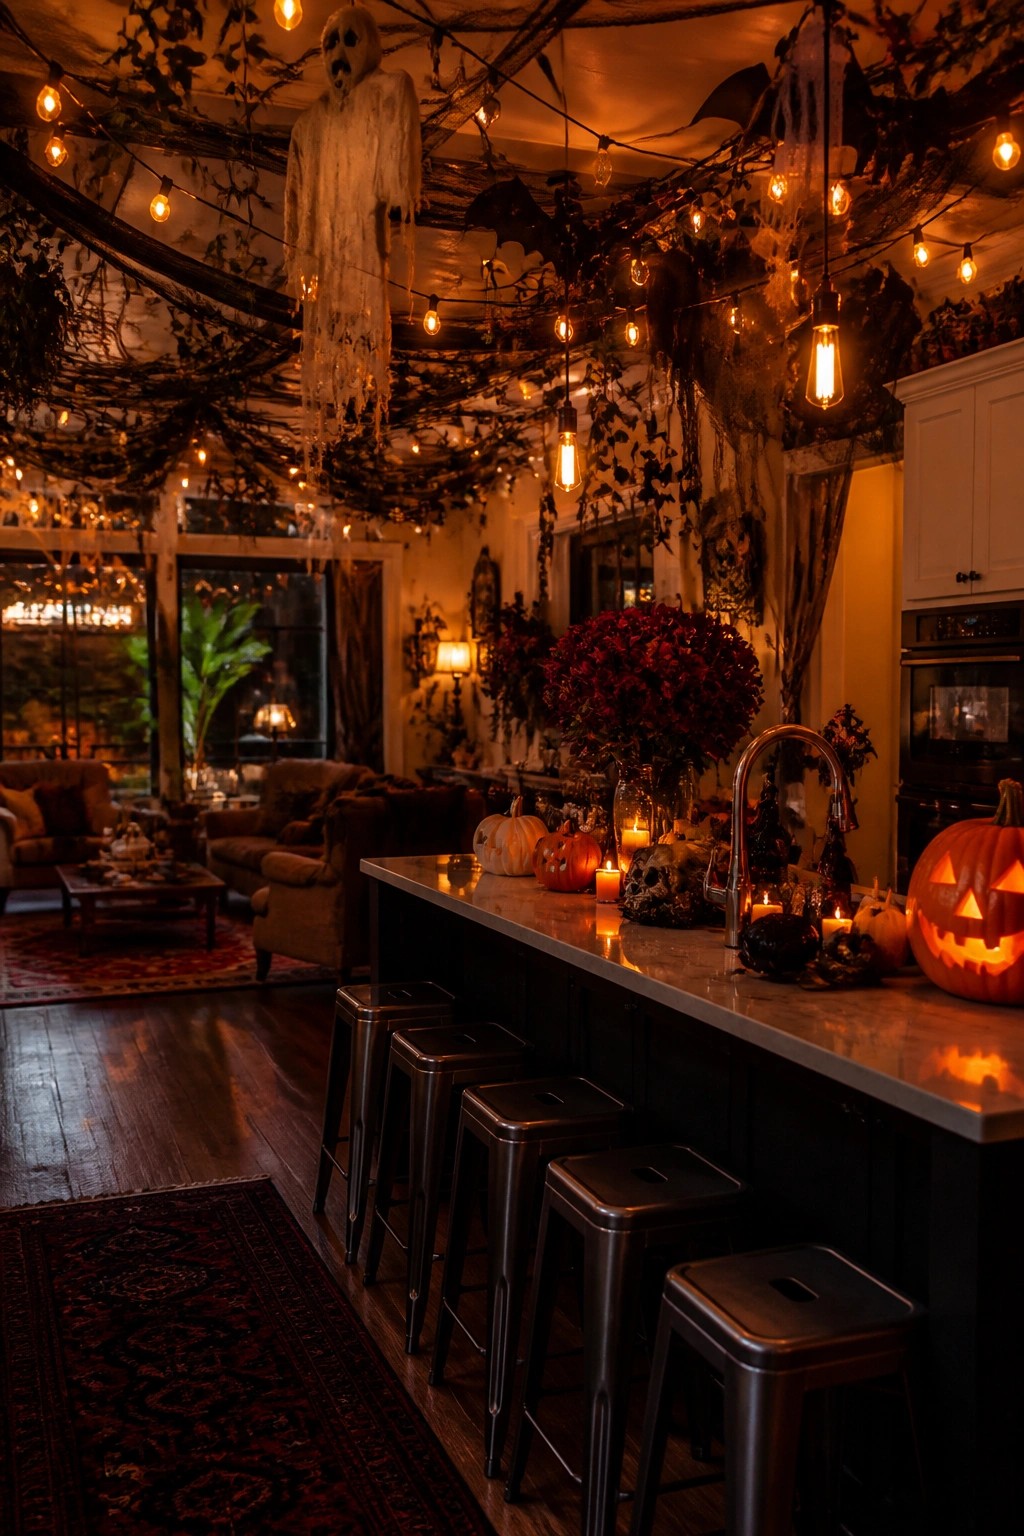
Stringing black netting across the ceiling with a few hanging ghosts and bats creates a strong Halloween focal point right above the kitchen island. The display draws the eye upward and makes the whole space feel festive without crowding the counters or blocking walkways.
Start with inexpensive netting or cheesecloth and attach it loosely to the ceiling beams or light fixtures. Add two or three simple ghost figures and a handful of black bats so the motif reads clearly from across the room. Keep the rest of the island styling light with just a few pumpkins and candles so the overhead layer stays the main event.
Add Ghosts And Bats To Open Kitchen Shelves
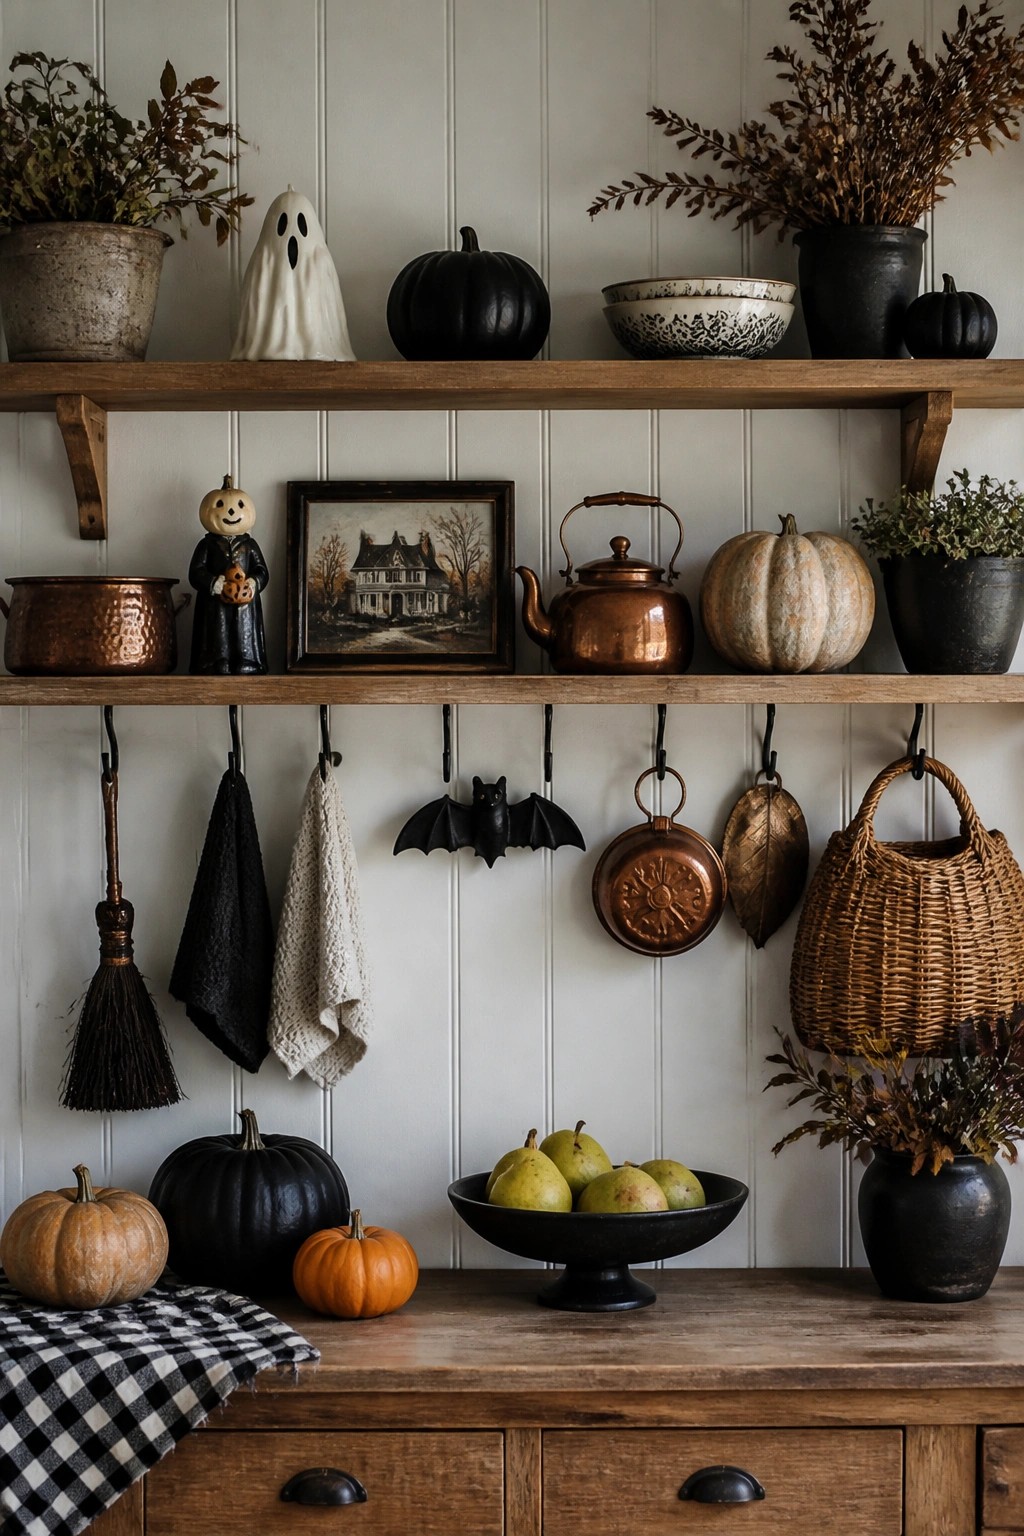
Hanging a few classic Halloween figures on open kitchen shelves gives the space an instant seasonal update without much effort. A simple ghost and a black bat stand out against the wood and neutral wall, while the hanging hooks below let you add more without crowding the surface.
Place one or two larger pieces on the top shelf and let smaller items like the bat hang from the hooks underneath. Keep the rest of the shelf light so the Halloween pieces read clearly instead of blending into a full fall display.
Cluster Jack O Lanterns On The Kitchen Island
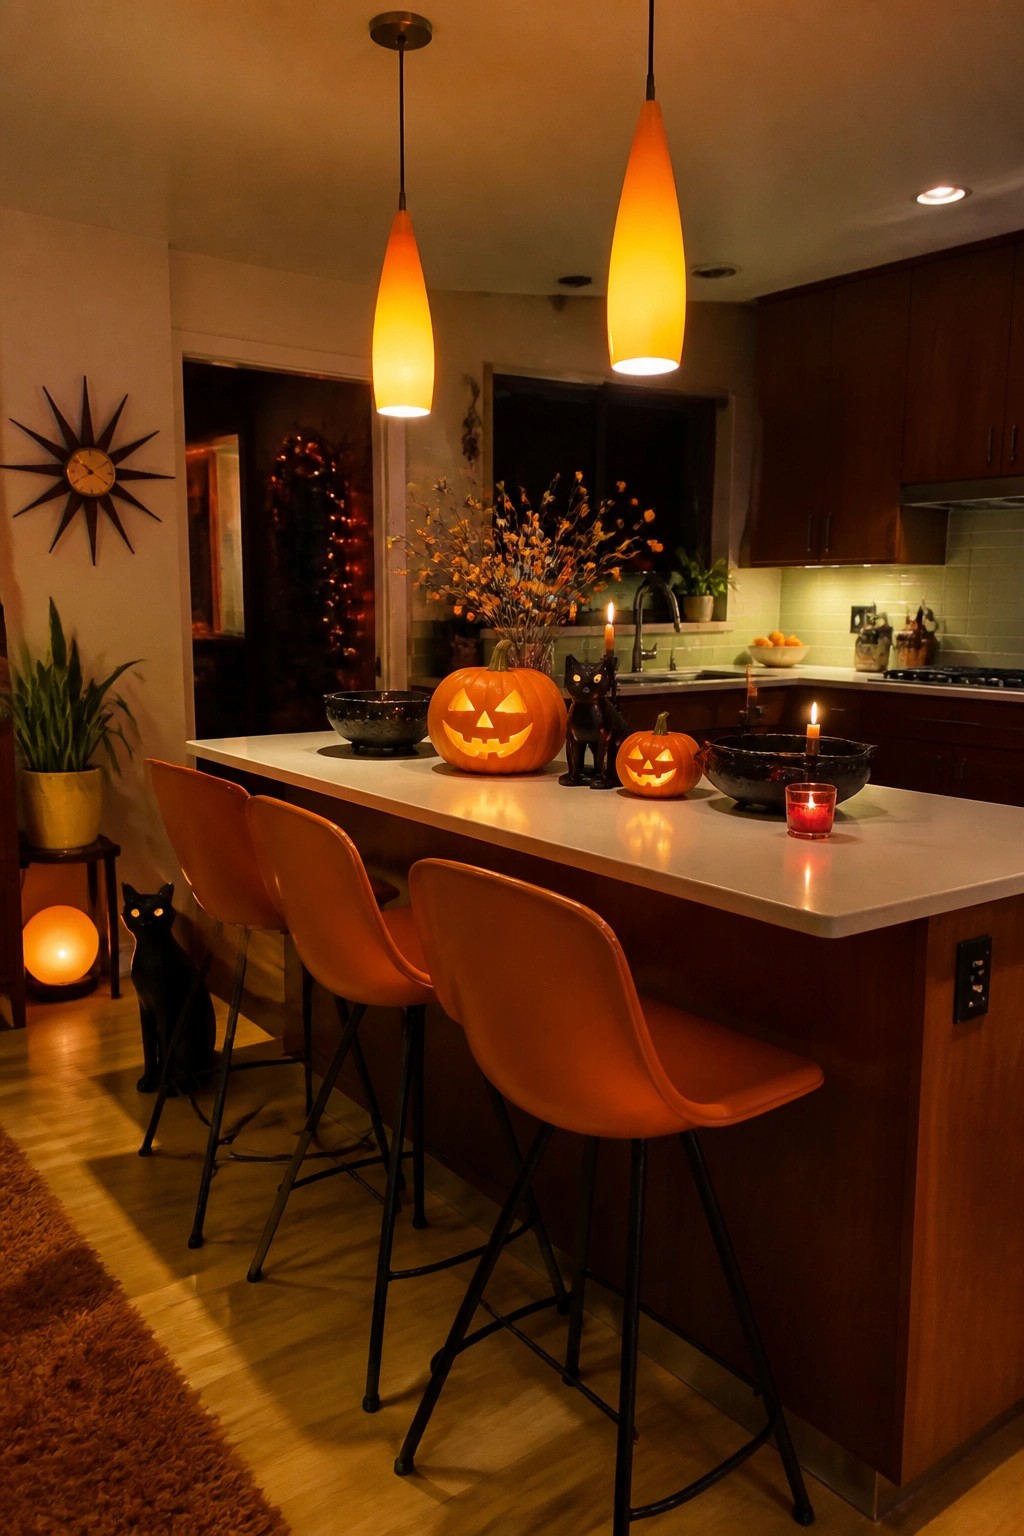
Placing several carved pumpkins together on the kitchen island turns the main work surface into a clear Halloween spot. The faces catch the eye right away and keep the look simple yet seasonal.
Use three or four pumpkins in different sizes and leave the surrounding counters mostly bare. A couple of small black cat figures nearby add a bit more detail if wanted, but the carved pumpkins carry the idea on their own.
Style A Skull Vignette On The Counter
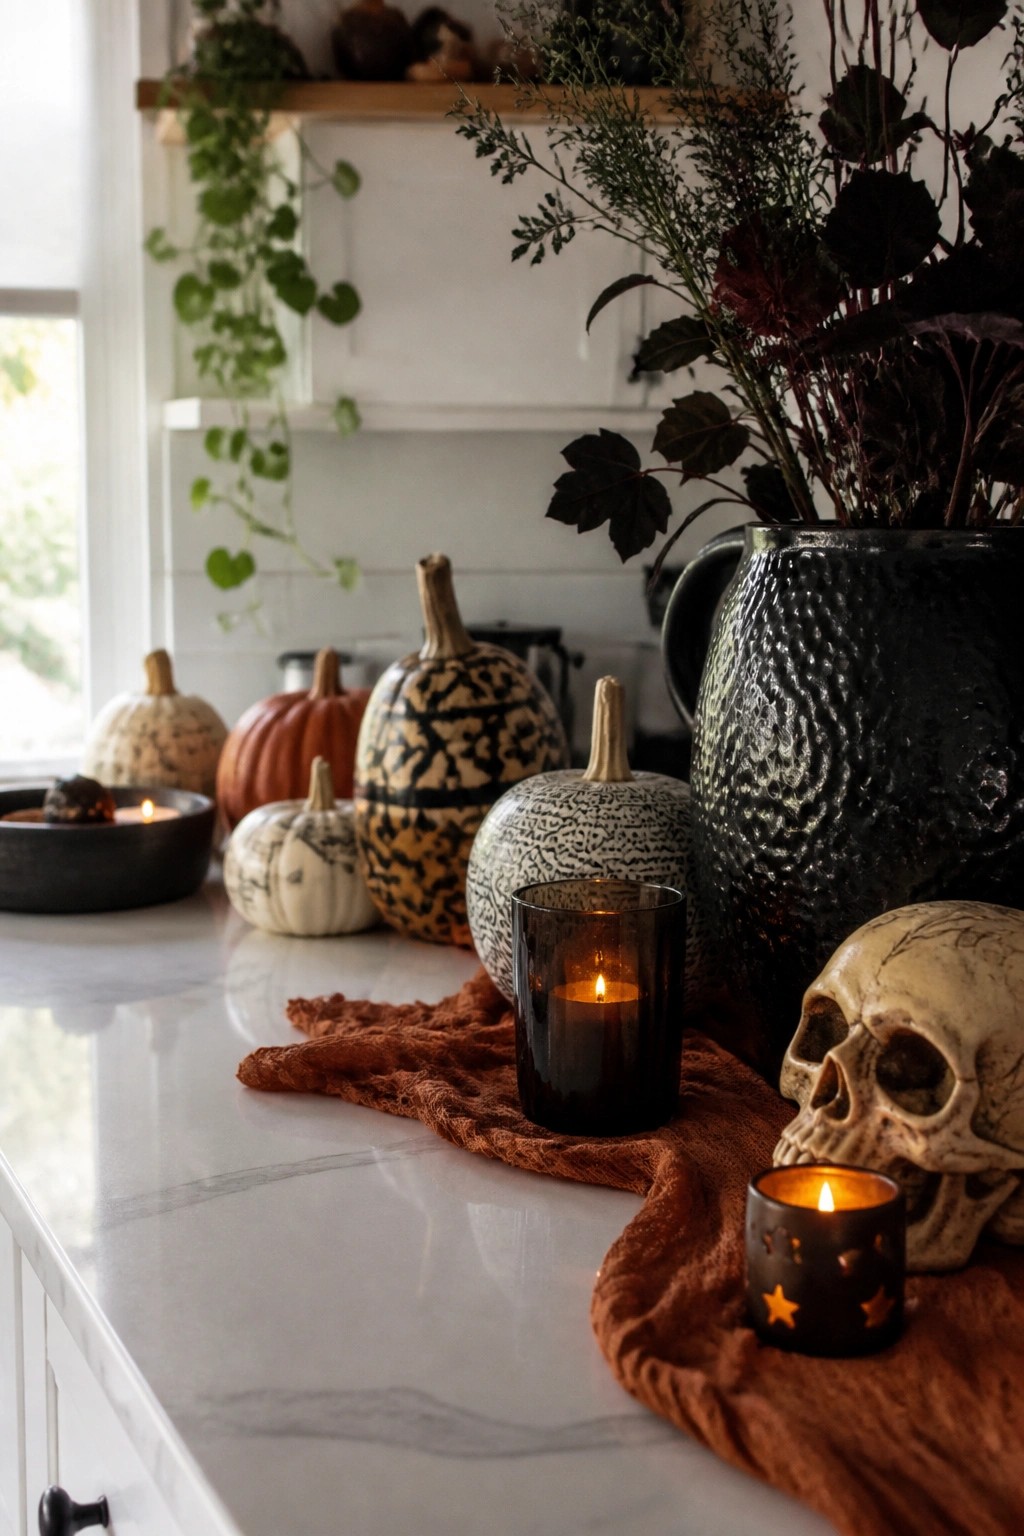
A small cluster of skulls paired with dark candle holders makes a direct Halloween statement without taking over the whole kitchen. The contrast between the pale bone tones and the black glass or metal holders draws the eye and signals the season right away. It works well on a white or light countertop where the shapes stand out clearly.
Set one larger skull near the back of the counter and place a couple of lit candles in front of it. Keep the rest of the surface fairly clear so the grouping stays easy to notice. This setup takes only a few pieces and can be put away quickly once the holiday passes.
Drape A Spider Towel Over The Sink
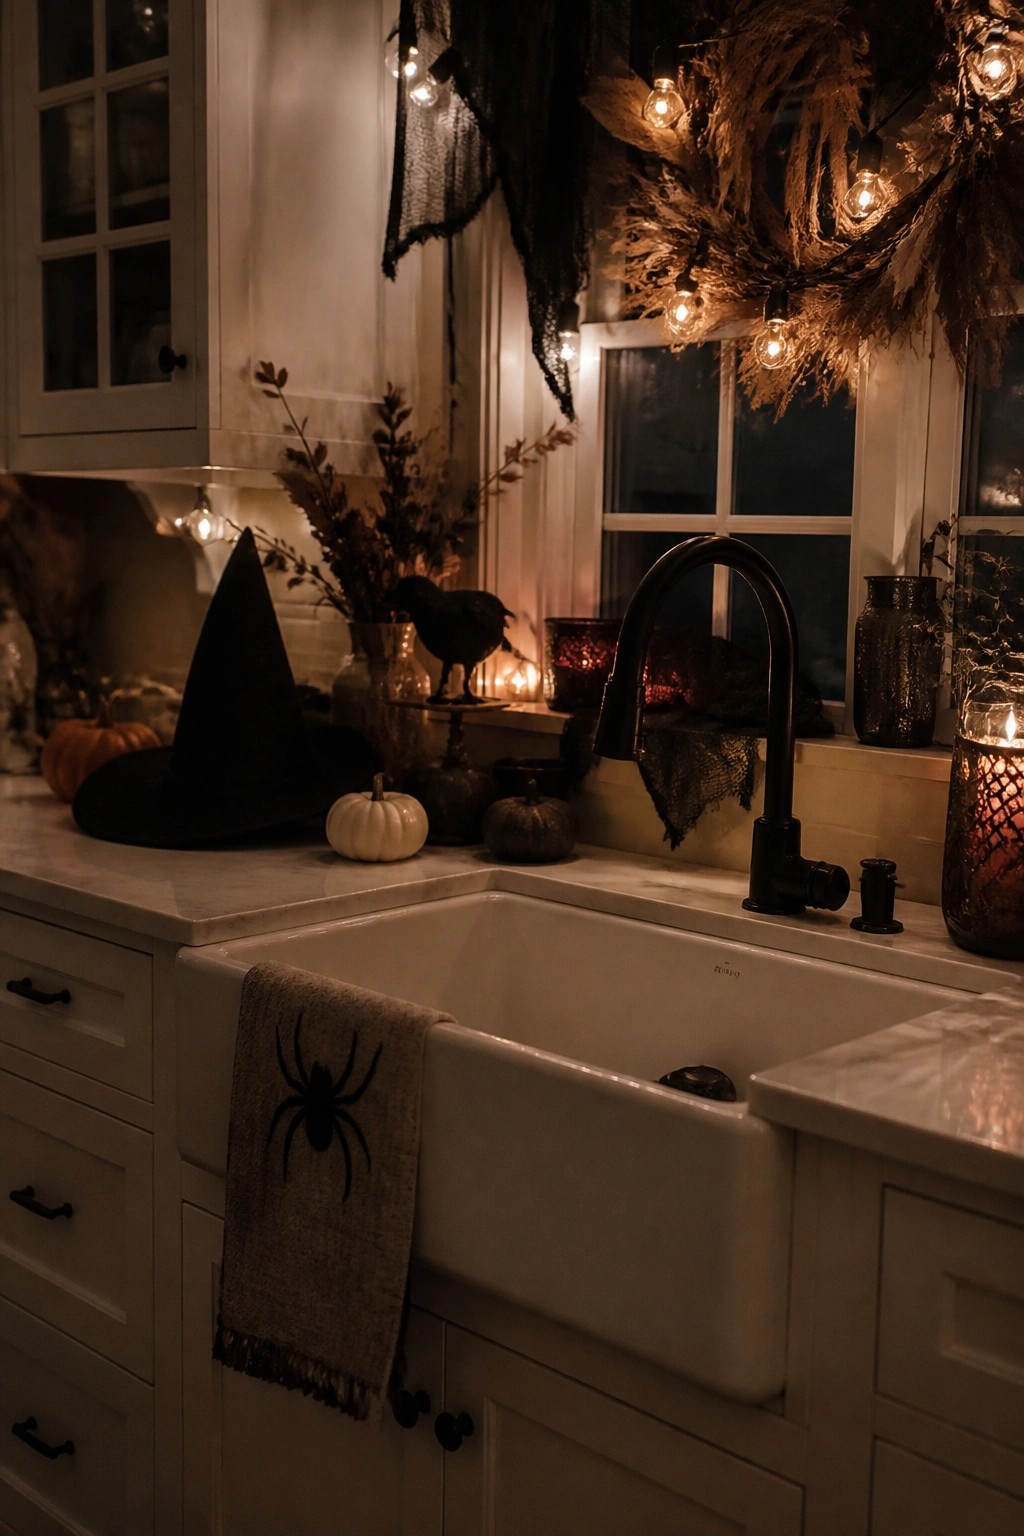
A spider towel hanging from the sink is an easy way to add a clear Halloween accent right where you work most. It stands out against the white sink and marble without needing a full room makeover.
Place the towel where it can be seen during daily use and keep the rest of the counter light with just a witch hat and a few small pumpkins nearby. This keeps the look focused and simple to change out after the holiday.
Style A Vintage Halloween Display On Your Hutch
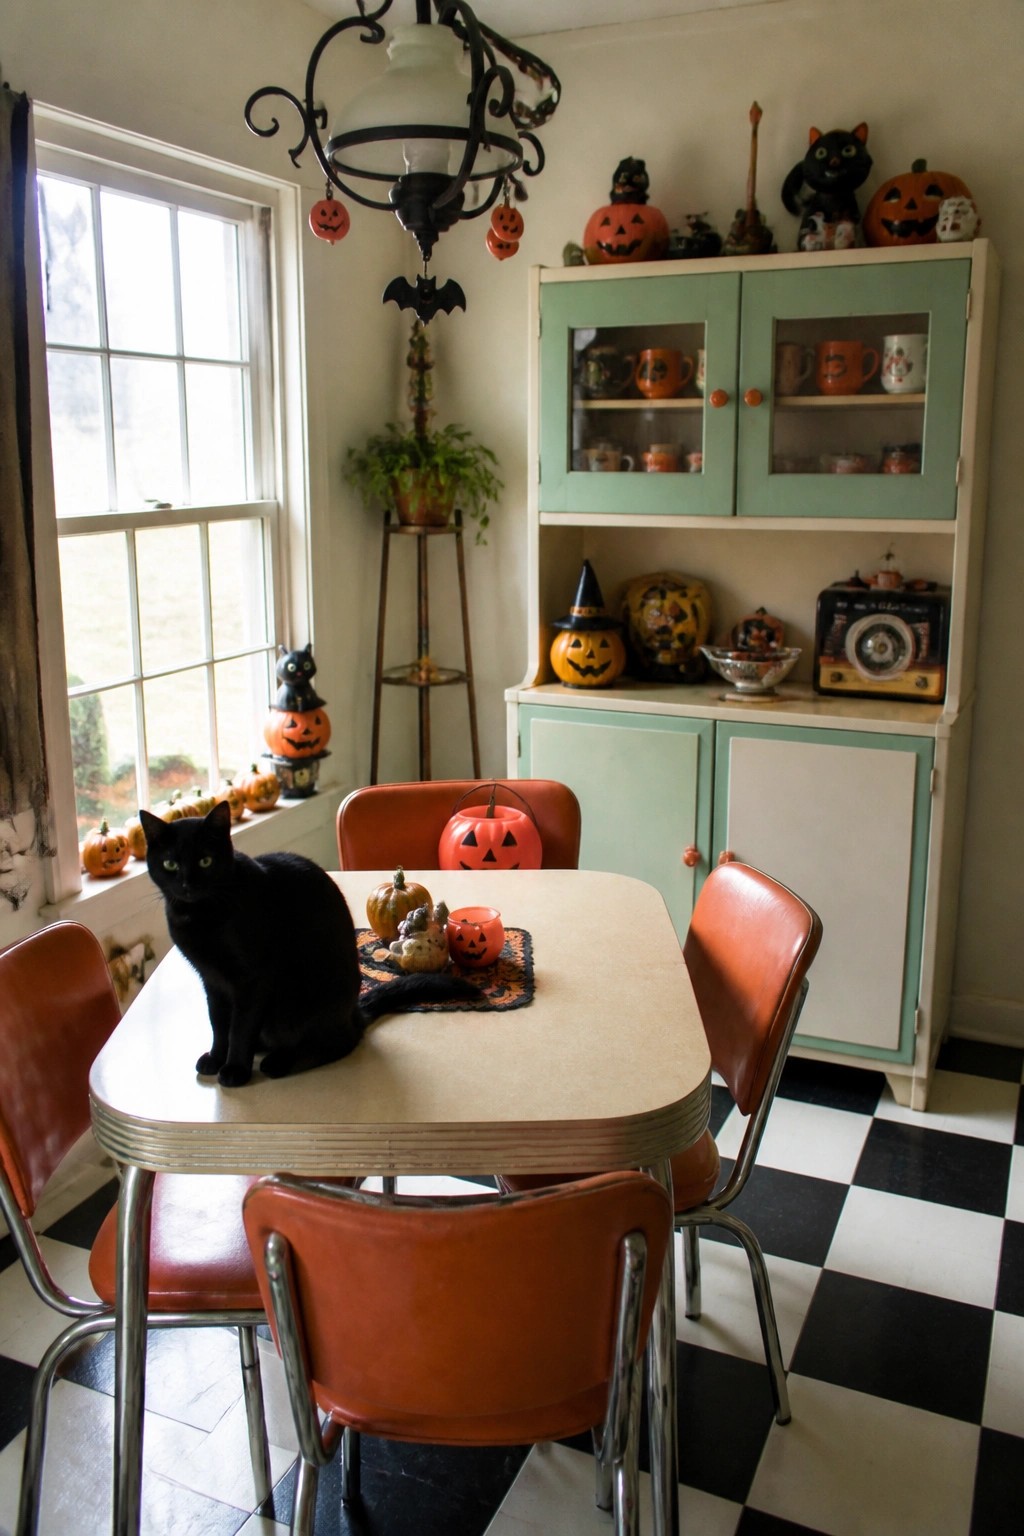
Grouping vintage jack o lanterns, black cat figures, and themed mugs on a kitchen hutch creates a clear focal point without spreading decorations everywhere. The collection stands out because the pieces share the same orange and black color story and old-fashioned style, making the display feel intentional rather than scattered.
You can build this look by starting with a few larger pumpkins on top and filling the shelves with smaller items like mugs and figurines you already own. Keep the rest of the room simple so the hutch carries the Halloween theme.
Style Skulls And Crows On Open Kitchen Shelves
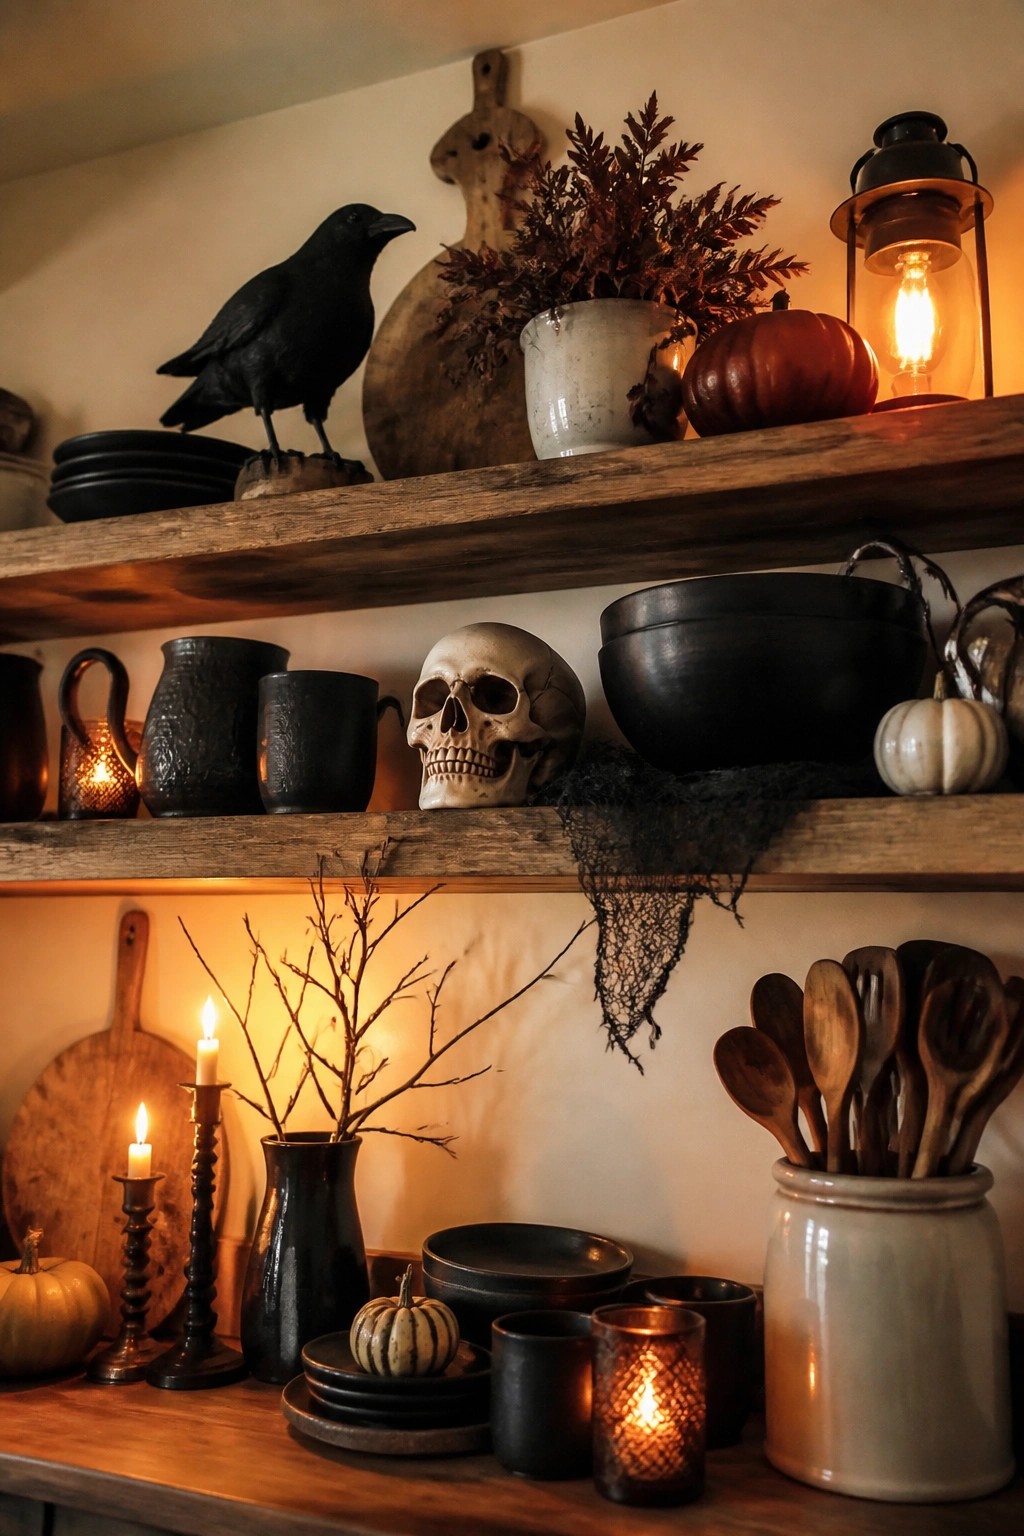
A skull placed front and center on a kitchen shelf instantly signals Halloween without needing much else. Pairing it with a black crow adds a simple, slightly eerie touch that feels right at home among everyday dishes and bowls. The dark pottery and matte finishes help the themed pieces stand out while still looking like they belong in a working kitchen.
To try this at home, clear one or two shelves and group a skull with one or two dark birds or similar accents. Keep the rest of the shelf filled with black or neutral dishes so the Halloween items read as intentional rather than scattered. This approach works especially well in kitchens with open shelving because the pieces stay visible without taking over the whole space.
Place A Carved Jack O Lantern On The Counter
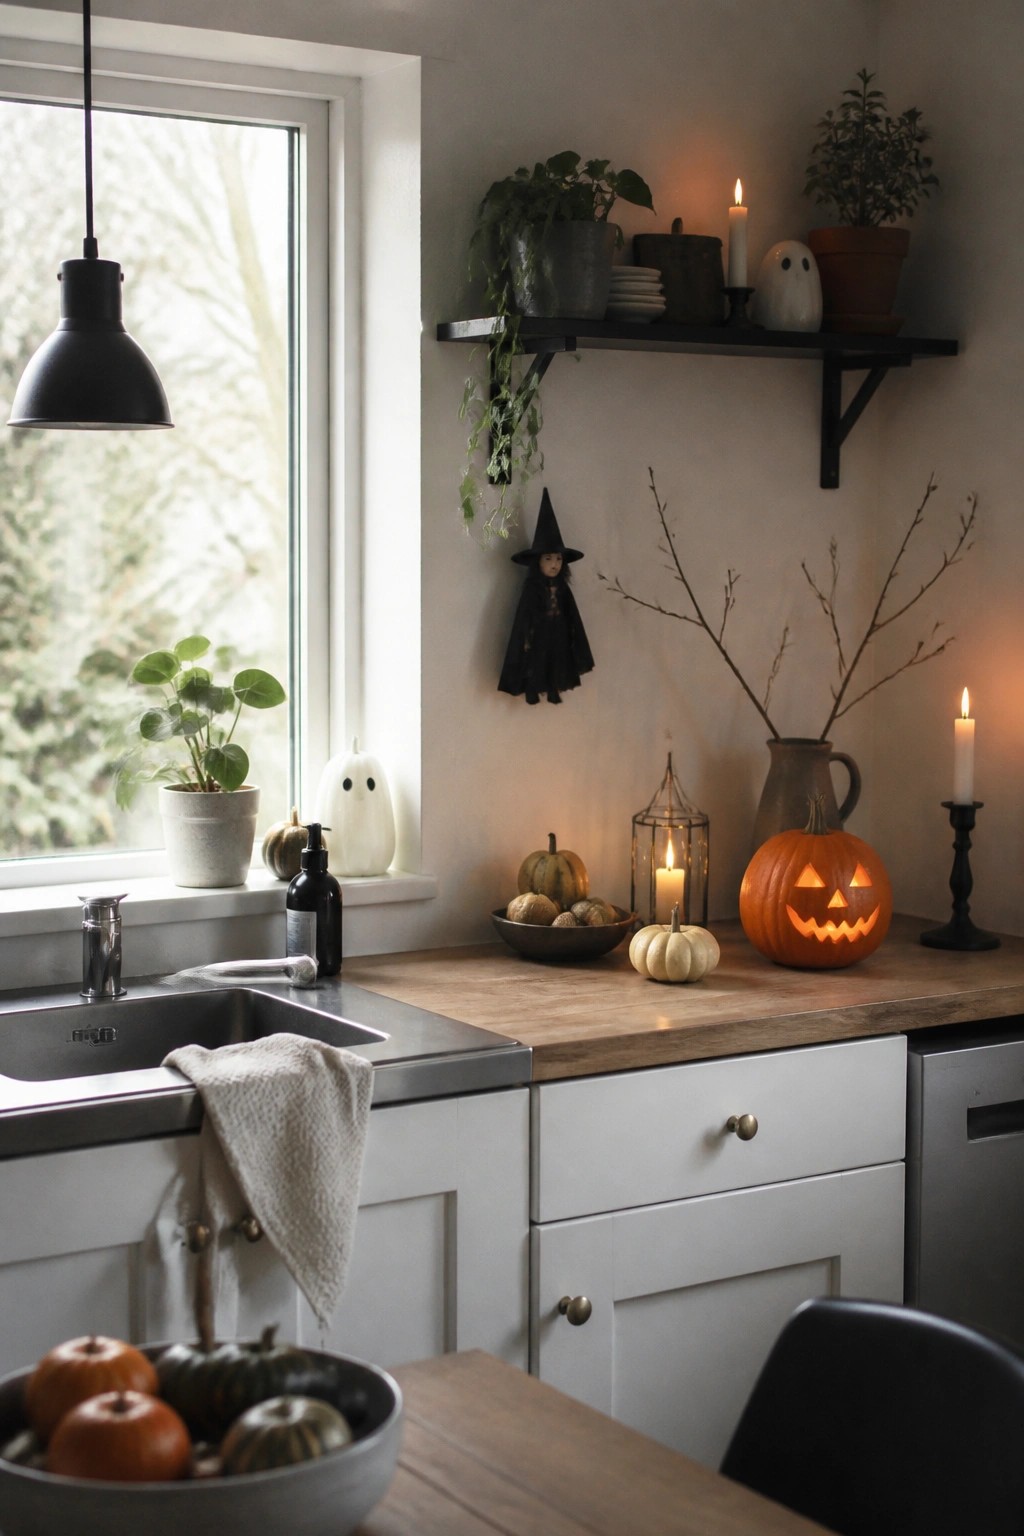
A carved pumpkin with a lit face brings a clear Halloween touch to the kitchen counter. It works well because it sits at eye level during daily tasks and needs only one strong piece to read as seasonal.
Choose a medium pumpkin, carve a simple face, and set it near the sink or window. A small hanging witch figure nearby adds a second layer without filling the whole surface.
Create A Black Branch Centerpiece For The Kitchen Island
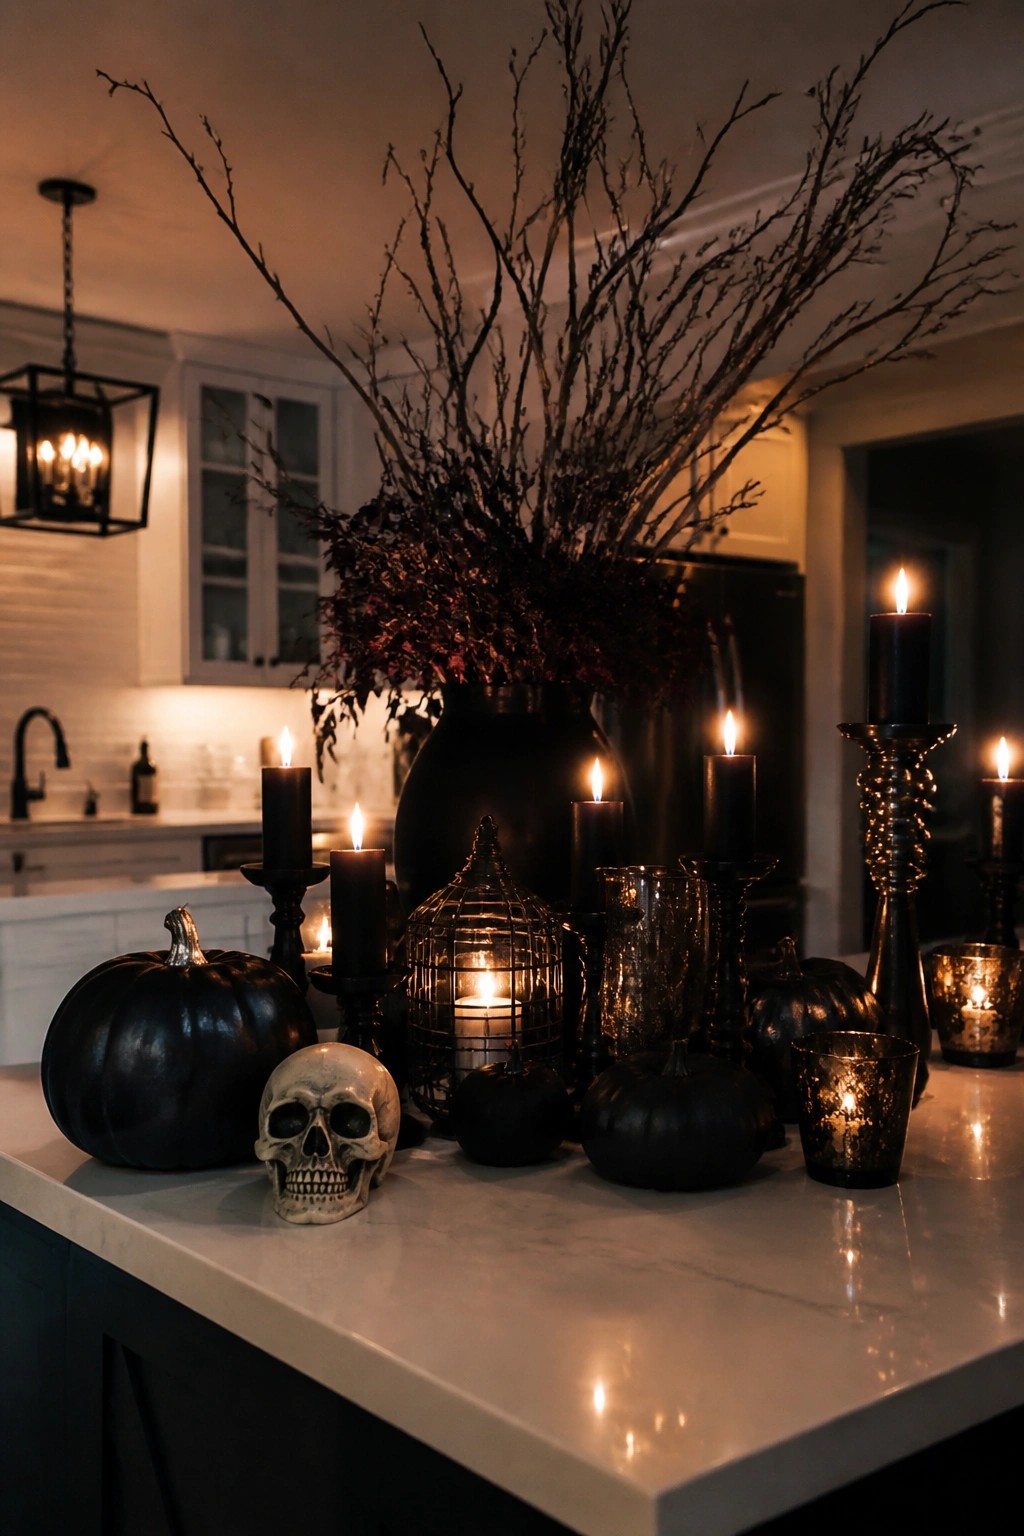
A tall bundle of dark bare branches in a black vase gives the kitchen counter a stark Halloween look that feels intentional and easy to put together. The branches stand out against the light surface and work well with black candles and a few small skulls placed around the base.
Set the vase in the middle or toward the back of the island so it does not get in the way. Add a few more black candles and one or two small black pumpkins nearby to strengthen the theme without filling the whole counter.
Frequently Asked Questions
Q: How do I keep these decorations from getting in the way while I’m actually cooking? A: Stick to wall hooks or ceiling hangs for bigger pieces like bats or signs so your counters stay clear. Choose washable or wipeable materials for anything near the stove. Test your setup once with a full meal to spot any spots that snag or block.
Q: What if my kids want to help make some of these but I worry about the mess? A: Let them handle the no-cook projects like paper chains or painted jars while you handle anything with glue or knives. Set up a protected table away from food prep areas. Most of the ideas in the article adapt easily to kid hands with just a few tweaks.
Q: Can I pull this off on a tight budget without losing the fun factor? A: Start with free or cheap items like printed templates and household objects before buying anything new. Rotate a few pieces in and out each week to refresh the look without extra spending. The article’s simpler ideas often need only paint or string to come together.
