

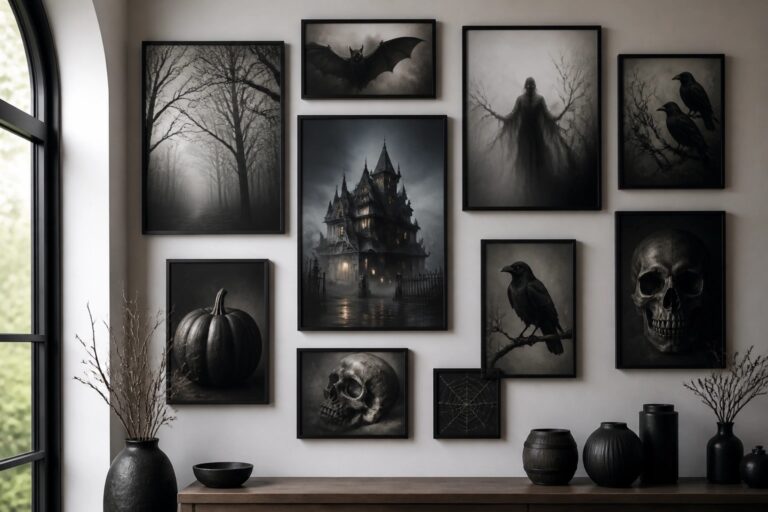
Walls offer a straightforward way to add Halloween character to a room without moving furniture or committing to anything lasting.
I tend to focus on one main wall first because it creates an immediate focal point that feels deliberate.
Eye-catching pieces stand out more when they play off the room’s existing colors rather than fighting against them.
Adapting the same motif across different spaces keeps the theme consistent without making every surface feel busy.
A single strong element often carries more impact than scattering smaller details everywhere.
Create A Halloween Gallery Wall
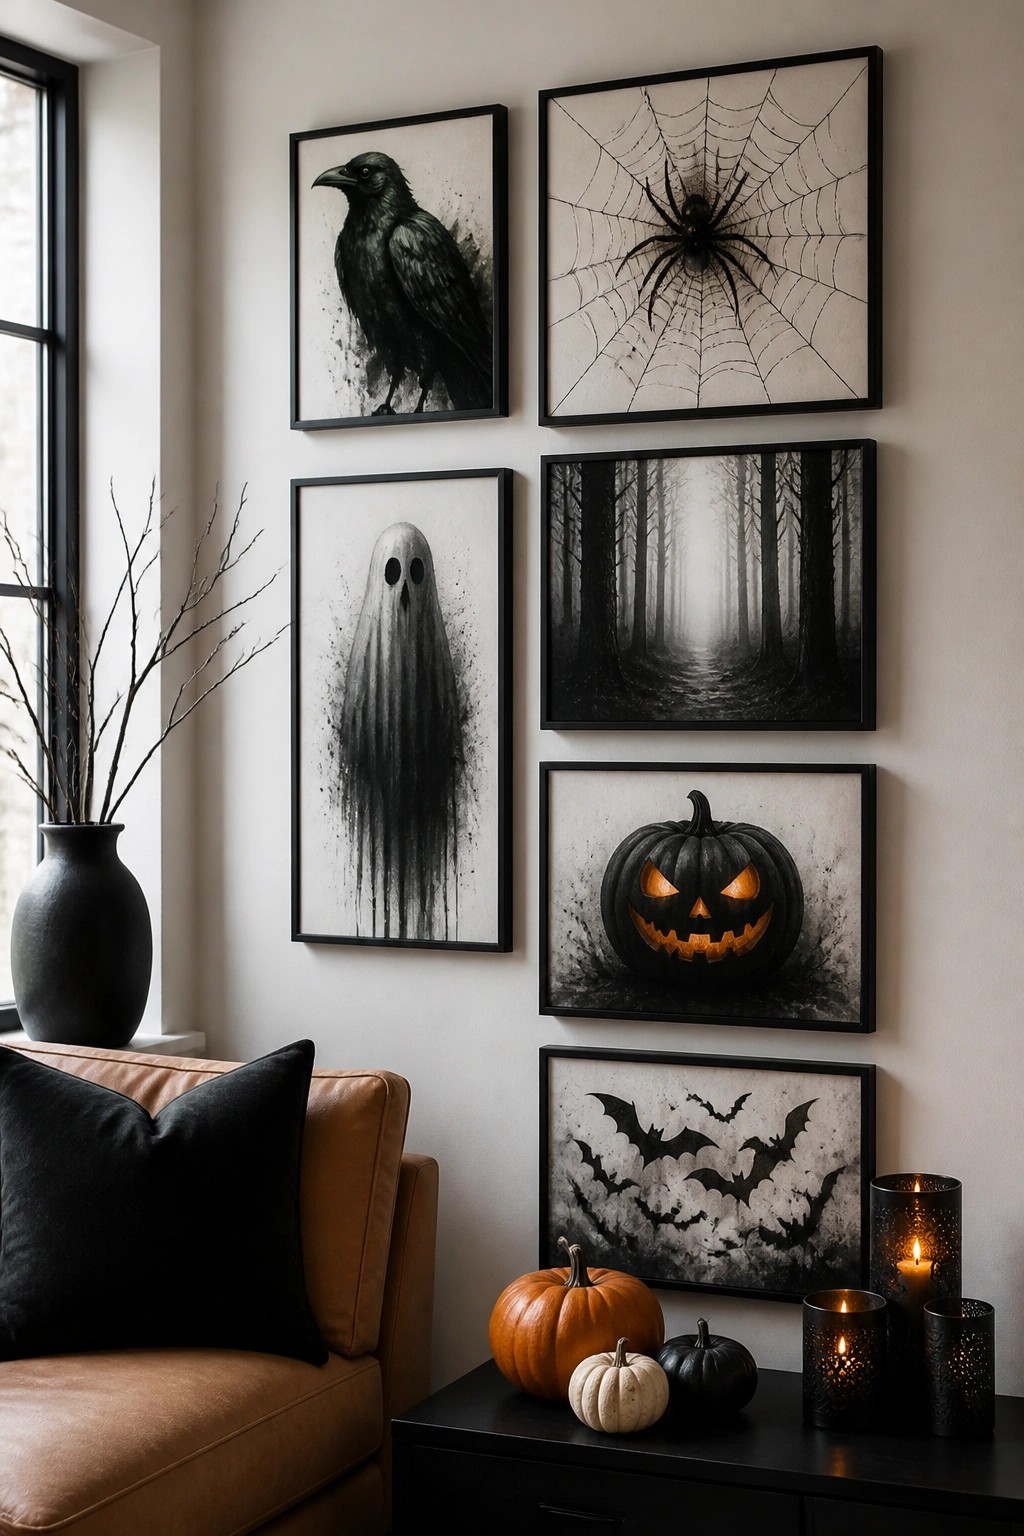
Grouping several framed prints with clear Halloween motifs turns one wall into a strong seasonal focal point. The mix of a ghost, bats, a jack-o’-lantern, a crow, and a spiderweb keeps the look varied yet unified because everything stays in black frames and a limited color range.
This idea works well in a living room or any space with empty wall space above a sofa or console. Start with three to six prints that share a similar style and size, then hang them in a loose grid. Add a few real pumpkins or candles on a nearby surface to tie the wall to the rest of the room without crowding it.
Cover The Wall With Flying Bats
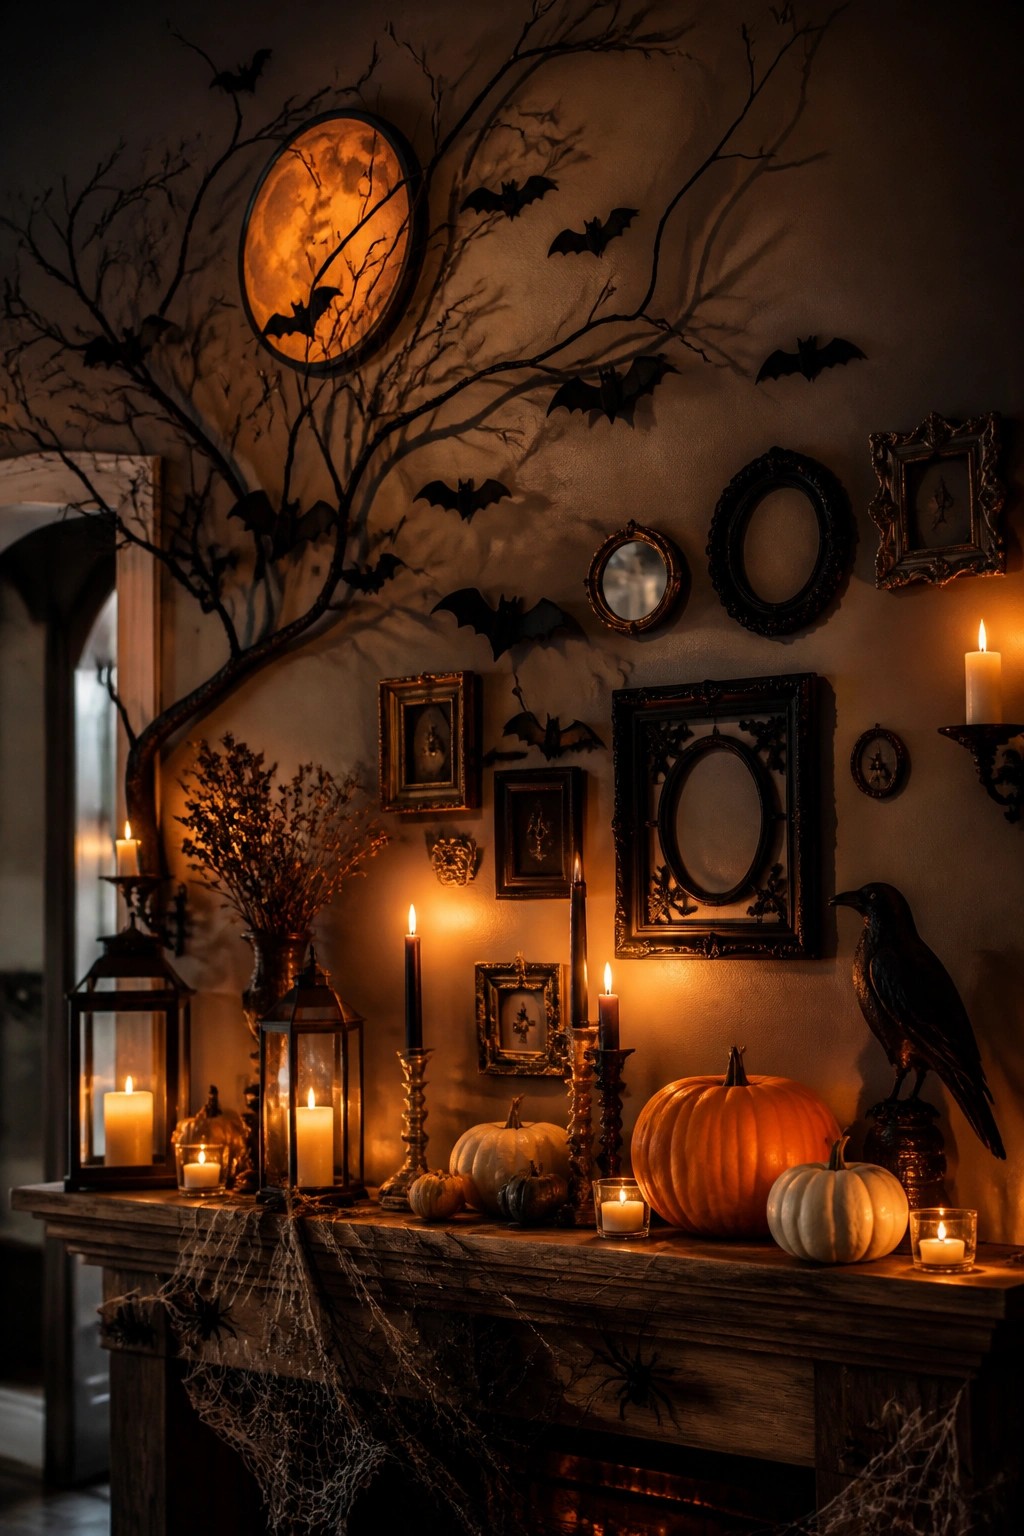
Bats create an eye-catching Halloween wall display when you spread them across a large surface. They give the area movement and a clear seasonal focus that works even in a room with other decor already in place.
Start with a mix of sizes and scatter them in loose groups so they look like they are in flight. This idea works best above a mantel or console where a few pumpkins and candles below can support the theme without competing with it.
Style Floating Shelves With Black Halloween Figures
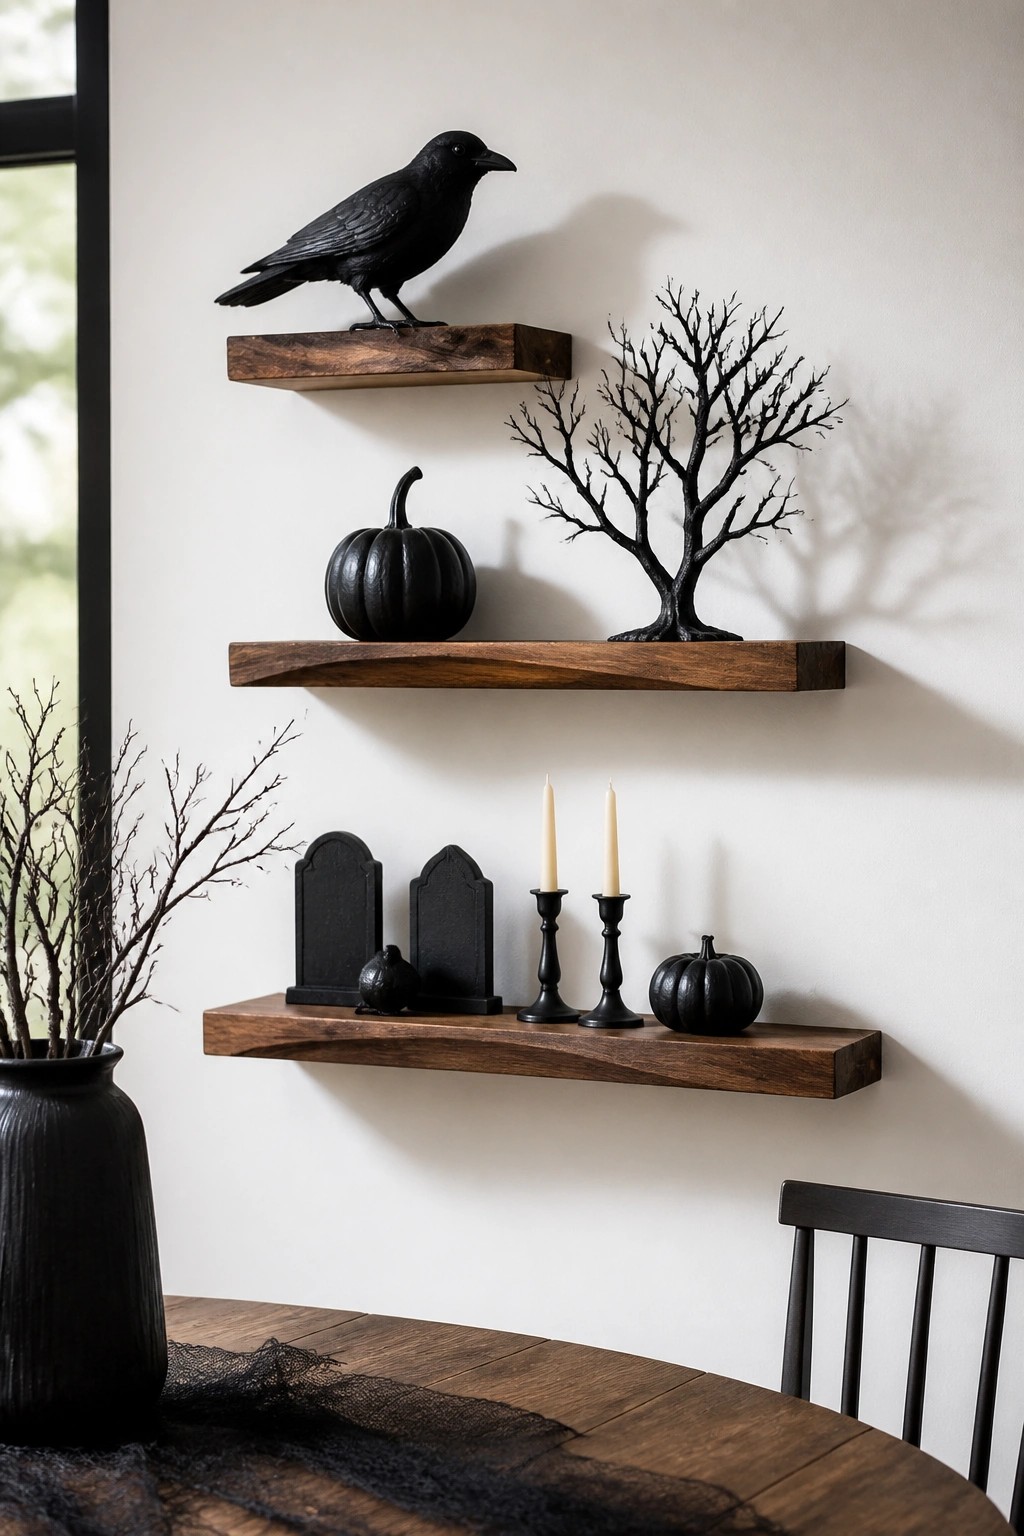
Floating shelves make an easy wall display when filled with black Halloween pieces. The top shelf holds a crow, while the middle and lower shelves group a bare tree, tombstones, and small black pumpkins that stand out clearly against the light wall.
This setup works in a dining room or any space where you want seasonal decor that stays neat. Use three or four dark items total, space them out evenly, and keep the rest of the wall simple so the arrangement stays the main focus.
Hang Framed Skeleton Portraits On The Wall
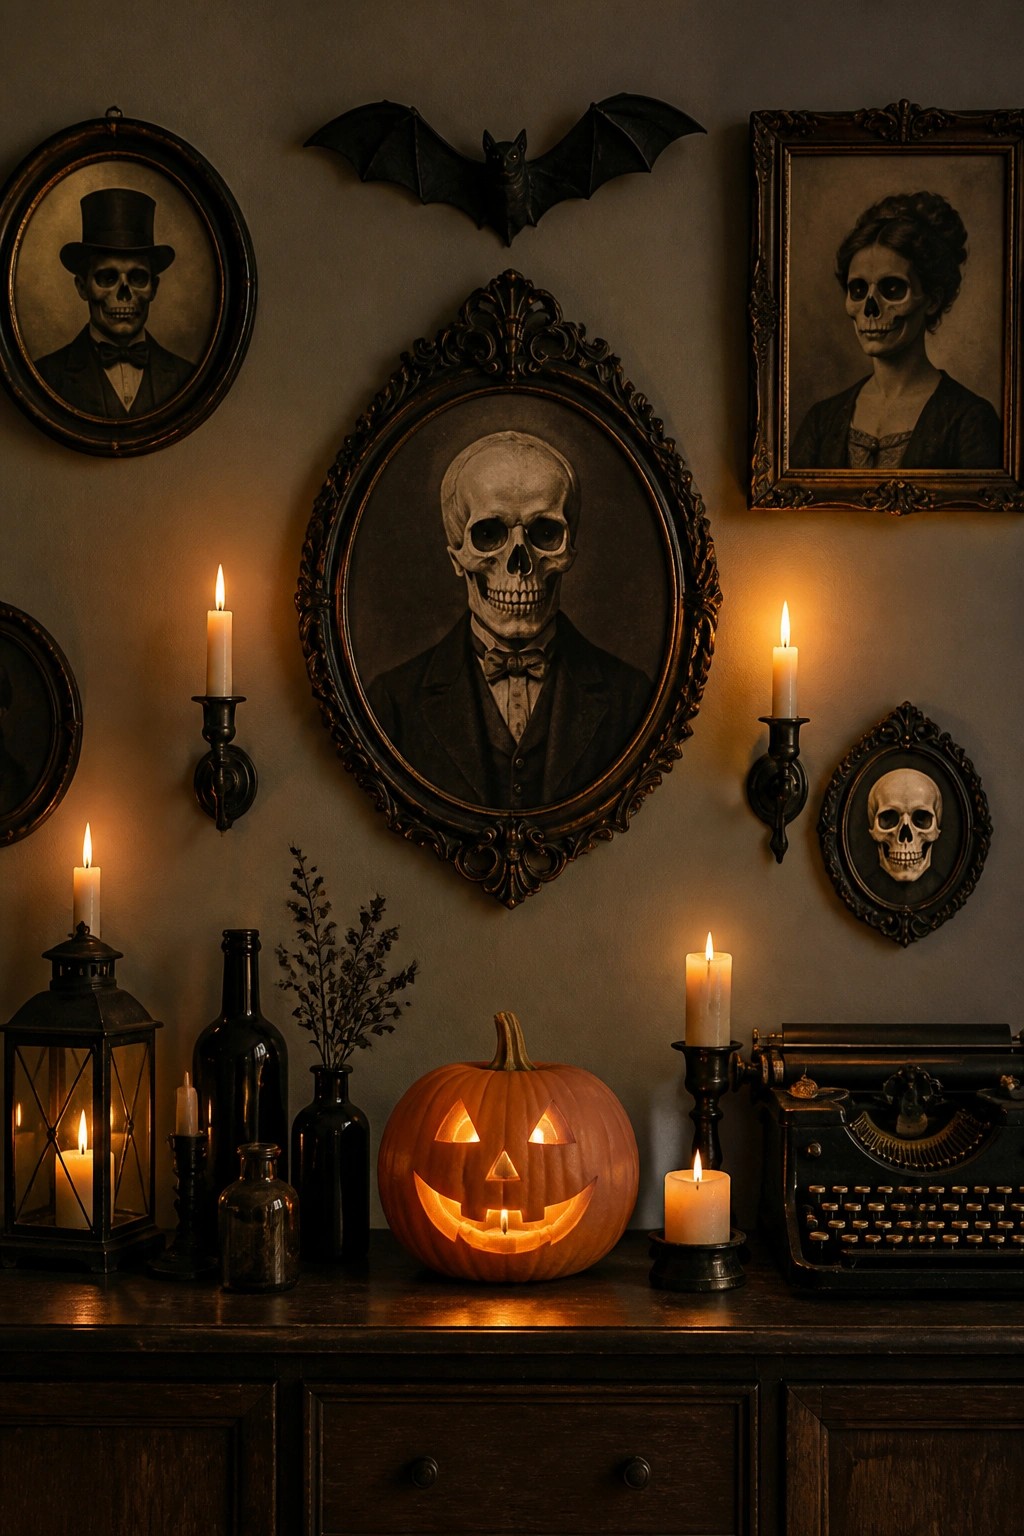
A gallery wall of framed skeleton portraits makes a strong Halloween statement without needing much else. The mix of oval and rectangular frames with dark, vintage style artwork creates a focal point that reads as both spooky and collected. Adding one bat accent above the center ties the whole arrangement together.
This idea works well on any large wall where you want a single bold display. Start with three or four main portraits in different frame shapes, then fill smaller gaps with smaller skull prints. Keep the rest of the surface simple so the skeletons stay the main focus.
Create A Neutral Gallery Wall With Halloween Motifs
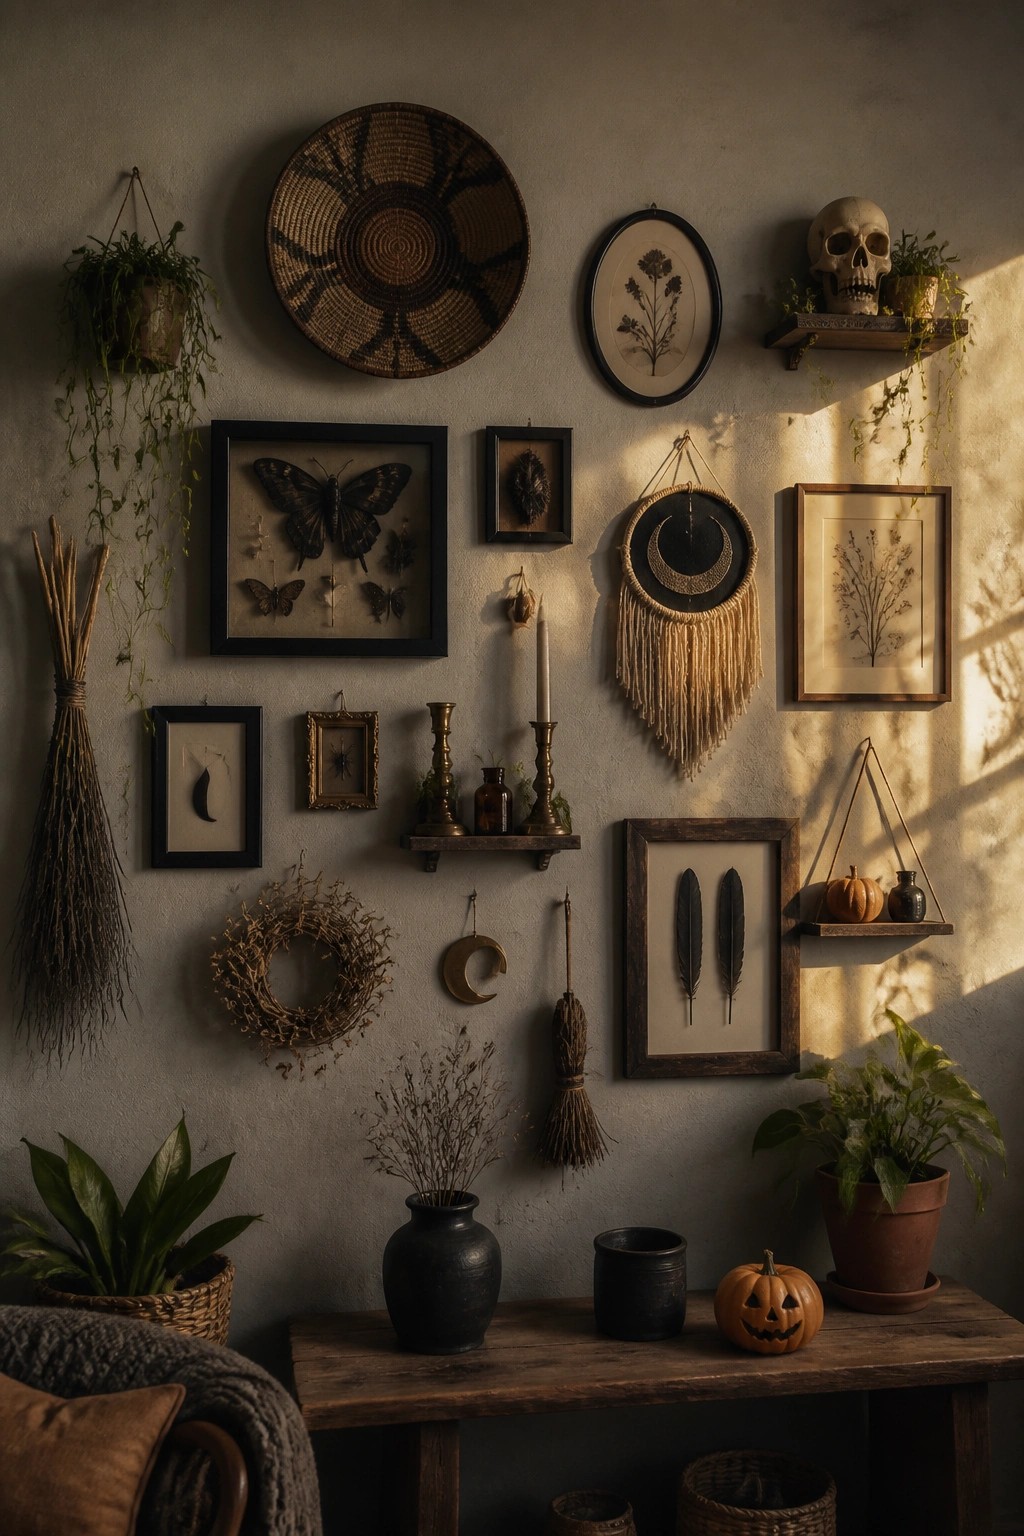
A gallery wall built from framed specimens, moon phases, feathers, and a skull creates a clear Halloween look while staying mostly neutral. The carved jack-o’-lantern on the console below ties the display together and makes the theme obvious.
This idea works in an entryway or living room where you want one wall to carry the seasonal weight. Mix a few dark frames with hanging pieces like a moon dreamcatcher, then add just one or two obvious accents such as the skull or pumpkin so the arrangement stays balanced.
Mount A Wreath On A Wooden Panel
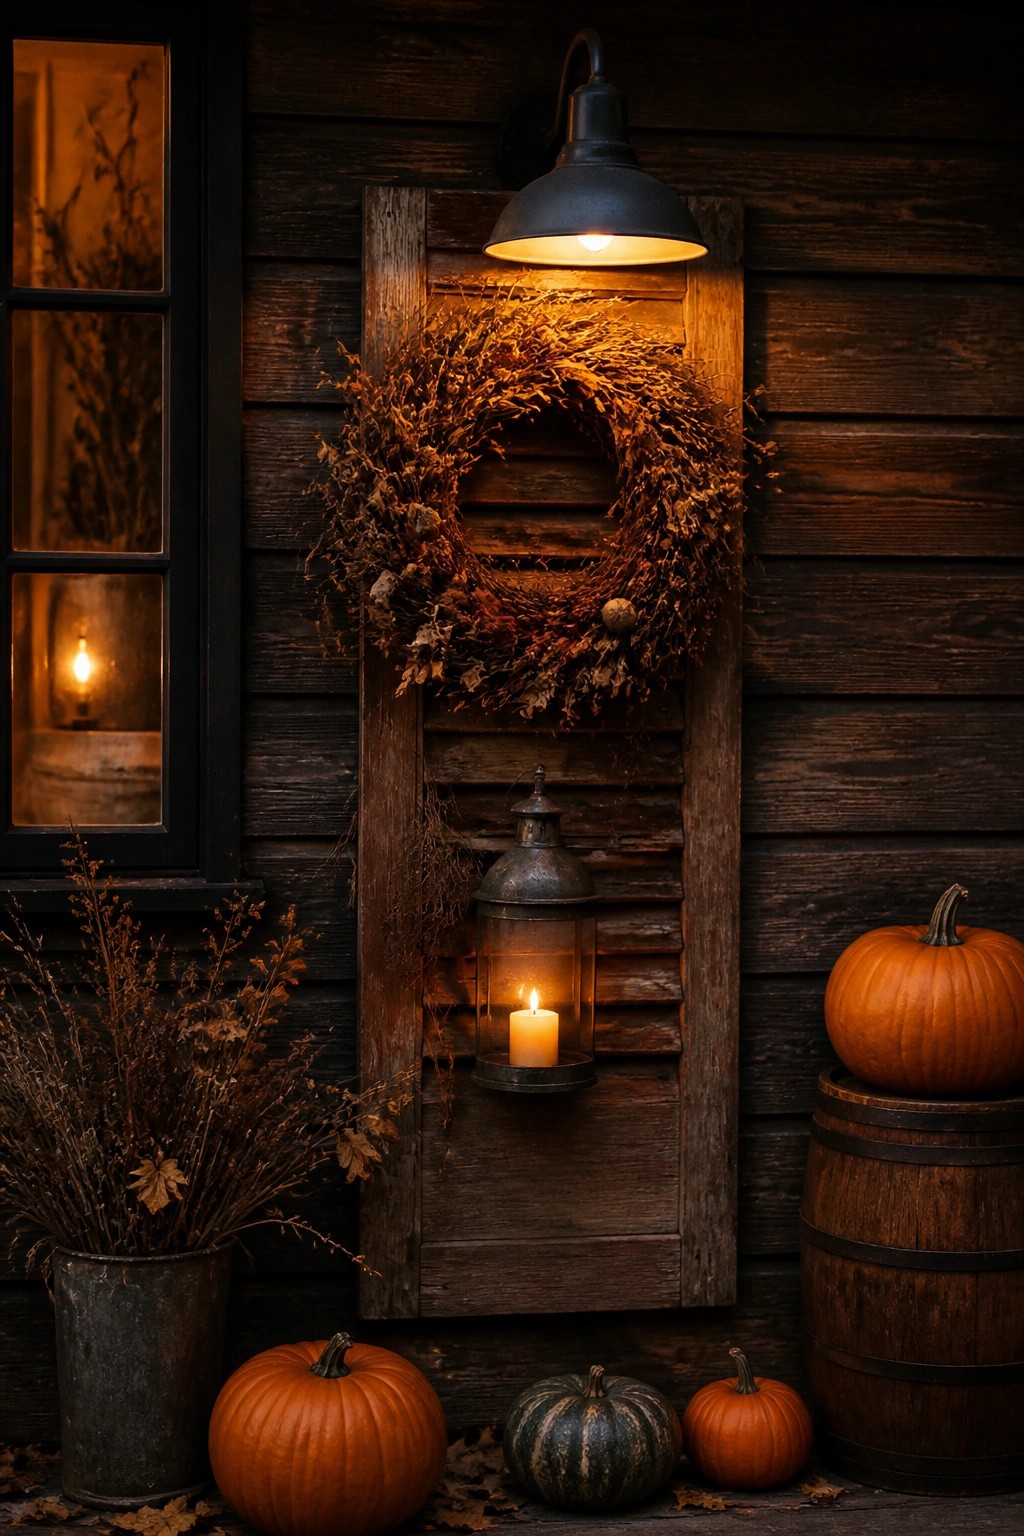
A large dried wreath hung on an old wooden shutter or panel gives the wall a simple seasonal focal point. The texture of the branches and leaves stands out against the dark wood, and the setup stays easy to update each year.
Place the panel near an entry or along a porch wall where it can be seen from a distance. Add one or two small lanterns or a few pumpkins at the base if you want a stronger Halloween feel without crowding the space.
Arrange Witch Hats On The Wall
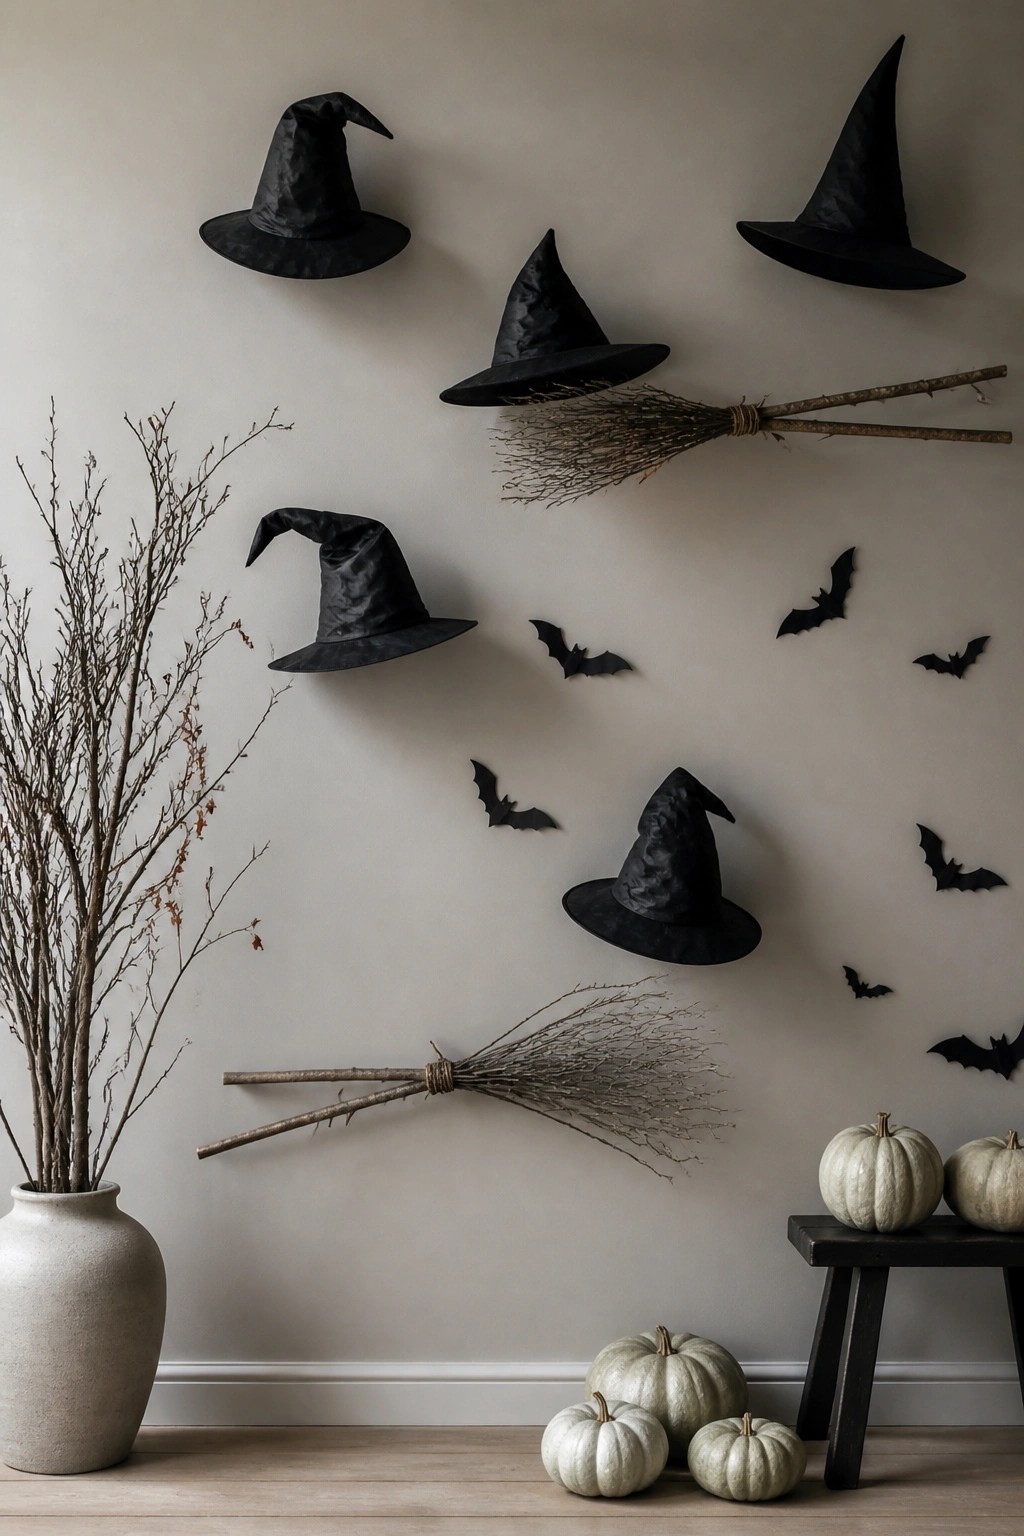
Mounting several witch hats on a blank wall creates a simple but strong Halloween statement. The hats stand out because of their shape and dark color, and adding a few bats or a broom nearby makes the theme easy to read without filling the entire surface.
This idea works best on a large empty wall where the hats can be spaced out at different heights. Start with three or four hats, then add a few bat cutouts if you want more impact. Keep the rest of the room quiet so the wall stays the main focus.
Create A Vintage Halloween Art Gallery Wall
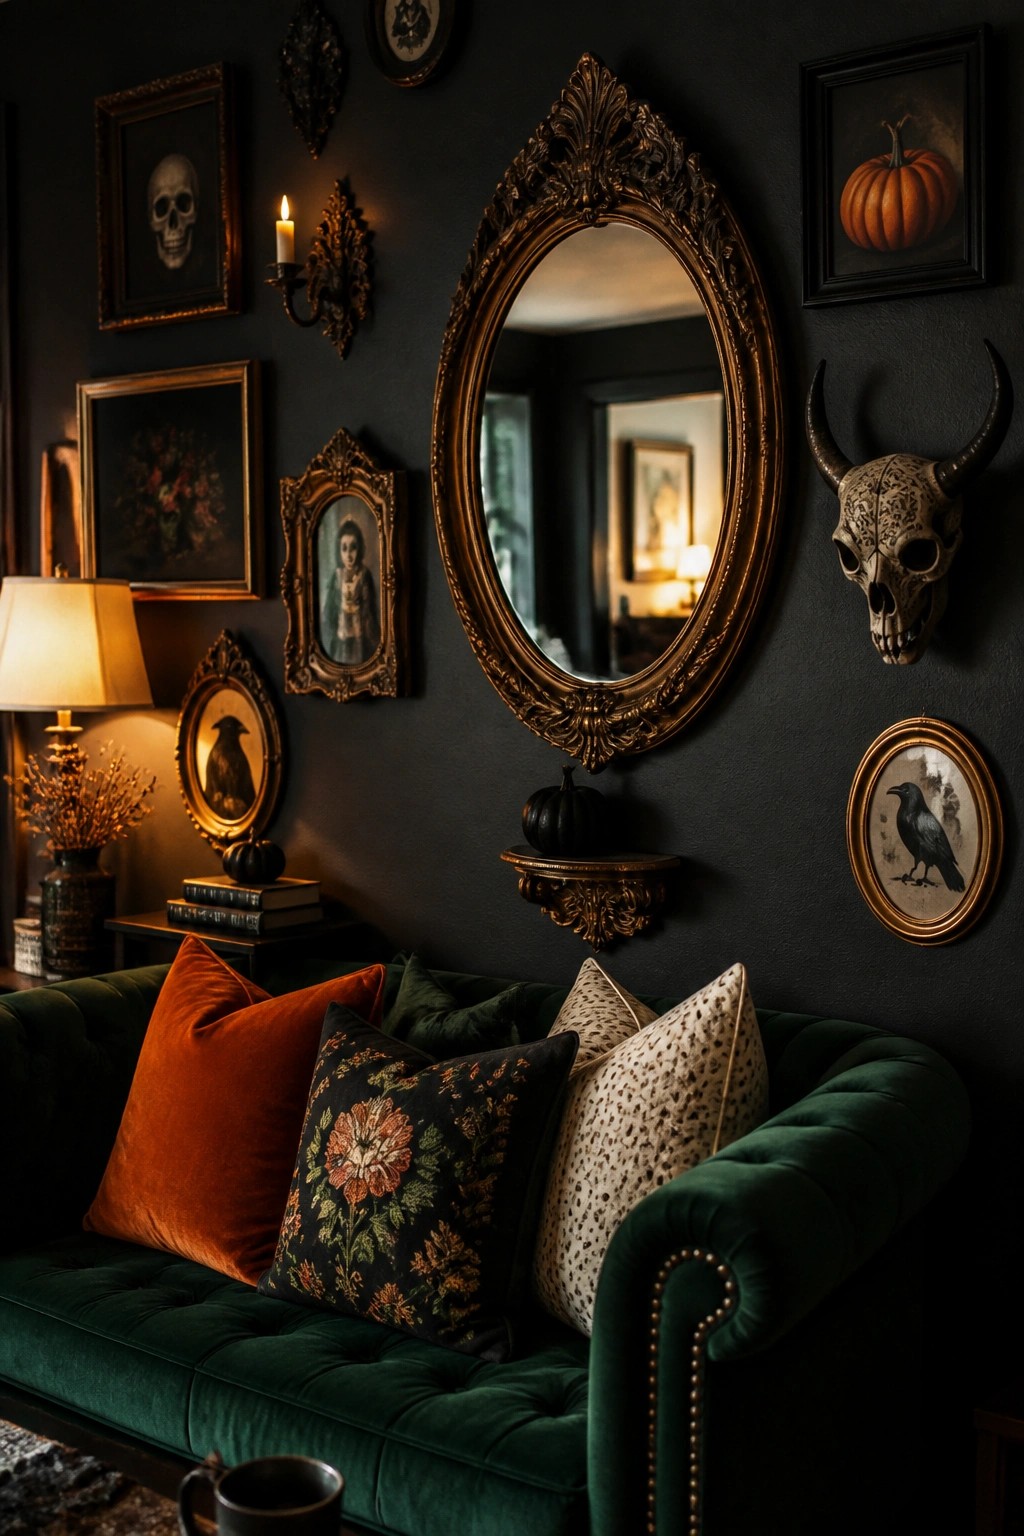
A gallery wall filled with framed Halloween art makes a strong visual statement without needing much else. Dark frames holding images of skulls, crows, and pumpkins stand out sharply against the wall, while the large ornate mirror in the center pulls everything together and reflects light back into the room.
This approach works well in living rooms or any space where you want the wall to carry the seasonal theme. Start with a few larger pieces like a skull print or a pumpkin painting, then add smaller frames with crows or similar motifs around them. Keep the rest of the room simple so the wall stays the focus.
Hang A Pumpkin Wreath On An Exterior Wall
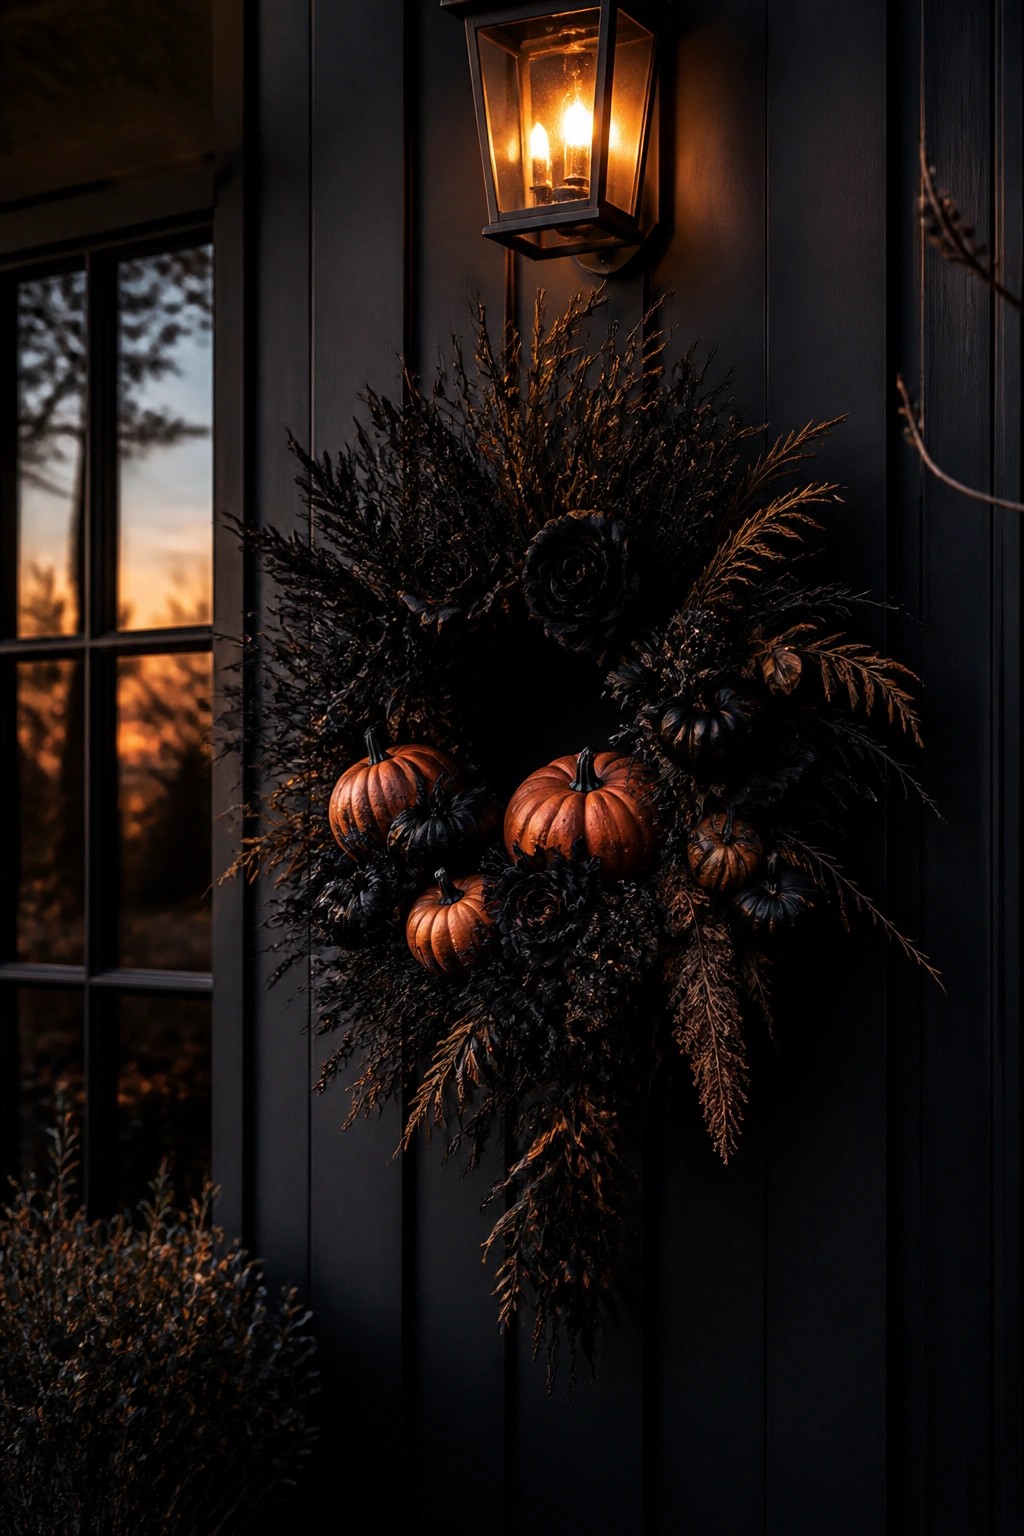
A large wreath built from dark branches, black roses, and a mix of orange and black pumpkins makes a strong Halloween statement on any outside wall. The dark base keeps the look cohesive while the pumpkins add the clear seasonal focus that reads as Halloween rather than just fall.
This idea works well beside a front door or on a porch wall where people will see it up close. Use one big wreath as the main piece, then add a simple lantern above it if you want extra light at night. Keep the rest of the wall plain so the wreath stays the center of attention.
Group Halloween Silhouettes Across One Wall
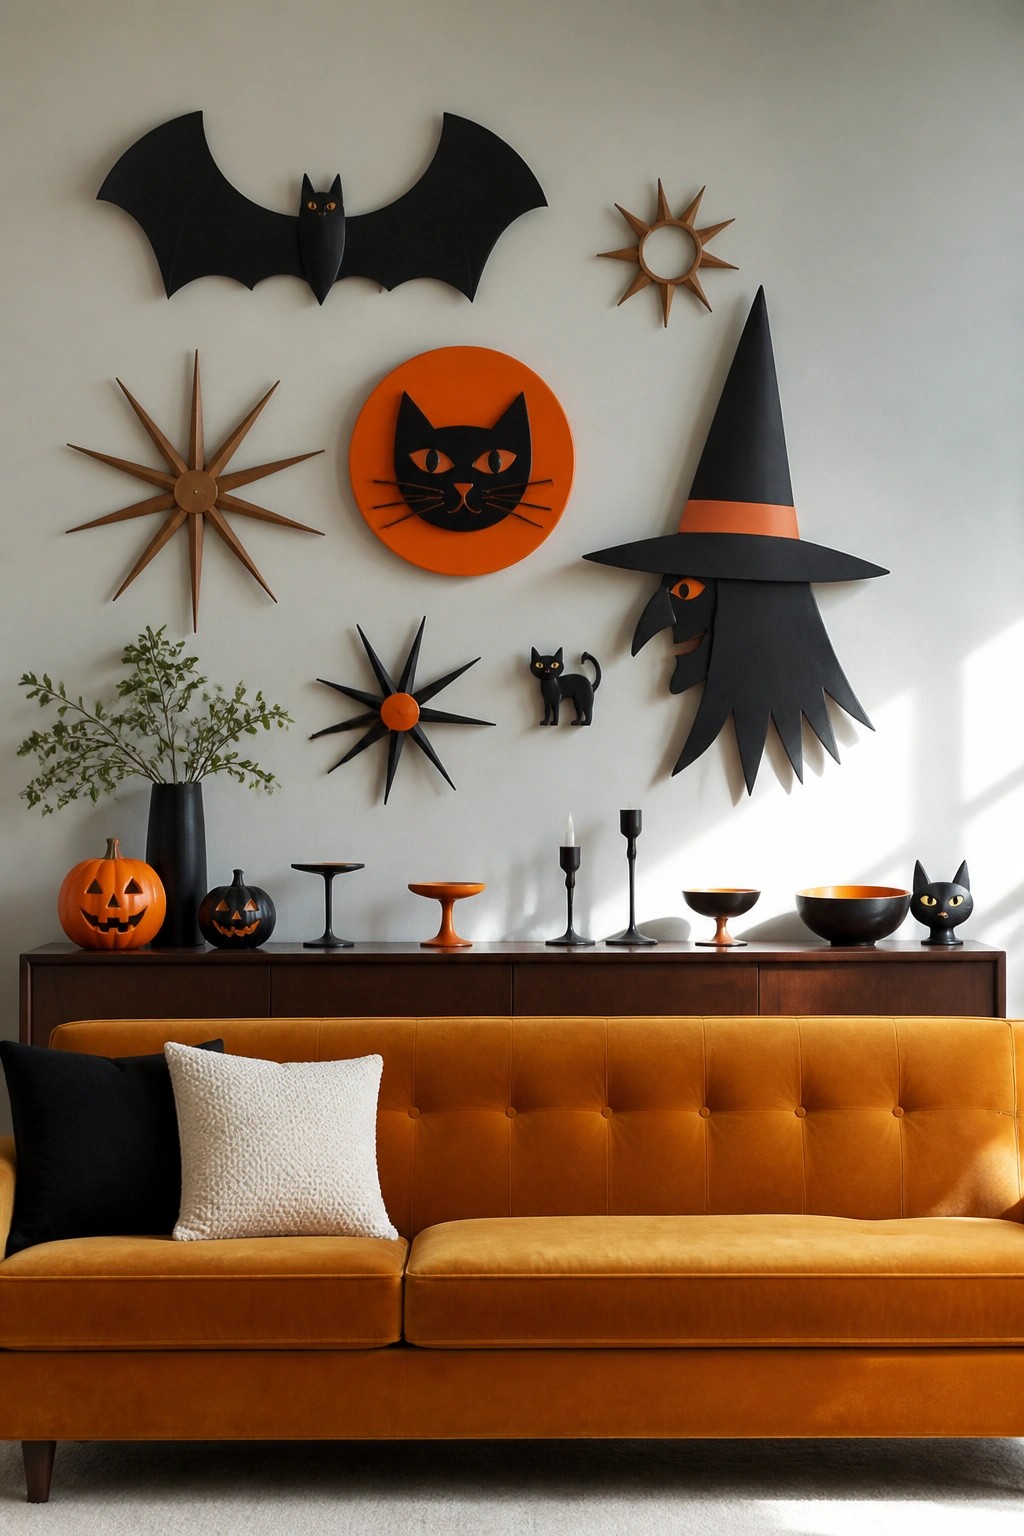
A wall filled with black cutouts stands out fast. Bats, a large orange cat circle, a tall witch figure, and a few star shapes create a clear Halloween pattern without needing much color or extra props.
Pick one open wall above a console or sofa and start with three to five pieces. Mix sizes so the biggest shapes sit near the center and smaller ones fill the edges. Keep the rest of the room simple so the cutouts stay the main focus.
Group Vintage Halloween Prints On One Wall

Framing a few spooky images turns an empty wall into a strong Halloween feature. The mix of old frames and subjects like a black cat, a bat, and a skeleton creates a collected look that feels intentional rather than scattered.
Start with thrift frames and simple prints or drawings. Hang them together in one area so the theme reads clearly. This idea works in living rooms, hallways, or any spot where you want wall decor that stays up for just a month or two.
Hang Bats Around A Wall Mirror
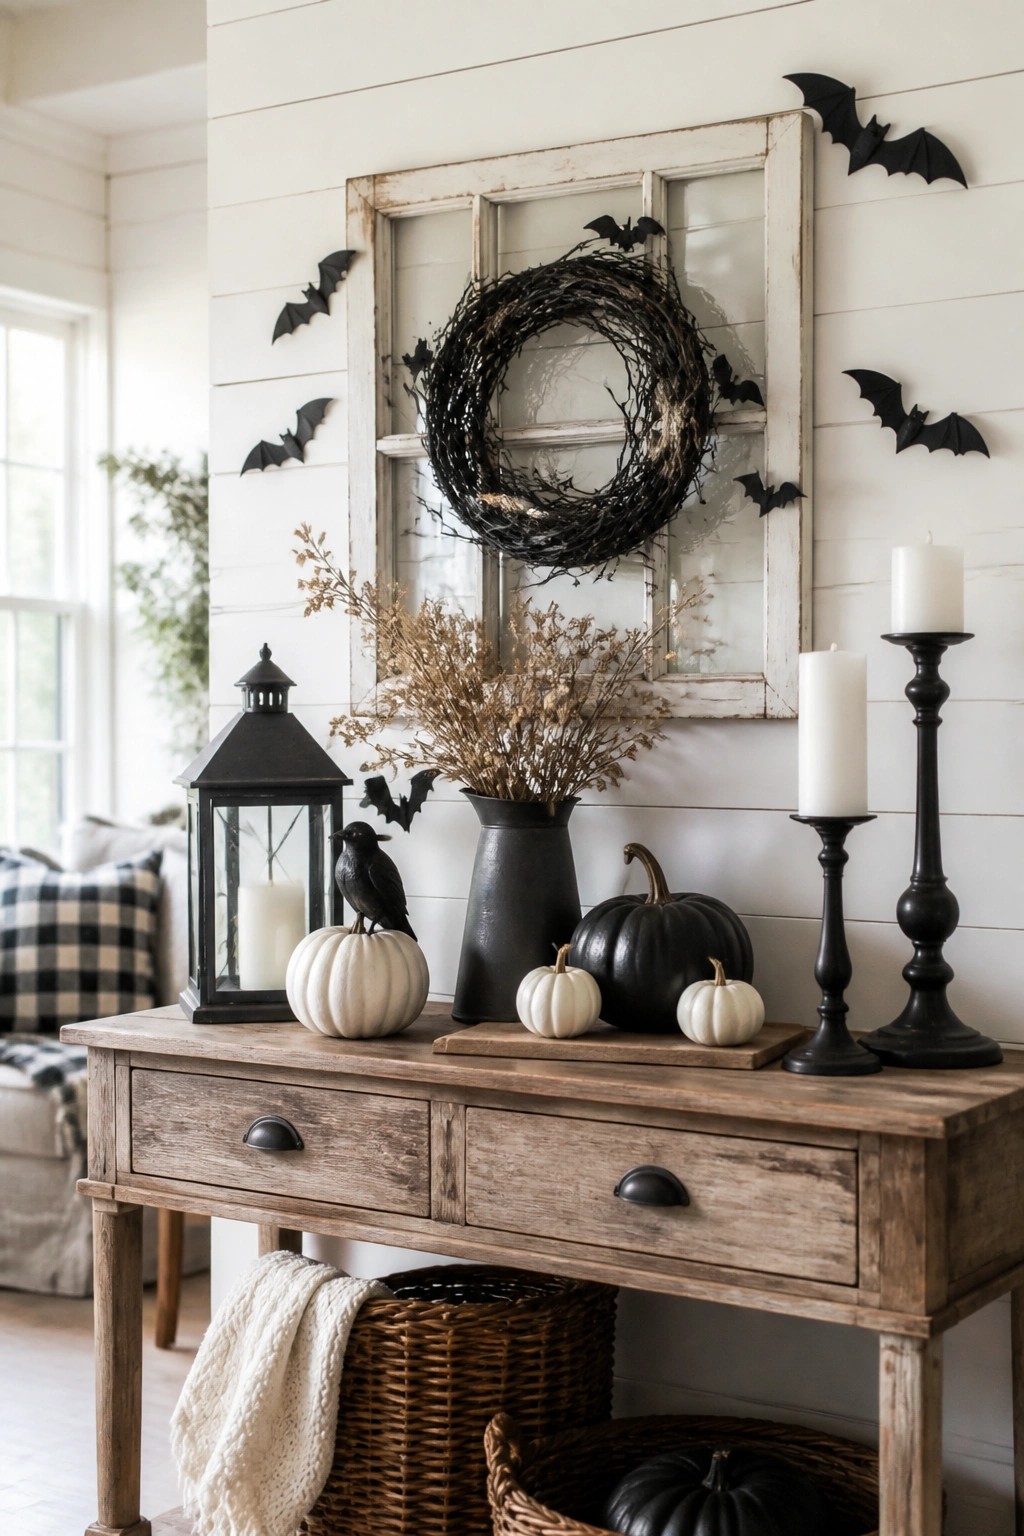
Bats make a strong Halloween statement on a wall because they add movement without taking up floor space. Grouping them around a mirror or old window frame turns the whole area into one clear focal point that reads as Halloween right away.
Start with six to eight bats in different sizes and wing positions. Place them so they look like they are circling the frame. Keep other wall items minimal so the bats remain the main feature.
Scatter Black Bats Across The Wall
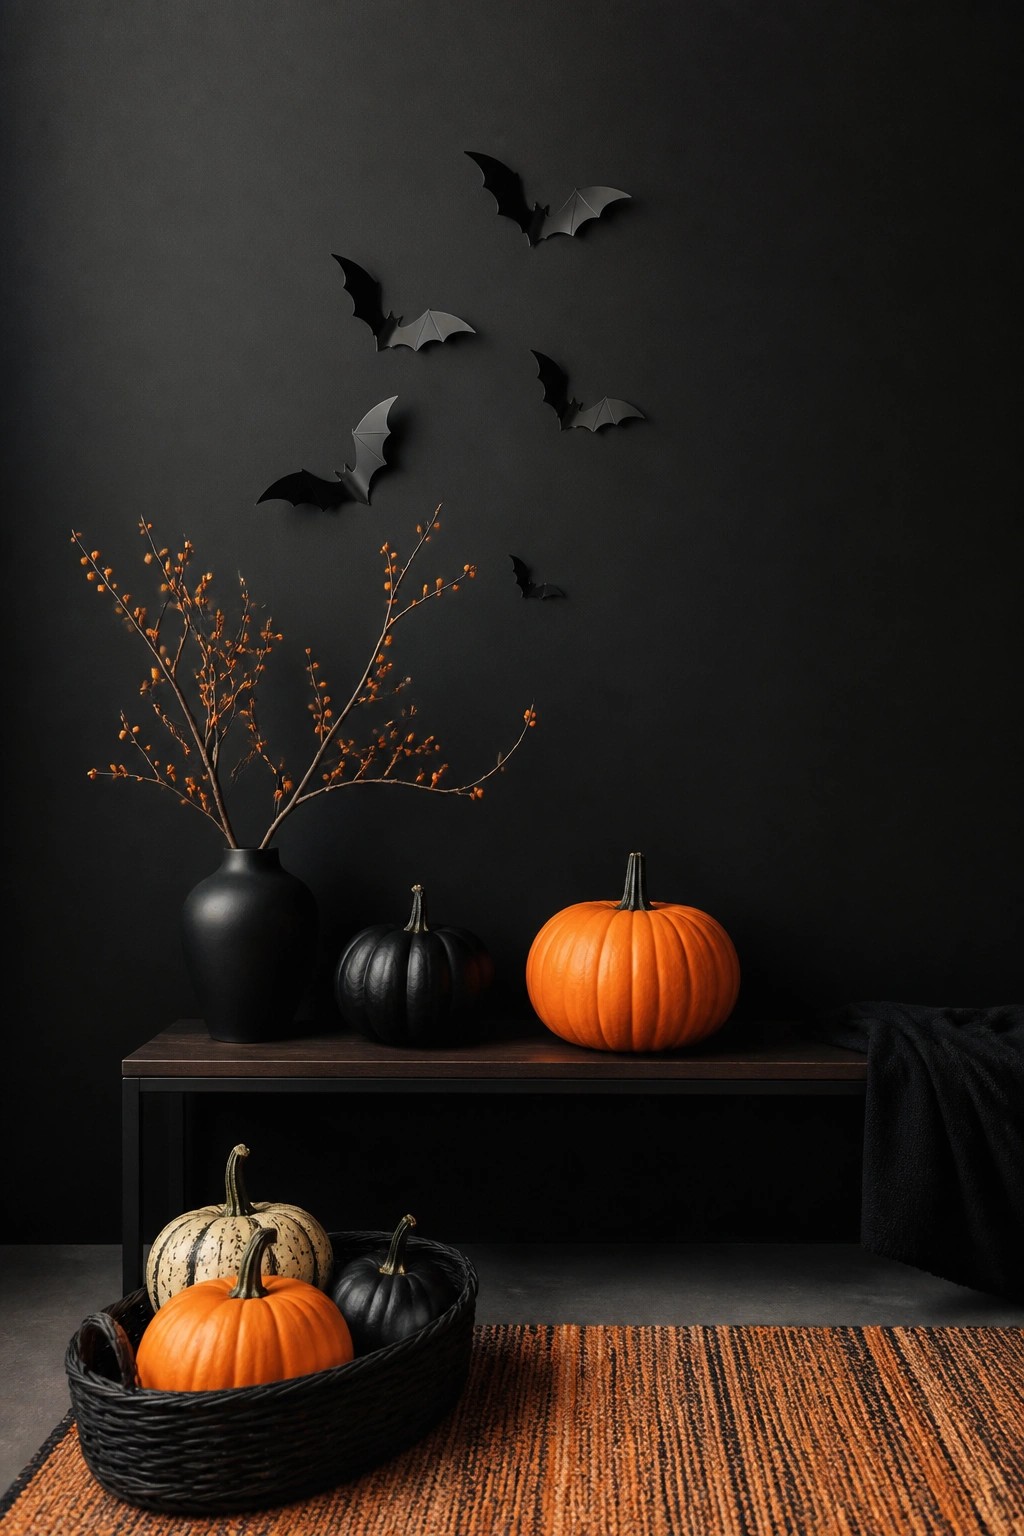
Bats stand out as one of the simplest ways to make a wall feel Halloween ready. A small group of black cutouts arranged in a loose cluster gives the impression of movement and works especially well against a dark background where the shapes read clearly.
This approach suits an entryway or any blank wall that needs a quick seasonal change. Cut or buy a handful of bats in different sizes, then space them unevenly so the arrangement feels natural rather than perfectly symmetrical. Keep the rest of the surface clear so the bats remain the main focus.
Create A Gallery Wall With Ghost Portraits
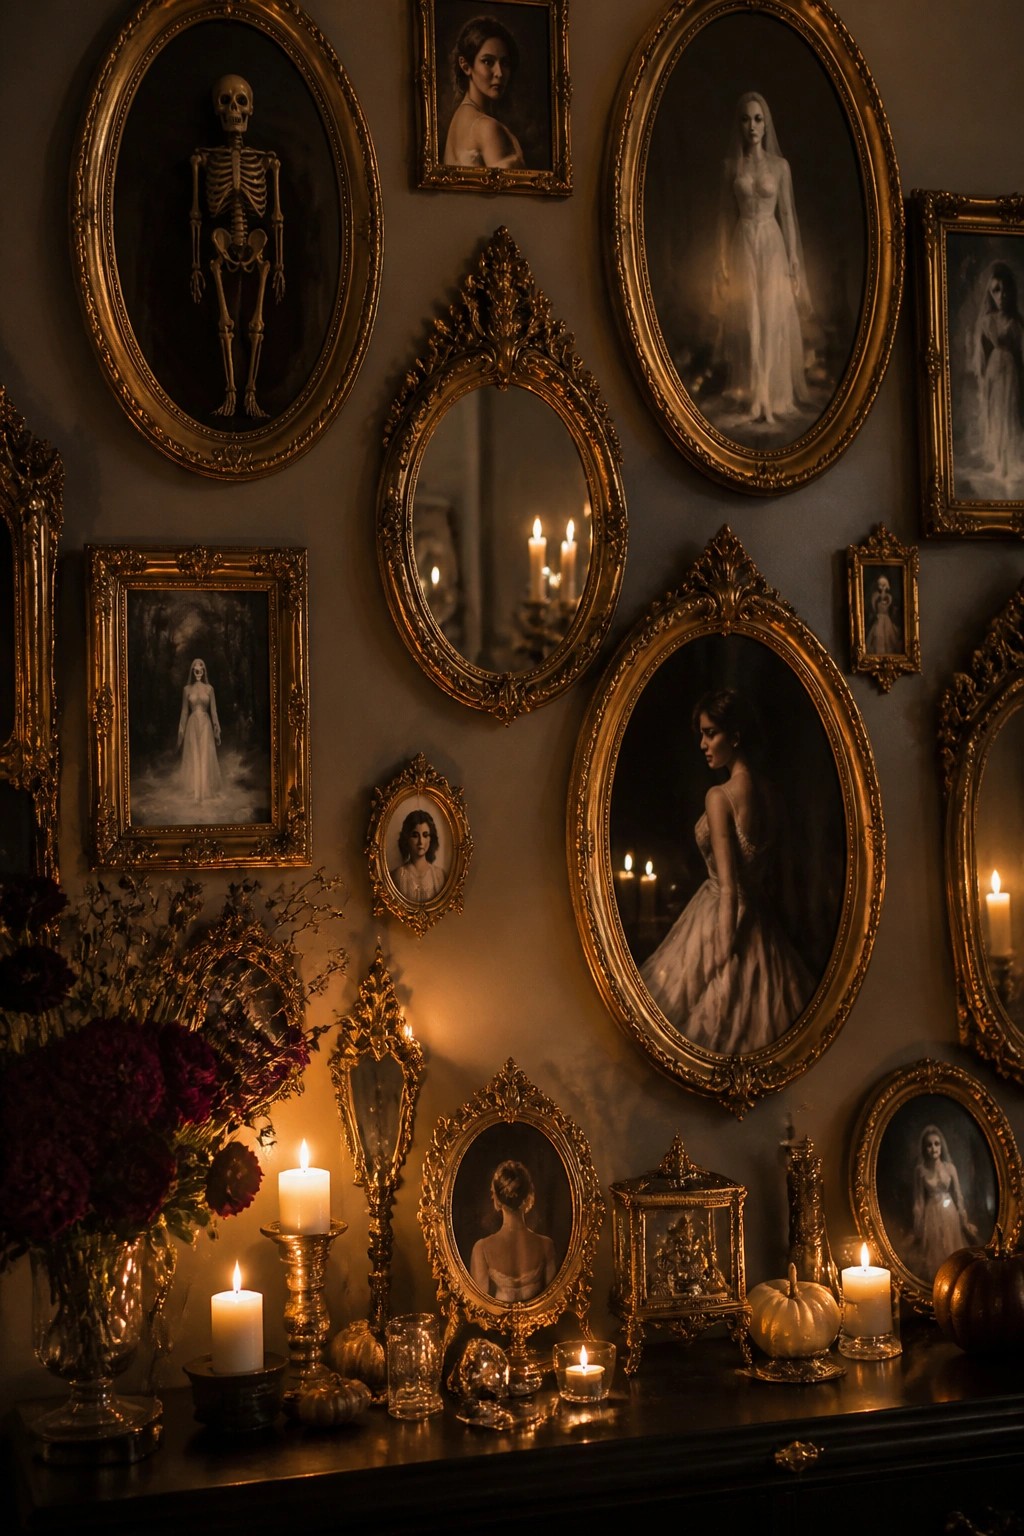
A collection of framed portraits makes a strong Halloween wall display when most of the images show ghostly figures. The mix of oval frames and ornate mirrors keeps the arrangement interesting while the skeleton and veiled women give it a clear spooky theme without needing much extra decoration.
Group similar frames together on one wall and add a few mirrors so candlelight reflects back into the room. Keep the rest of the space simple so the portraits stay the main focus. This setup works well above a console or in an entryway where people will notice it right away.
Fill A Wall With Framed Portraits And Skulls
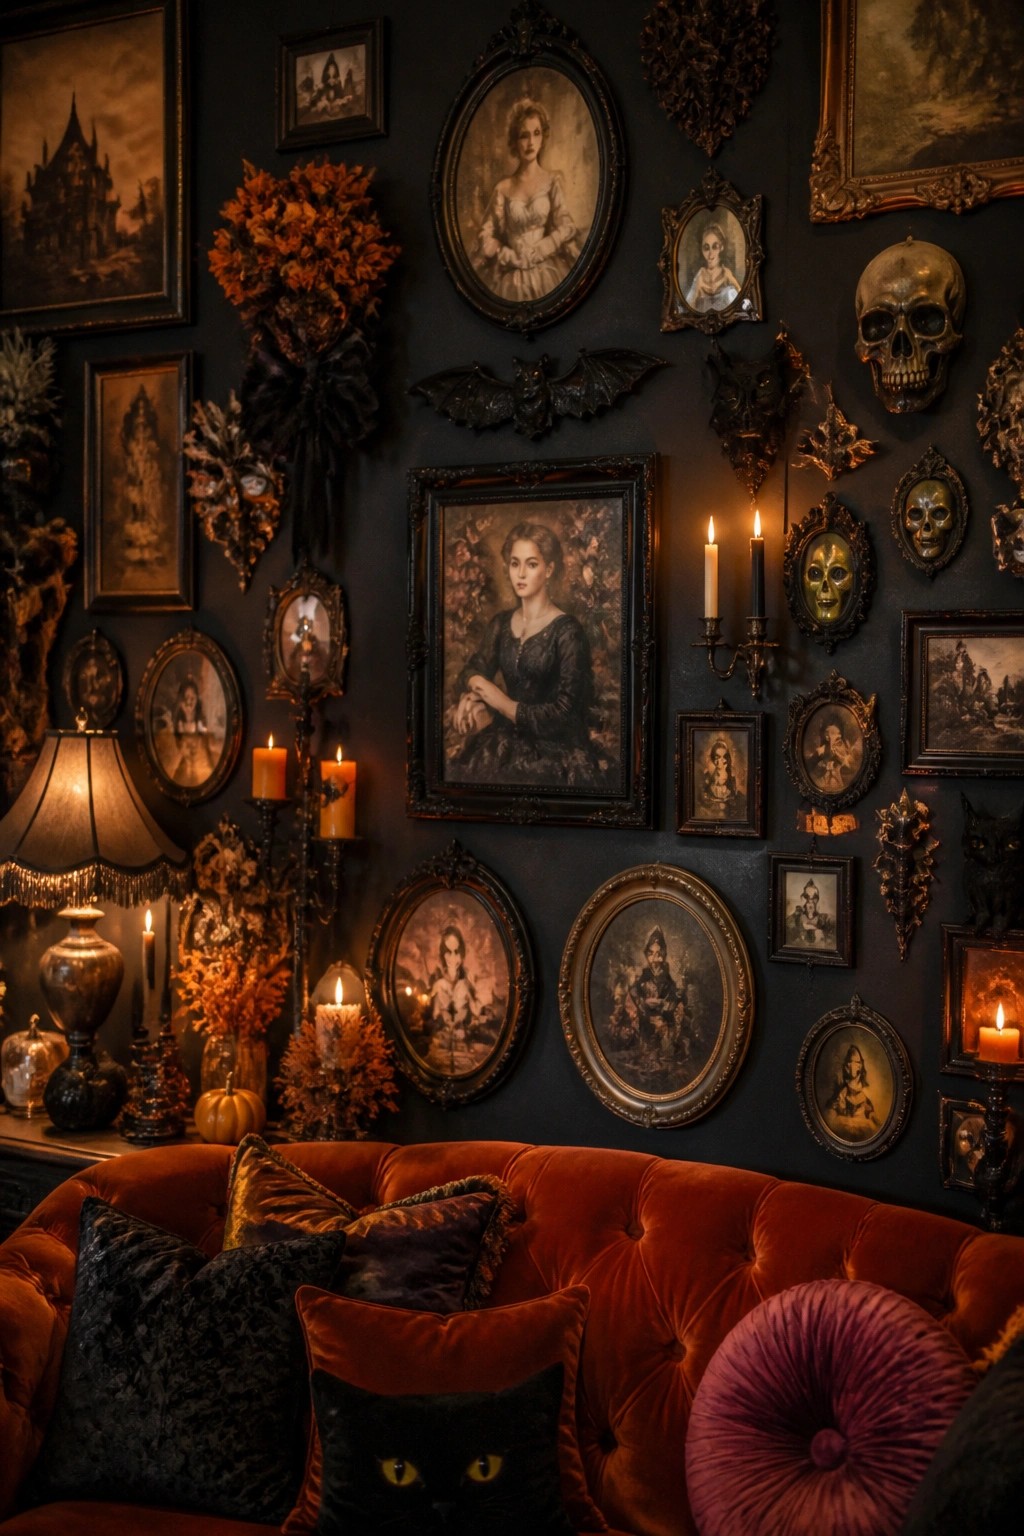
Grouping framed portraits with skulls and bats turns a plain wall into the main Halloween feature. The mix of vintage-style faces and bone accents creates a strong visual impact that reads as Halloween right away. Dark frames keep everything cohesive while the skulls add an unmistakable spooky note.
Use this idea on any large wall in a living room. Start with one or two bigger portraits as anchors, then layer in smaller frames and a few skull pieces around them. Keep the rest of the room simple so the wall stays the focus.
Scatter Paper Bats Across The Wall
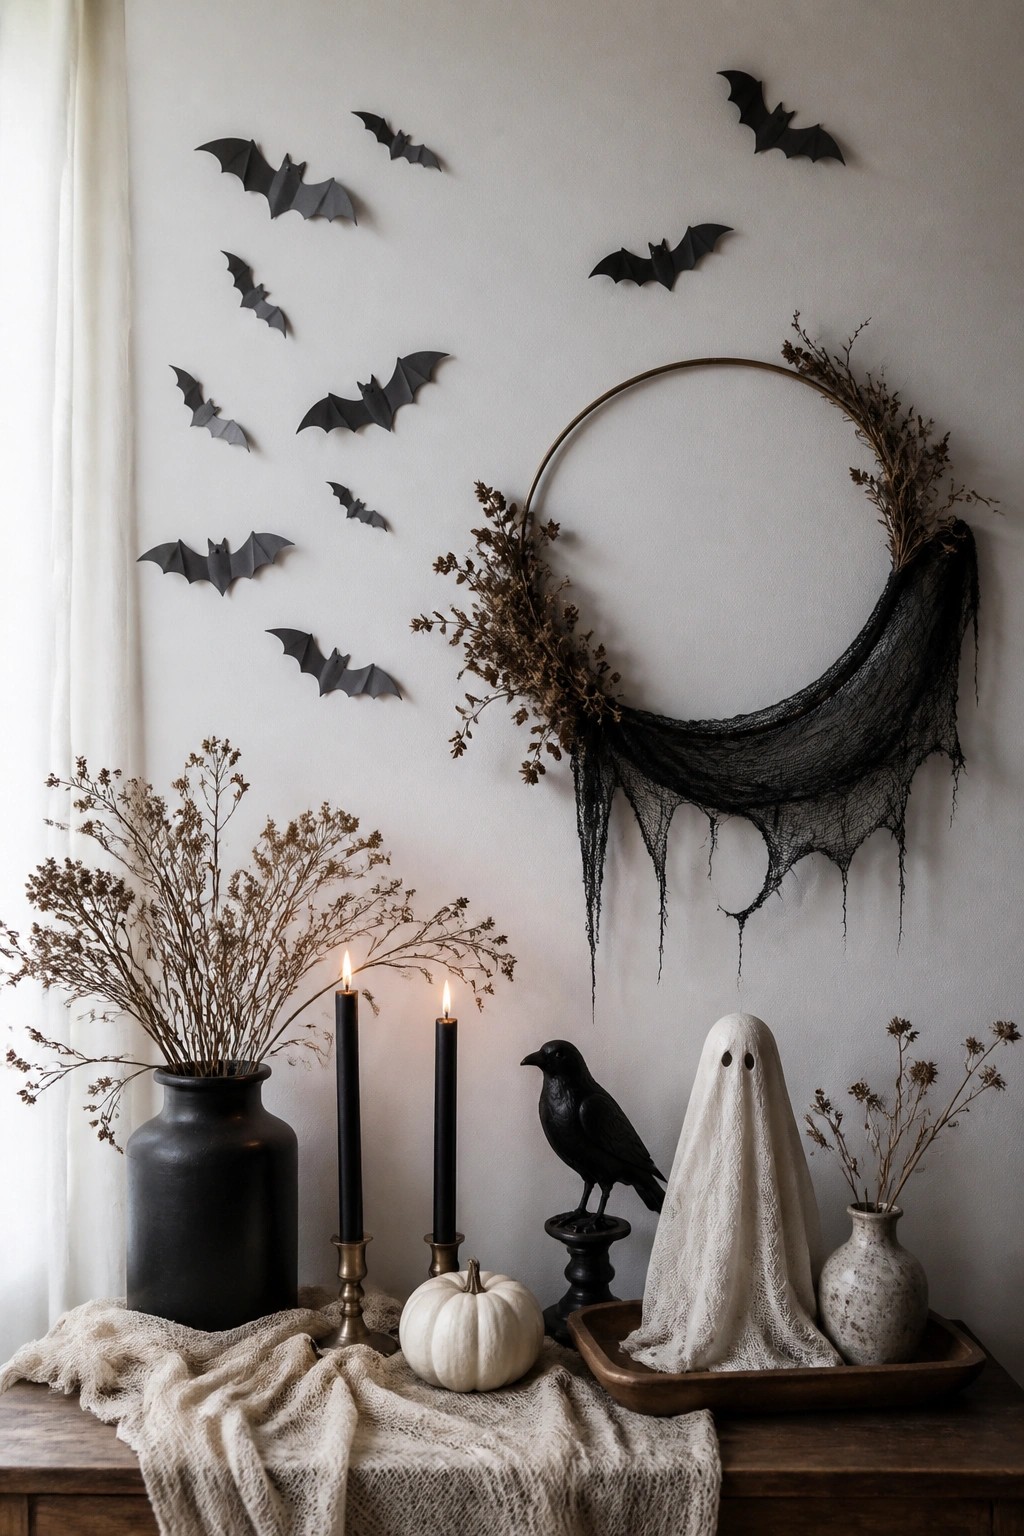
Paper bats cut from black cardstock stand out well against a light wall because the dark shapes read clearly from across the room. Arranging them at different heights and angles gives the impression of movement without needing much more than a few dozen pieces and some tape or pins.
This works in any room where you want a single strong motif instead of lots of small decorations. Start with a handful of bats in one corner and add more until the pattern feels balanced, then stop before the wall fills up. The look stays simple and easy to remove after the holiday.
Hang Carved Masks On The Wall
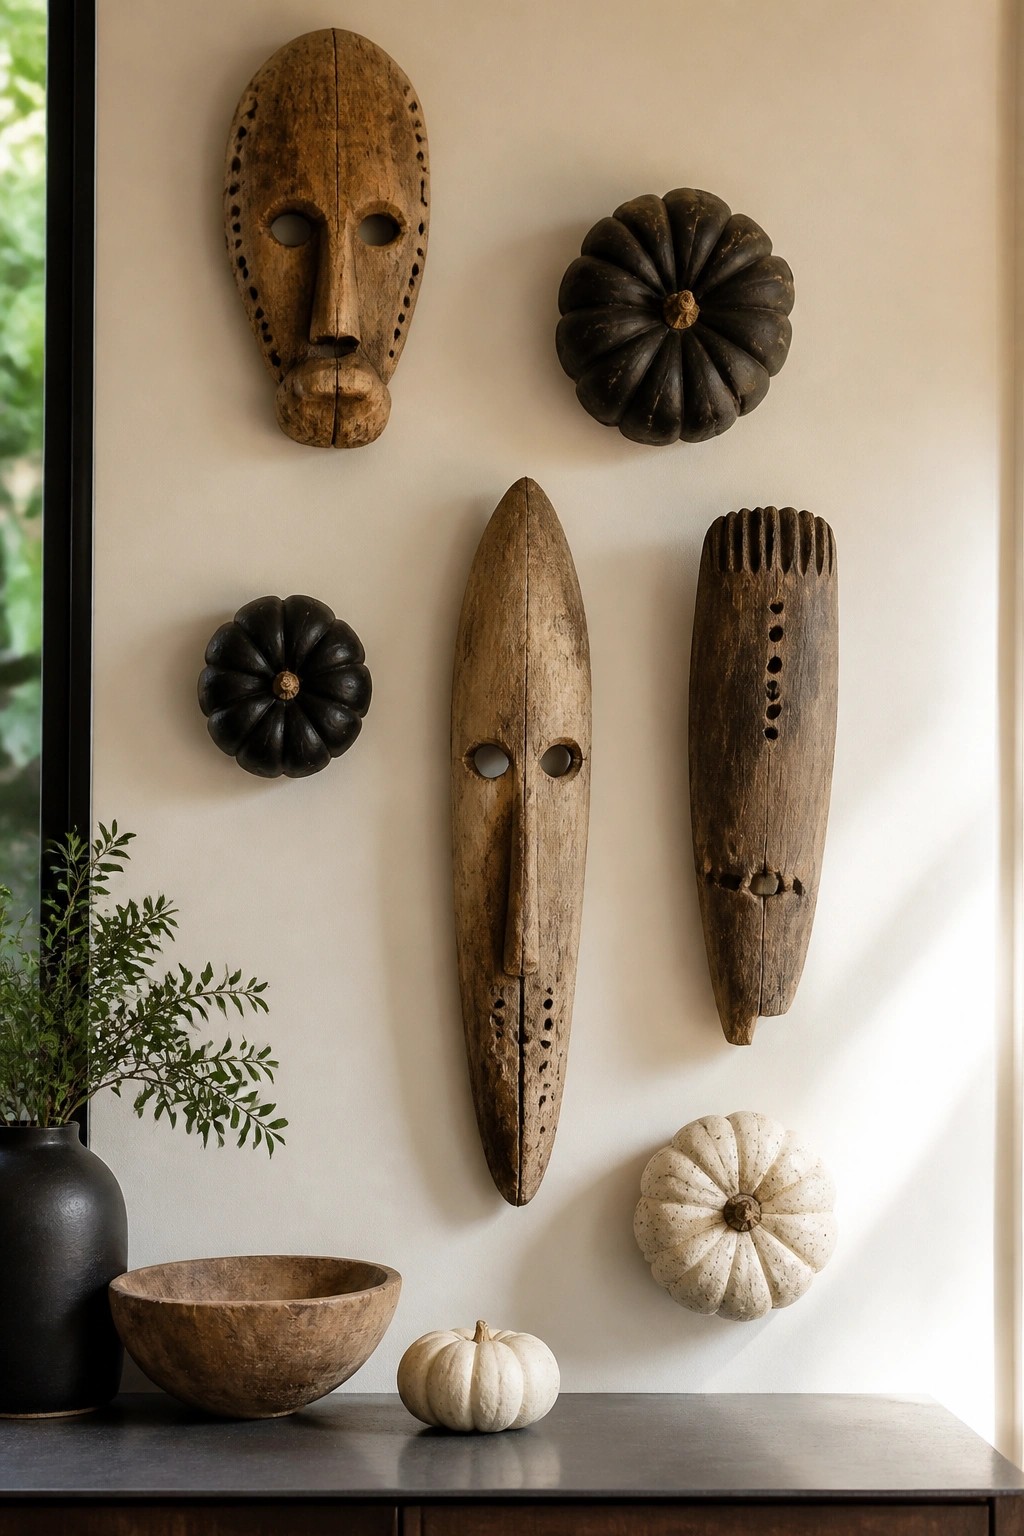
A group of carved wooden masks makes a strong Halloween wall display without needing bright colors or obvious props. The faces add an eerie presence that reads as seasonal while still looking like collected art the rest of the year.
Place them at different heights above a console or entry table and add a few dark or pale gourds nearby for contrast. Keep the rest of the wall simple so the masks stay the main focus. This works especially well in smaller spaces where you want one clear statement.
Hang A Skull Wreath Over Your Entry Console
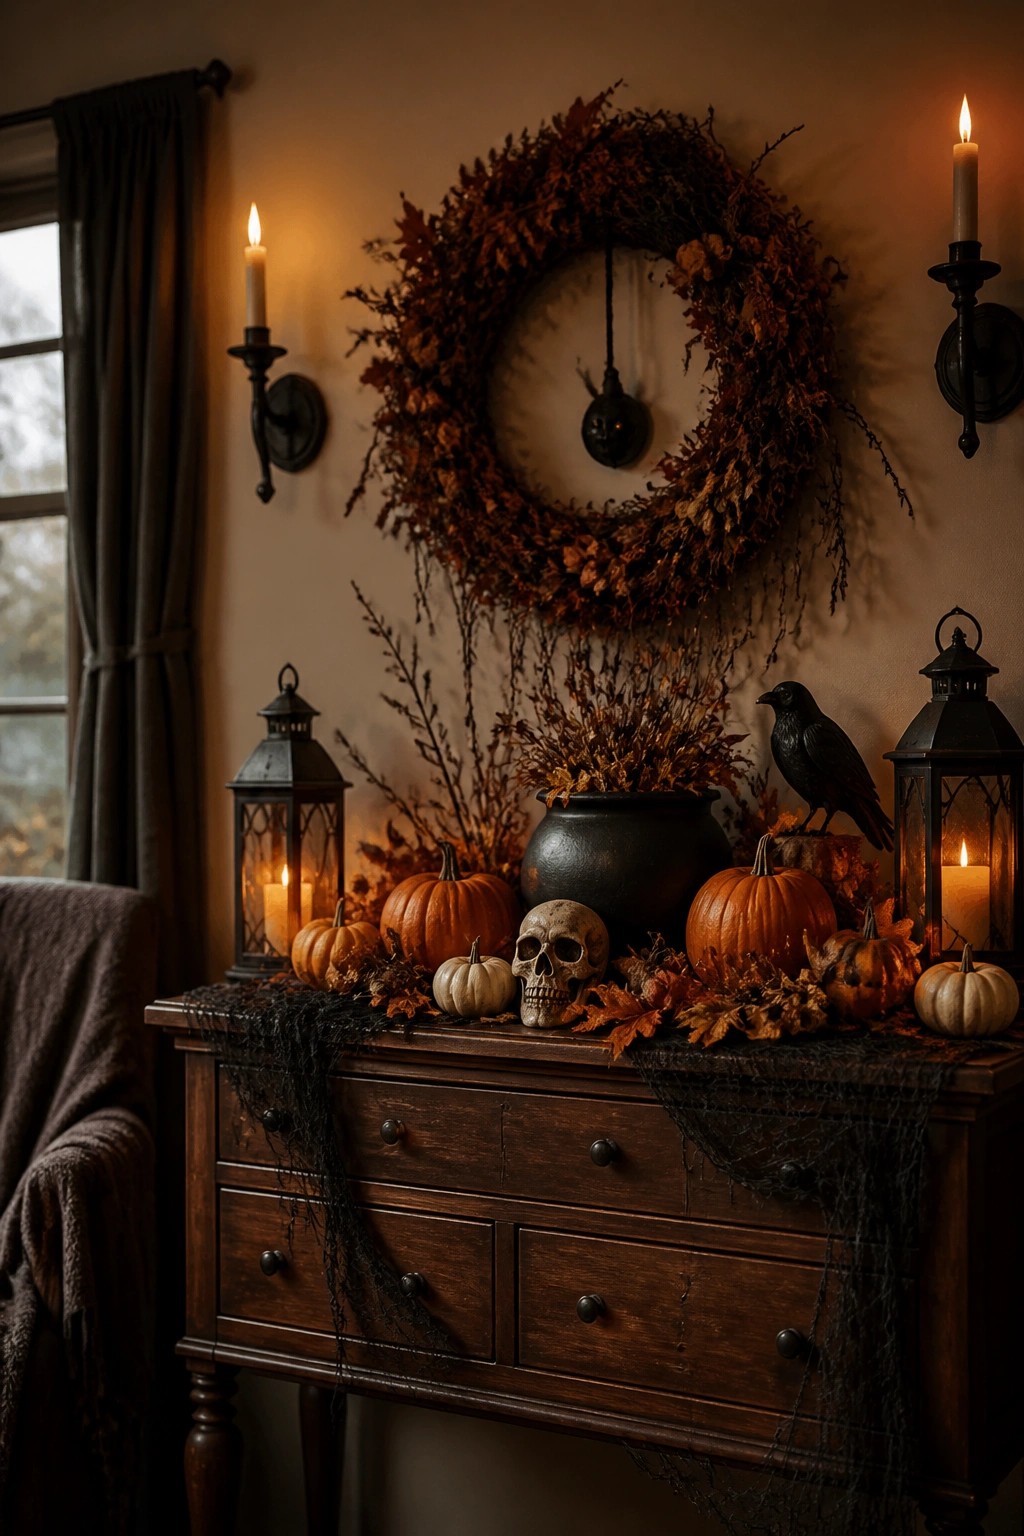
A large dried leaf wreath with a hanging skull makes a strong wall statement above a console table. The skull adds an unmistakable Halloween touch without needing much else on the wall itself. This setup draws attention right away and keeps the focus on one clear piece rather than scattered decorations.
You can recreate this look by starting with a basic grapevine or leaf wreath and adding one skull ornament on a short chain or string. Place it above a console or side table in an entryway or hallway, then add a few supporting pieces like a black bird or lanterns on the table below. Keep the rest of the wall simple so the wreath stays the main feature.
Hang A Gallery Of Vintage Halloween Portraits

A wall covered in old-style portraits gives any room a strong Halloween presence without needing much else. The key is choosing images that feature skeletons in period clothing, witches, and skulls so the theme reads clearly even from across the room.
This idea works on a large blank wall where you can group frames of different shapes and finishes. Keep the rest of the space simple and add just one or two small accents, such as a carved pumpkin, to reinforce the look without crowding the display.
Scatter Bats Across One Wall
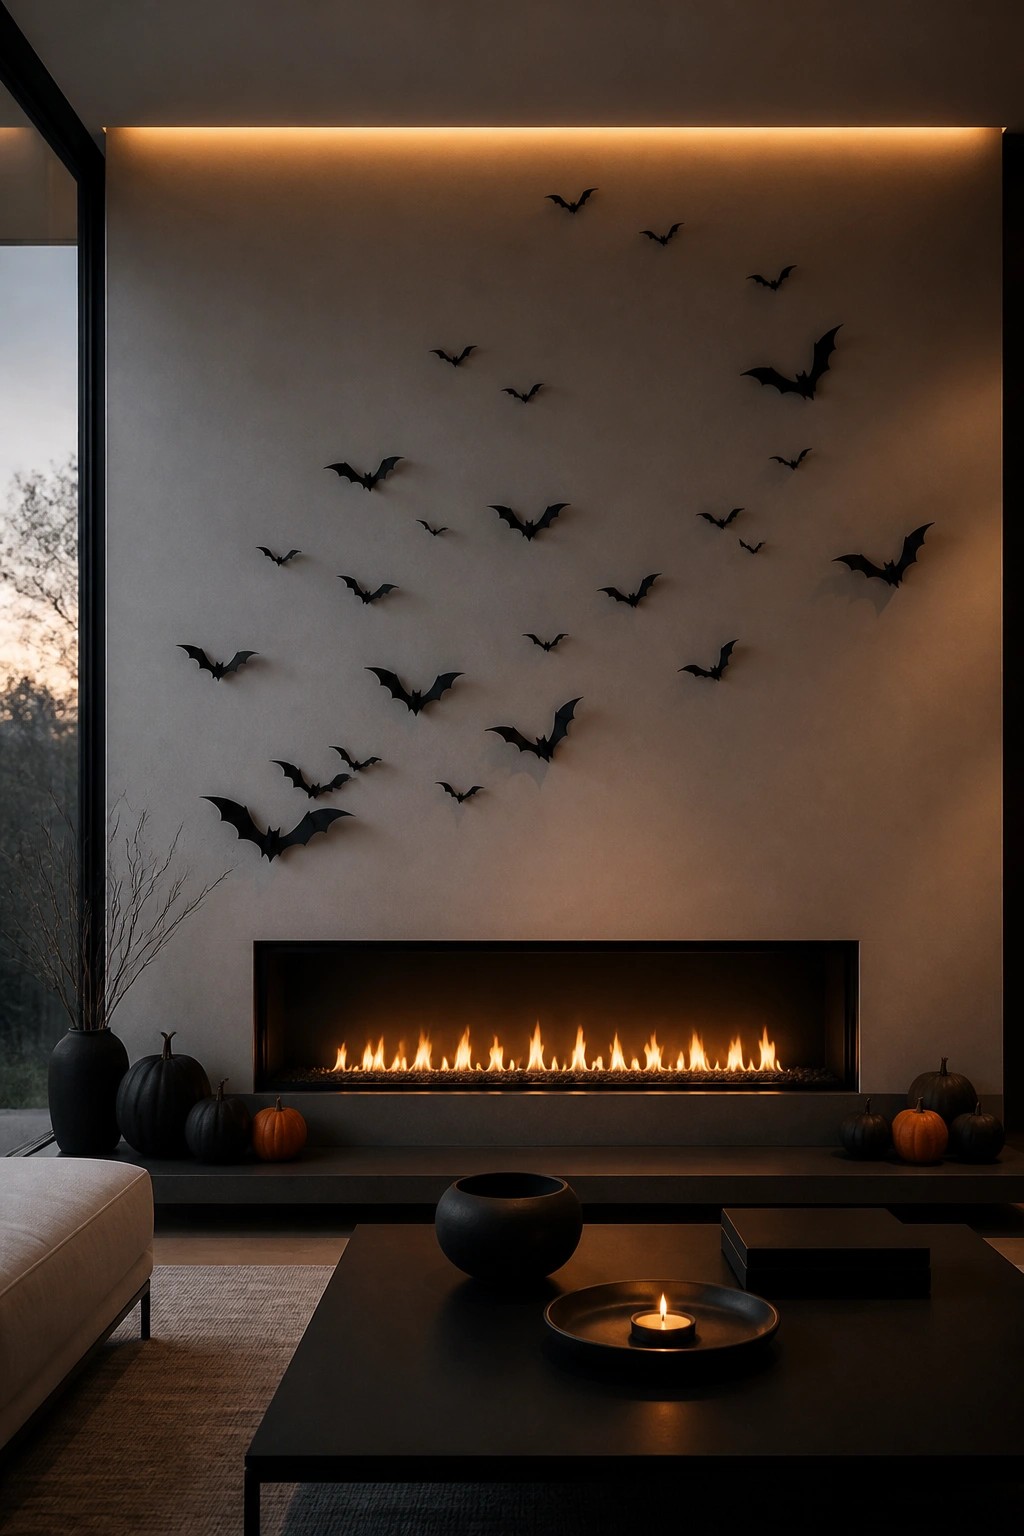
A cluster of black bats spread across the wall makes a simple but bold Halloween statement. The varying sizes and flight-like angles give the display movement and keep it from looking flat or static.
This works especially well above a fireplace or on any large blank wall in a living room. Use around fifteen to twenty bats in different sizes, space them unevenly, and let the rest of the room stay fairly quiet so the bats remain the main focus.
Hang A Bat Wreath On The Entry Wall
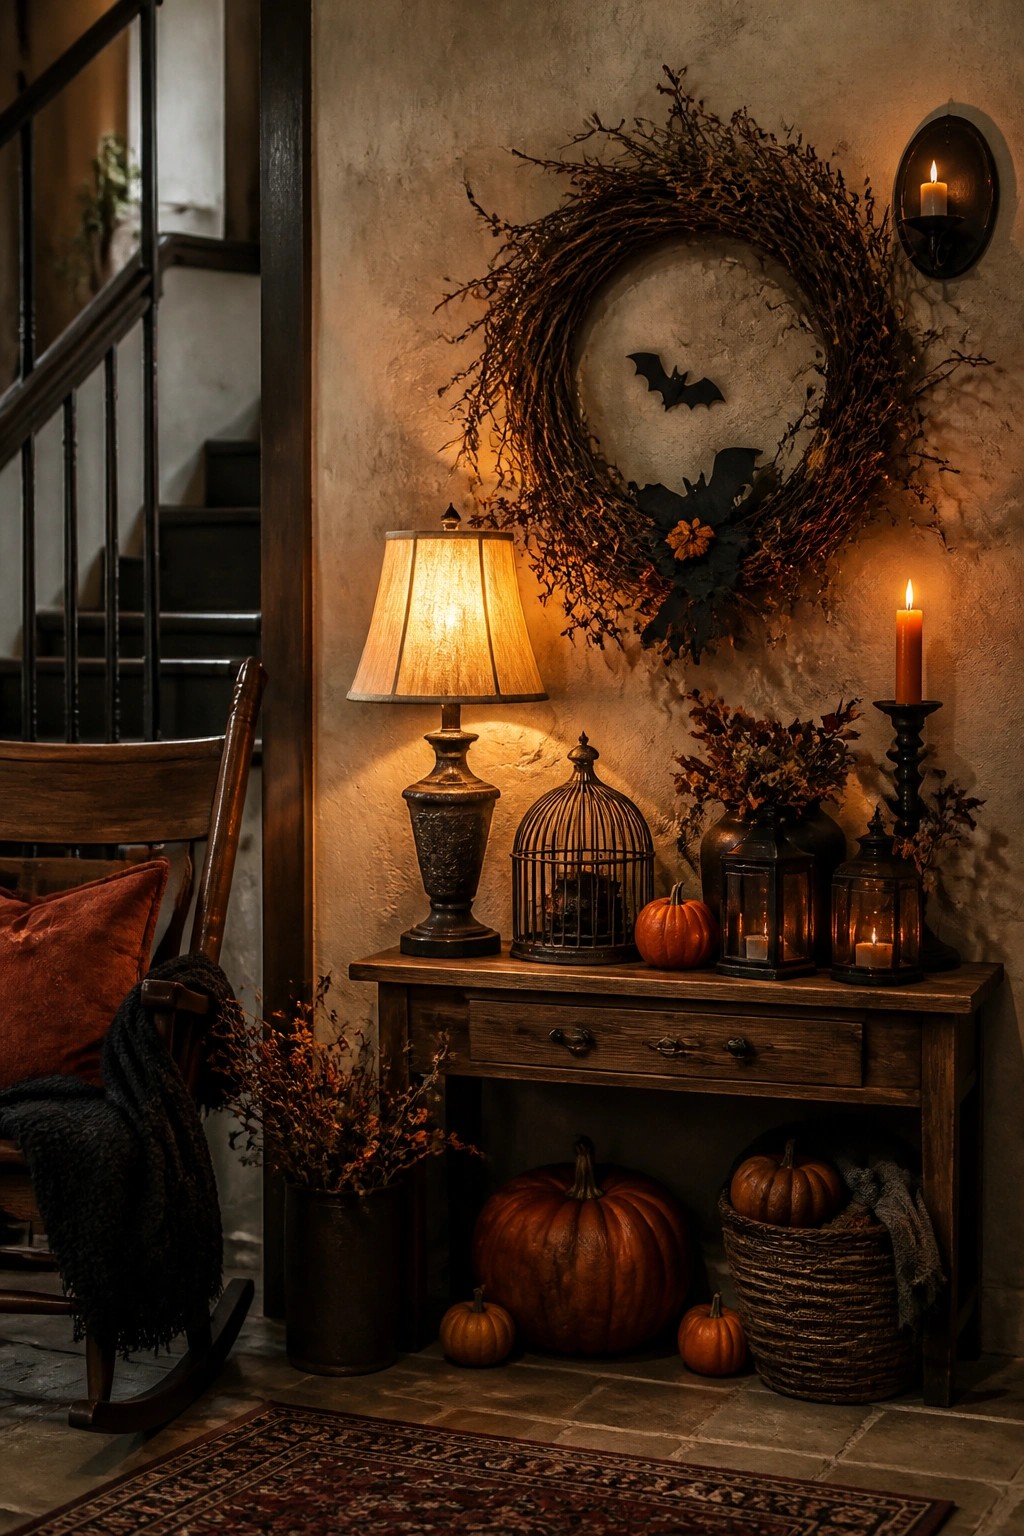
A wreath made from twigs and branches works well as wall decor when you add a few black bat cutouts. The bats stand out against the natural texture and make the whole piece read as Halloween without needing much else on the wall.
Place the wreath above a console table so it sits at eye level when people walk in. You only need three or four bats to get the effect across. Keep the rest of the surface simple with a couple of lanterns so the wreath stays the main focus.
Create A Gallery Wall Of Halloween Prints
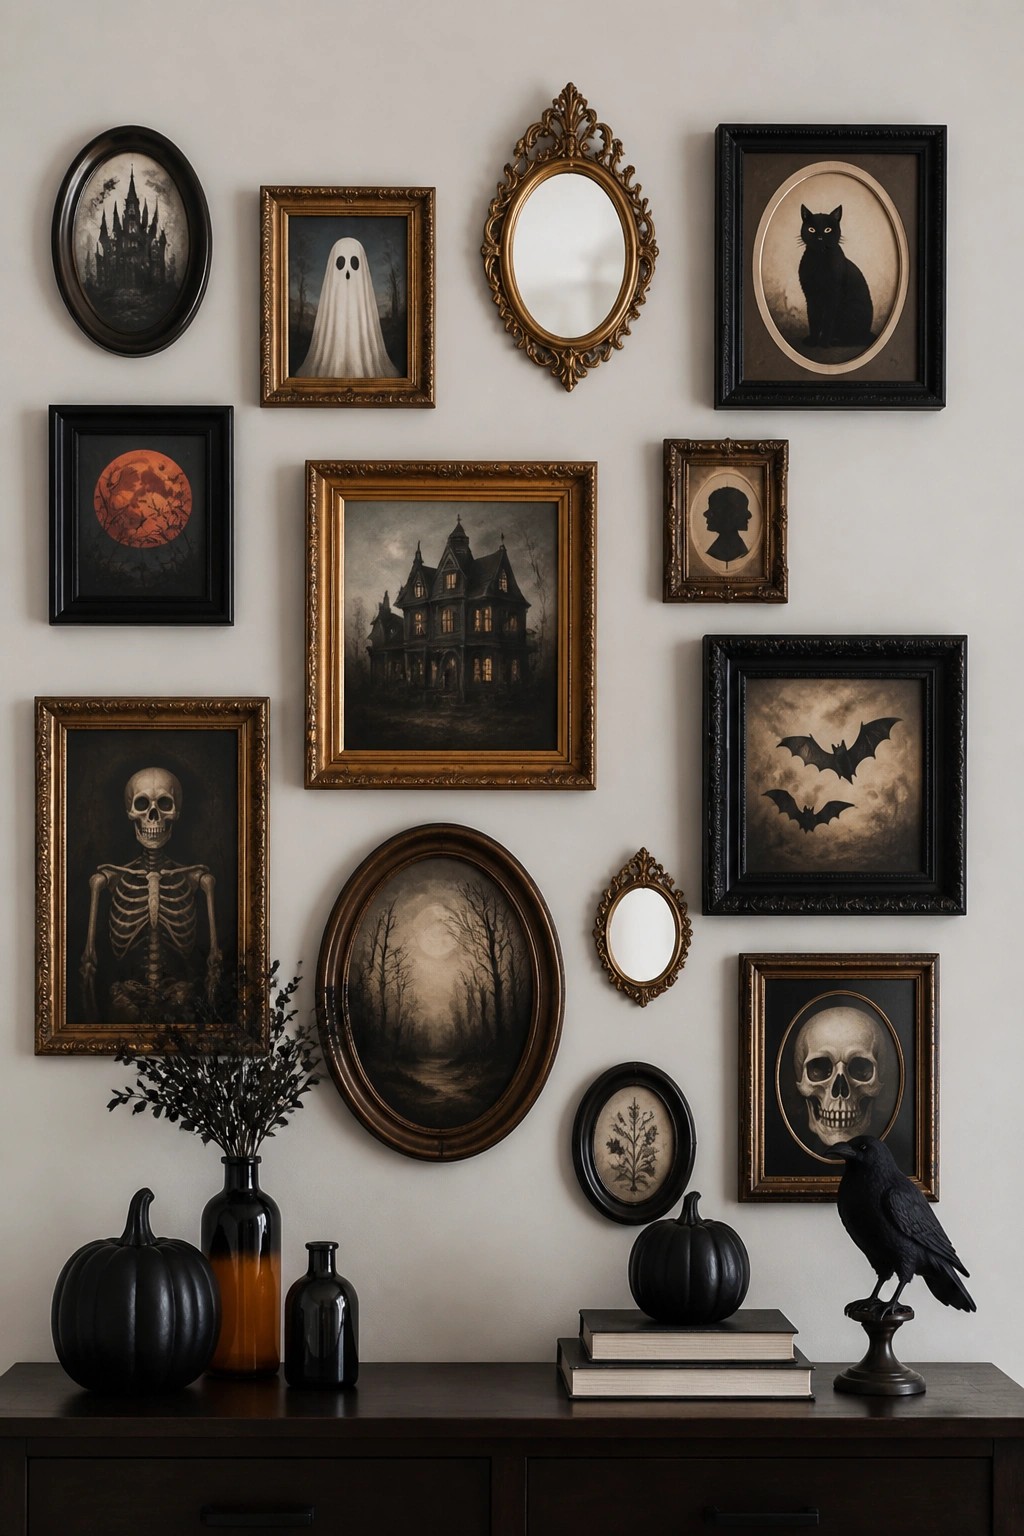
One strong approach is to cover a section of wall with framed prints that all share a Halloween theme. Mixing ghosts, skeletons, bats, and black cats in a mix of oval and rectangular frames turns the collection into the main focal point while still feeling intentional rather than cluttered.
Start with a few larger pieces and fill gaps with smaller ones until the arrangement feels balanced. This works well above a console or in an entryway where people naturally pause, and it lets you swap prints each year without repainting or buying new furniture.
Style A Black Crow Console Display
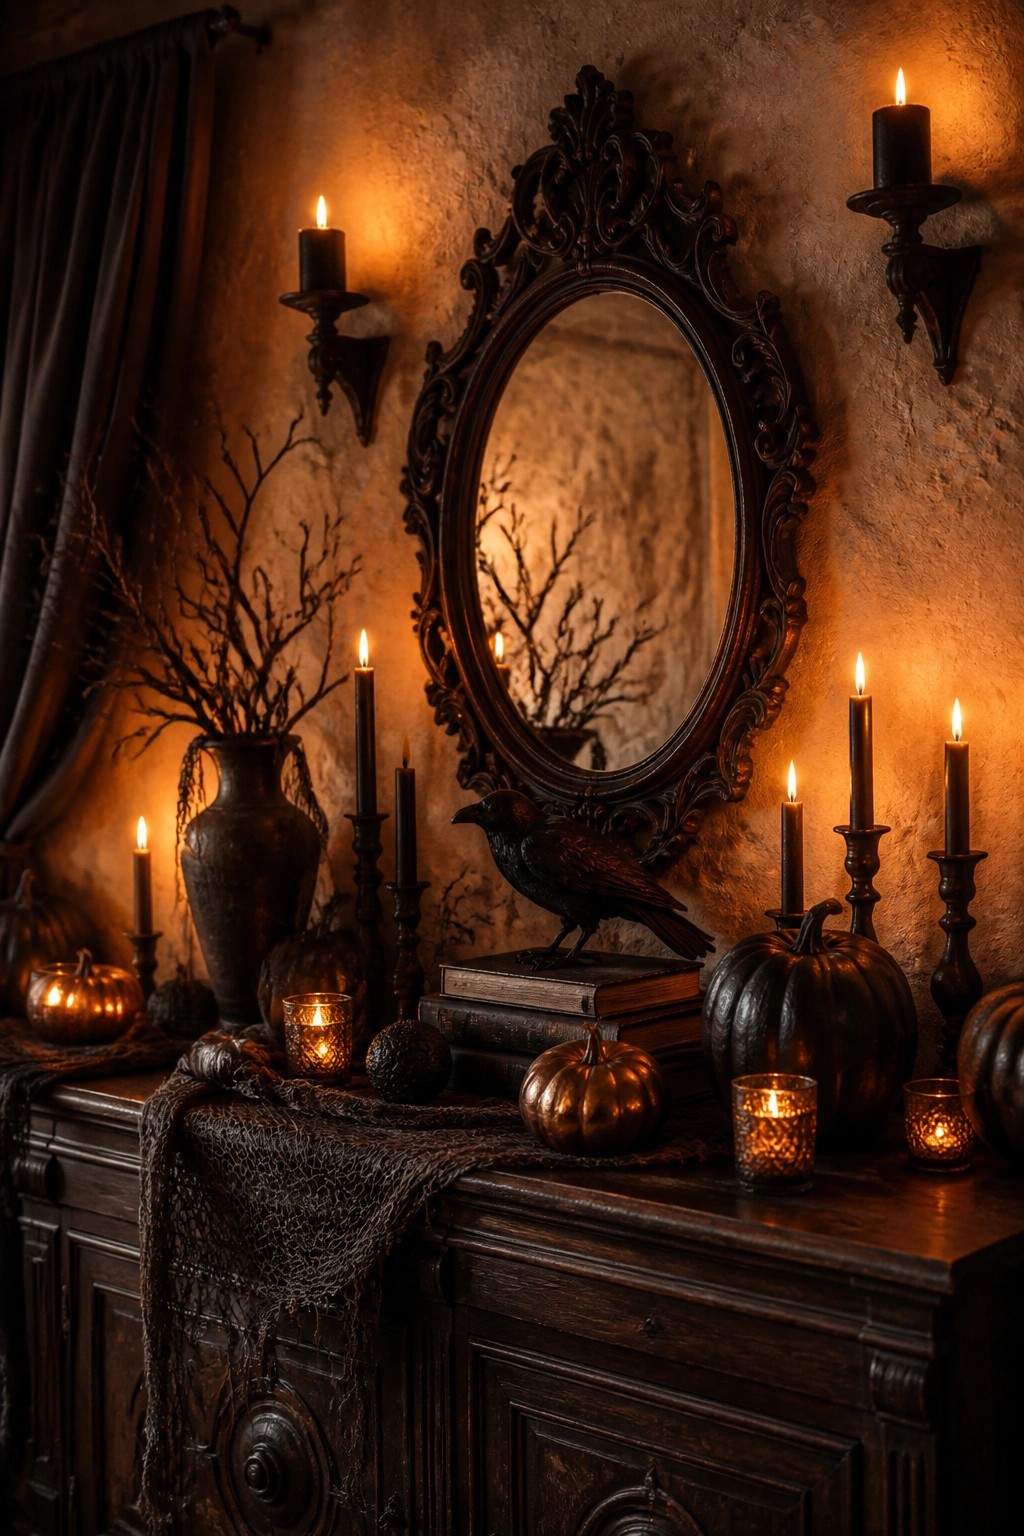
A black crow perched on a stack of old books makes a strong Halloween focal point when placed on a console table beneath a large mirror. The bare branches in a dark vase and scattered black candles add height and keep the arrangement from feeling flat. This setup works because the crow draws the eye immediately while the mirror reflects the branches and repeats the spooky motif without needing extra pieces on the wall itself.
You can copy this look with one striking bird figure, a few tall candlesticks, and some foraged or dried branches. Place everything on a narrow table or sideboard so the mirror above becomes part of the display. Keep the rest of the surface simple so the crow stays the clear center of attention.
Frequently Asked Questions
Q: Can these wall ideas work in a small bedroom?
A: Pick just two or three pieces that fit your space. Hang them at eye level to draw the eye up and make the room feel bigger. Avoid crowding the walls with too many items at once.
Q: How do I take everything down without leaving marks?
A: Remove tape or hooks slowly while pulling straight back. Wipe the spot with a damp cloth right after if any residue shows up. Test your method on a hidden area first.
Q: Are there options that don’t need any hanging at all?
A: Lean a large framed print against the wall on a shelf. Drape a banner over a mirror for an easy change.
